| Previous Page |
PCLinuxOS Magazine |
PCLinuxOS |
Article List |
Disclaimer |
Next Page |
GIMP Tutorial: Remove A Background In A Glass Object |
|
by Meemaw
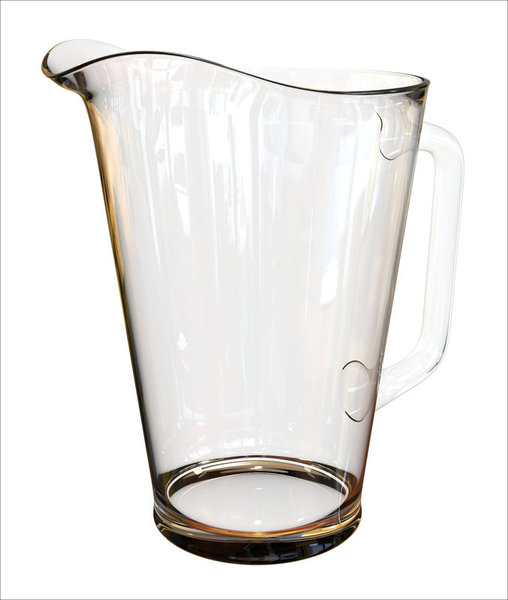 The first thing you want to do is right-click on your image in the Layers dialog, and choose Add Alpha Channel. This will add transparency to your layer rather than re-filling it with white. If it’s greyed out, you already have one. Using the Pen (Paths) tool, draw an outline around the object. You can see the nodes here. When you click back on the first node to close the path, press Enter. 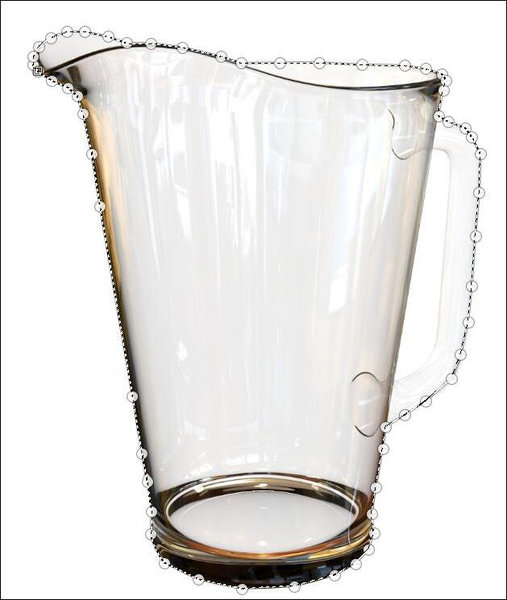 Reverse your selection (Select > Invert) since you don’t want to delete the pitcher. Press the Delete key. Since my pitcher has a handle, I had to do the process twice, once to remove the white around the pitcher and once to remove it inside the handle. If you zoom in and want to clean it up, feel free to use the pen tool again or the eraser to fine tune the edges. 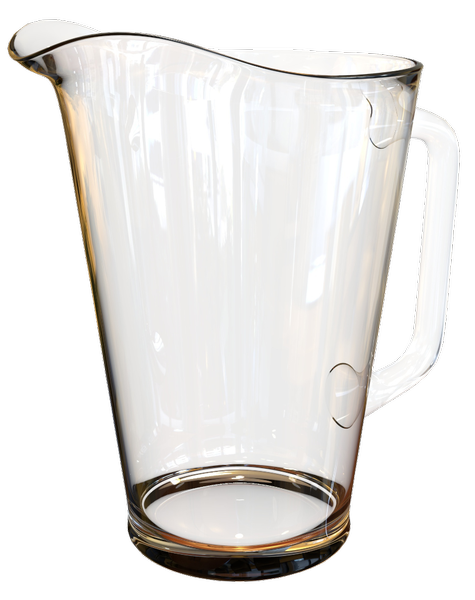 Now you want to load the background you have chosen. I chose one that looks kind of like a table on the patio. 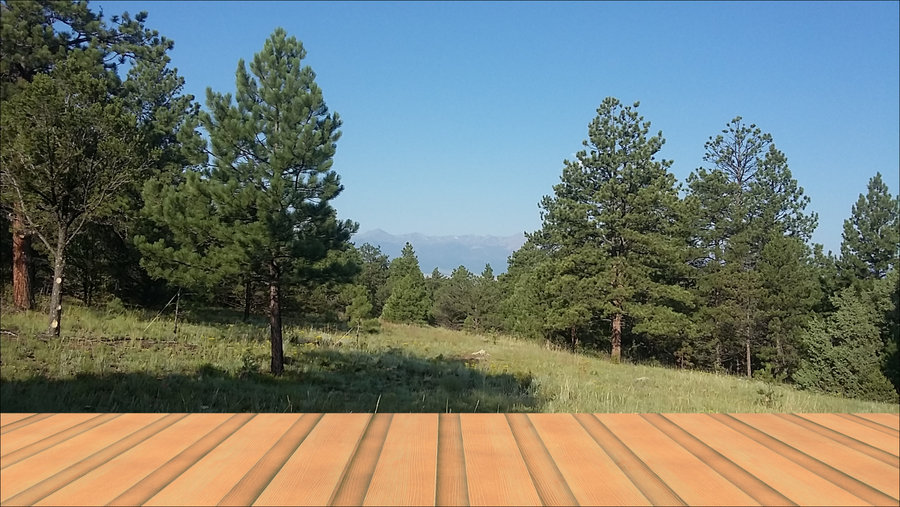 Copy & place your object onto the new background. If it’s the wrong size, take this opportunity to resize it. You can use Layer > Scale layer, or you can use the scaling tool. If the layer is a different size from your background, choose Layer > Layer to image size. With your pitcher still chosen, using the layers dialog, change the blend mode of this layer to Multiply. If you haven’t chosen Layer to image size yet (as I hadn’t), choose it now. 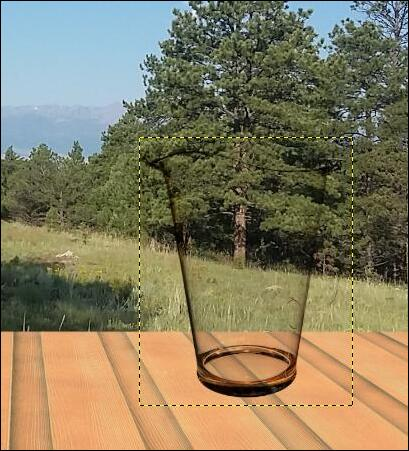 I know it looks like it’s close to being finished, but we’re going to do a few more things. Create a duplicate of this layer, and change the blend mode back to normal. It will look white again, but it’s necessary. Using the duplicate layer, choose Copy so it’s on your clipboard. Using the same duplicate, apply a layer mask. Right-click the layer and choose Add layer mask. Leave the defaults (white full opacity). Click Add to close that window, then paste what you have. That’s going to paste that layer as a floating layer in the layers dialog. Now click the anchor icon at the bottom of the layers dialog. That will paste it into the layer mask. 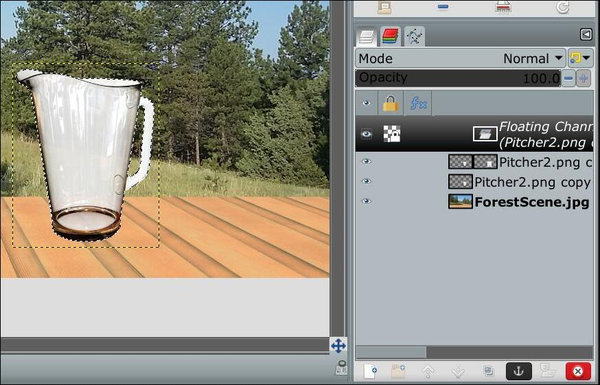 Now choose Color > Curves. Take the point in the bottom left and slide it to the right. You can see the glass becoming more transparent on the page. Find a happy medium that looks pretty good. 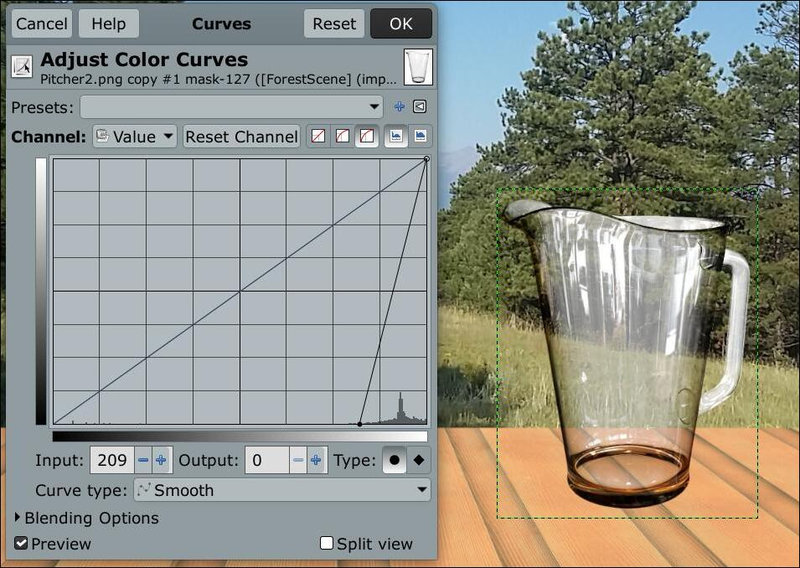 Now we want to distort the background a bit. Things aren’t perfectly straight when you’re seeing them through glass. Click on the background layer and duplicate it. Remember, there’s the little icon in the layers dialog that says Create a duplicate of the layer and add it to the image. Now you want to create a displacement map. Choose Filters > Map > Displace. The window you get will have 2 inputs called Horizontal/Radial and Vertical/Angular. Click on the icon to the right of each and GIMP will give you a reference point to choose. My choices were the layers I had in this project. You want to choose the original image of your pitcher (in mode Multiply) for each. 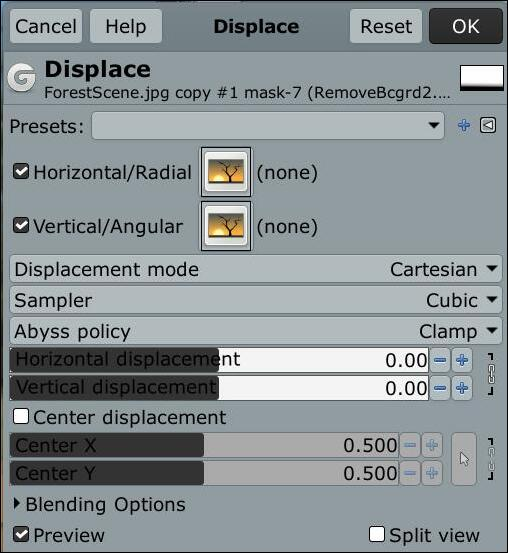 This tells GIMP what area you want to displace. The sliders just under the setting Abyss policy are the Horizontal and Vertical displacement, and you can slide those to the left until it looks the way you want it to. The background should be distorting within the glass. 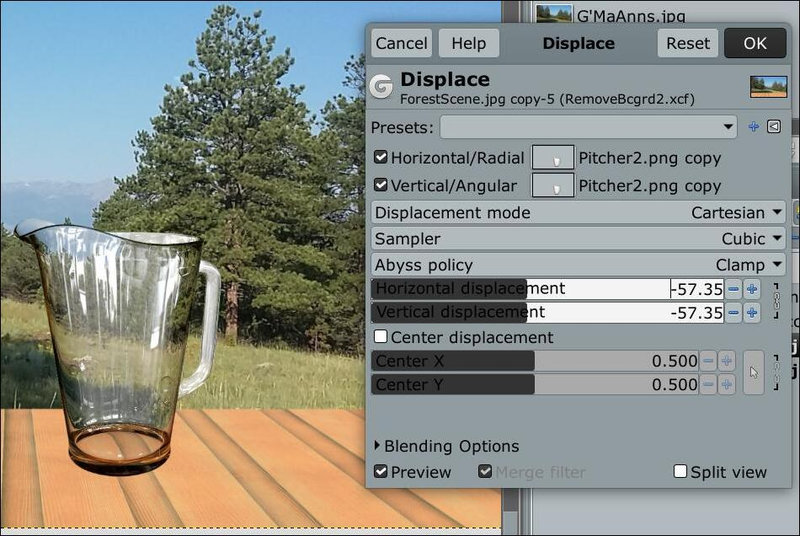 The only part of the background duplicate we actually want is the displaced part, so we’ll delete the rest. Click on the original jar layer, Right-click and choose Alpha to selection - you'll see a selection going around the glass jar. Now click on the background layer, add an alpha channel, then choose Select > Invert and press delete on the keyboard. Now the background around the jar should be gone. Go to Select > None to remove your selection. This won’t show in the image, but it will in the layers dialog. The background needs to be a bit blurry. Duplicate the background again. Choose Filters > Blur > Gaussian Blur. However, the shelf shouldn't be blurry, so let’s fix that. Add a layer mask to the duplicate and choose a black to white gradient. Use your cursor to draw a line from just above the shelf down into the shelf. Your table should be clear while the background is blurry. 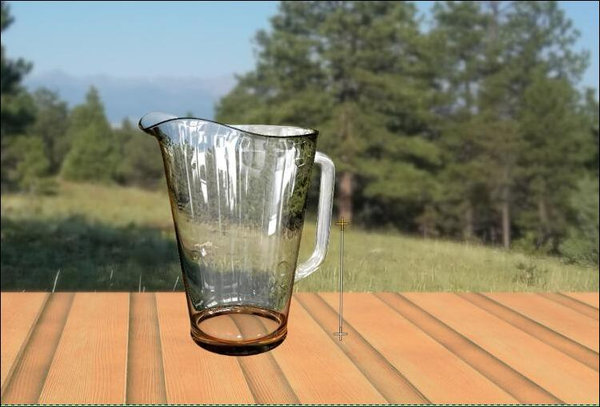 You can fine tune everything. For example, if you want your pitcher a little more transparent, you can choose the upper of the two layers you have, choose Color > Curves again and change it, 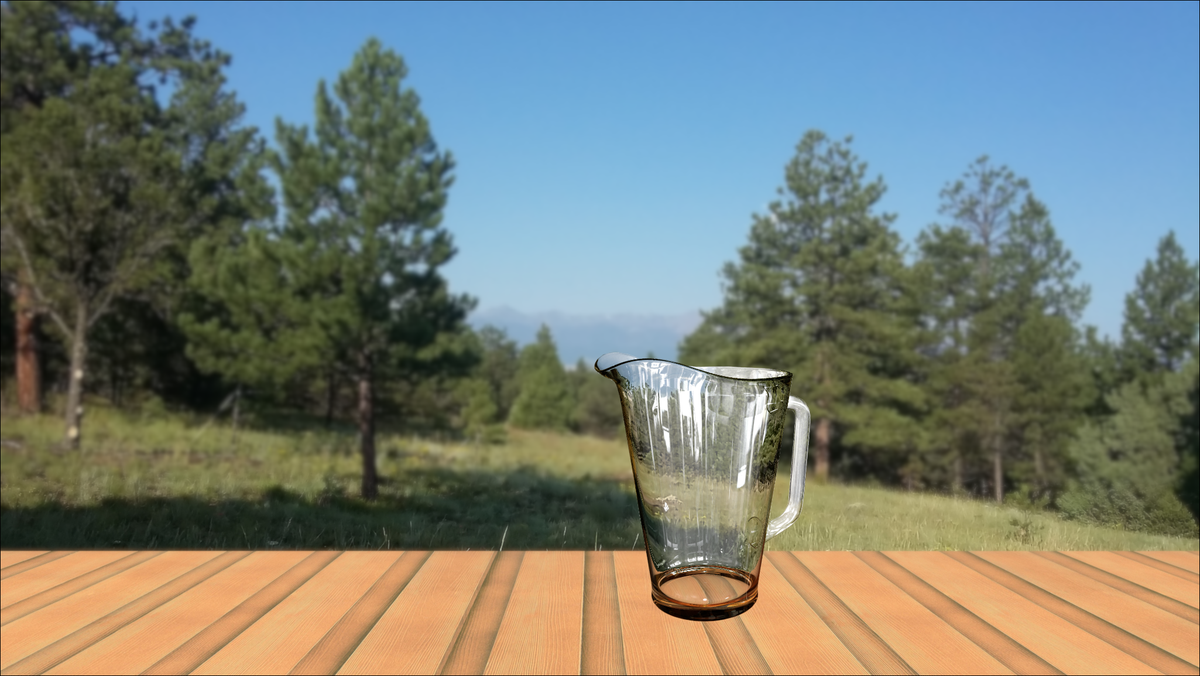
|