| Previous Page |
PCLinuxOS Magazine |
PCLinuxOS |
Article List |
Disclaimer |
Next Page |
Inkscape Tutorial: Tips & Tricks You Might Not Know |
|
by Meemaw
In my travels through YouTube to learn more about Inkscape, I ran across a poster called Sweater Cat Designs, who posted a video called Top 13 Inkscape 1.3 Tips & Tricks. As I watched this video, I found a couple of tips that I didn’t know, so I thought I’d discuss a few of them. You might know them all. Sometimes you add something that has a sharp corner, and you need a curved corner instead. This is an easy way to do it. After you draw your figure, choose the Nodes tool, then click on the setting called Add Corner, circled below. 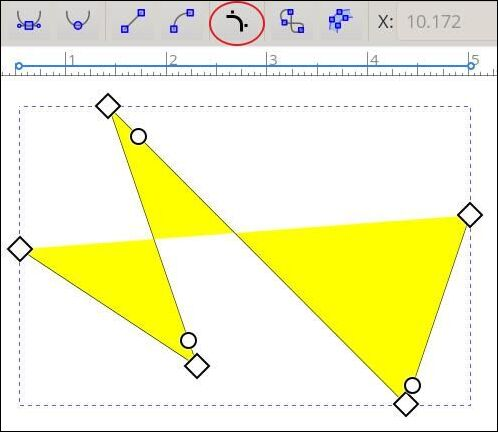 When you click on it, you’ll get round handles a short distance from the corners. You can grab one and move it back from the corner to get a curve. Your handles will turn to triangles and you’ll see a curve. When it looks as you want it, let go of the mouse and the corner will disappear, and you’ll have the curve. 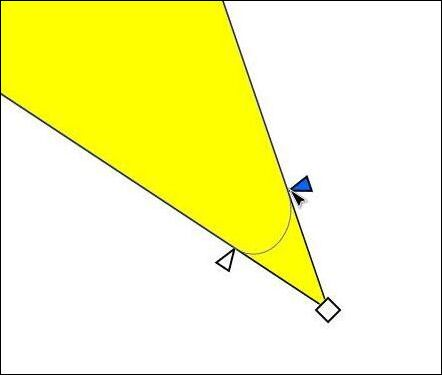 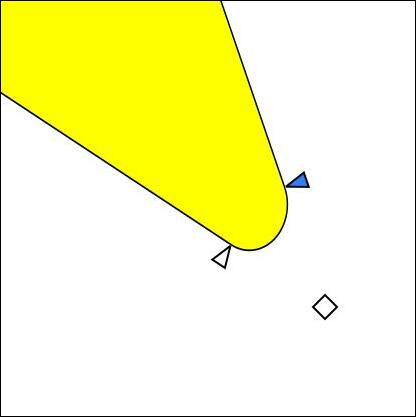
Holding <CTRL> and clicking on one of the handles will change the curve to a different kind. The standard curve is called a fillet. You can change to a reverse fillet, as shown at right below, or a chamfer, which will make the curve straight. Holding <Shift> and clicking on one of the handles will give you a window where you can choose what you want. In the window, you can choose how many sides you want in your chamfer. I chose 3, as shown below in the middle. 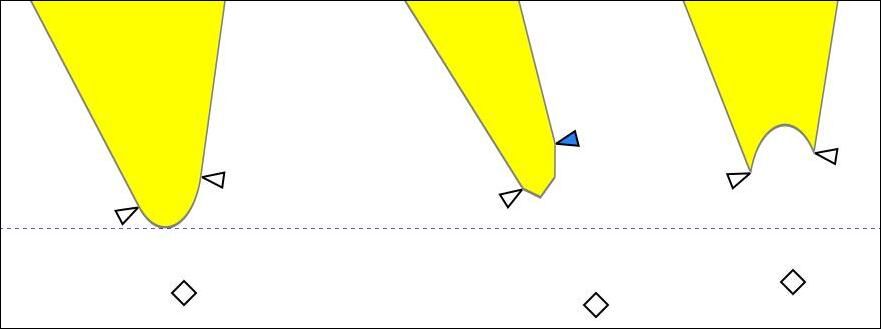 If you’re working with shapes and want to use a part of one, there is a method for cutting an object into pieces. Draw your shape, plus a line where you want to cut it. Here, I’ve made 2 lines to cut my rectangle into 4 sections. 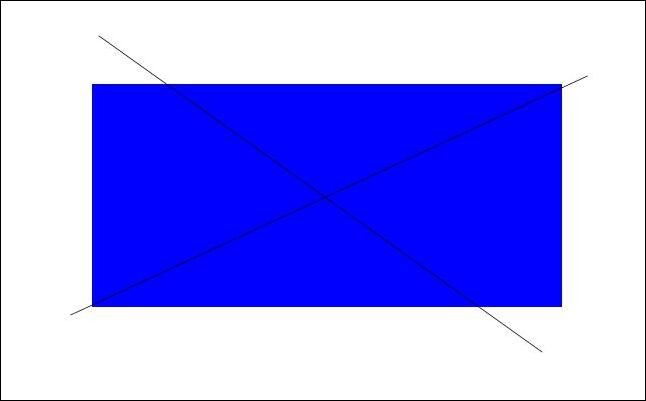 Select them all, and choose Path > Fracture Path. I hadn’t used this one before. The lines will disappear, and you’ll need to click outside your rectangle. Then you can grab part of it and drag.  I’ve edited text before, but I hadn’t remembered this one. Sometimes you want to make your text look a bit uneven, and this is an easy way to do it. Design your text the way you want it (font, size, fill & stroke colors). 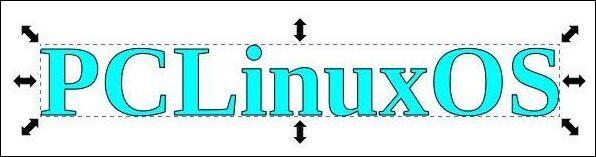 Choose Path > Object to path, then choose Path > Split path. This will make each letter its own path so you can move them around separately. 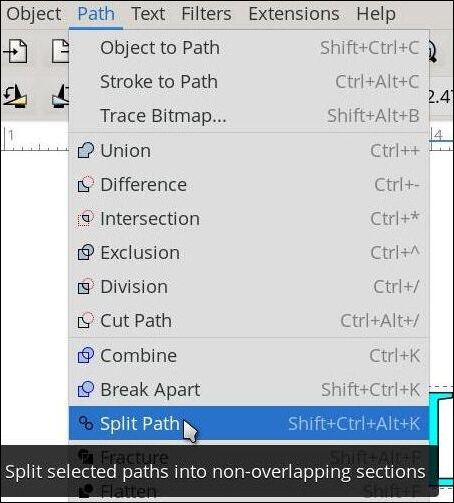
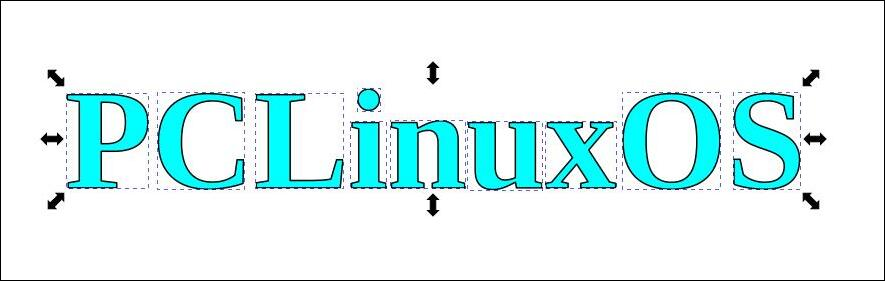
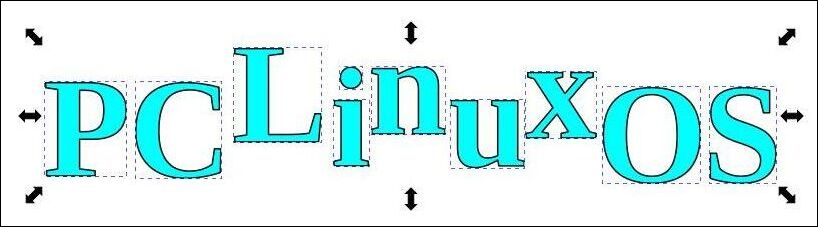 In the video, he says that if you have a font like a script font that has overlapping edges, you should space out the letters during your design step, so those edges don’t touch. Then, when you split the path, each letter will be separate rather than grouped together. Something I didn’t know was that you could add colors to the end of your palette (where the black & white are larger squares). If you’re working on a project that uses specific colors, you can pin them to the end with the black & white that are already there. Simply right-click on the color you want and choose Pin Color from the pop-up. I had already added red and purple and wanted to add dark blue. 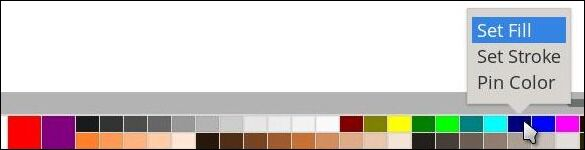 This would be very useful if you had chosen specific colors and had to keep going down the palette searching for them. When you’re finished with your project, and no longer need that color, you can right-click again and choose Unpin Color.
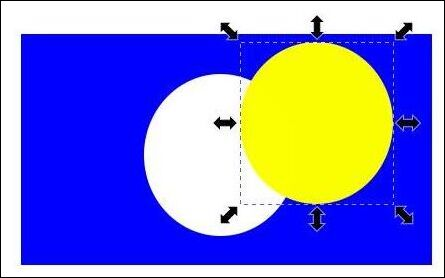 The cool thing is that you can do it with more than one object.  When I export a project, I generally export the page, so the only things exported are those that are on the page. If something’s hanging off the edge, that piece is lost. However, if that makes you nervous, or would rather see what it will look like when you export it, you can go into Document Properties and choose Clip to page. It’s a checkbox at the lower right of the window. 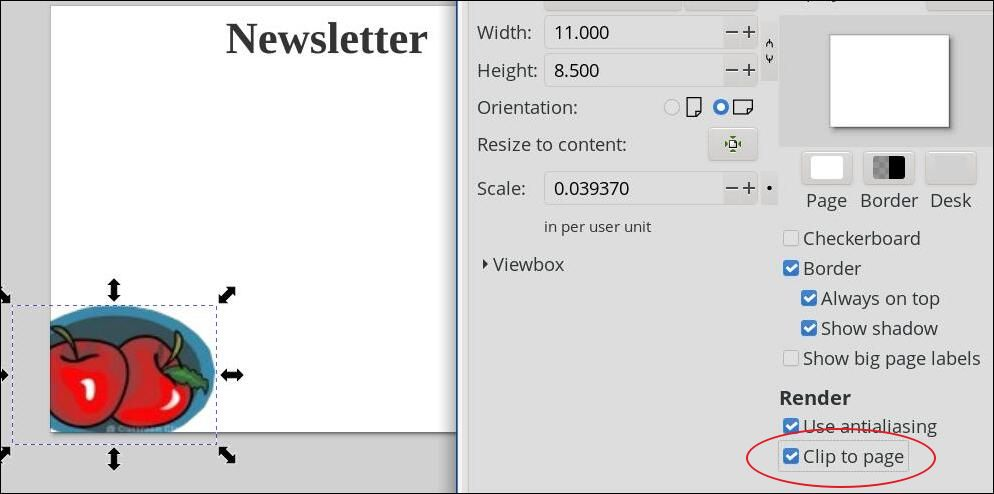 One tip was about adding and editing blur on an object. If you create an object and give it some blur, you can use an easy editing method if you want it changed. I drew a rectangle and gave it a 25% blur. 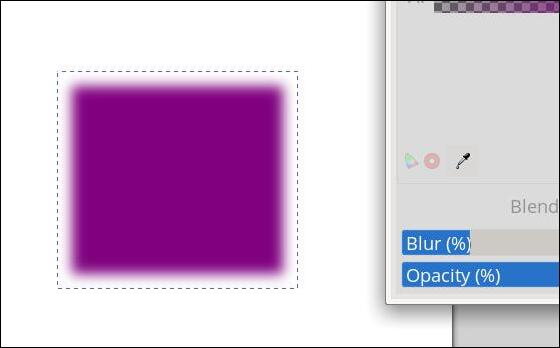 Maybe I want the blur to extend farther up & down than it does side to side. I’ll change to the Node tool and will get handles at the top and side of my rectangle. Grabbing the top handle and pulling it up makes the blur extend higher and lower. 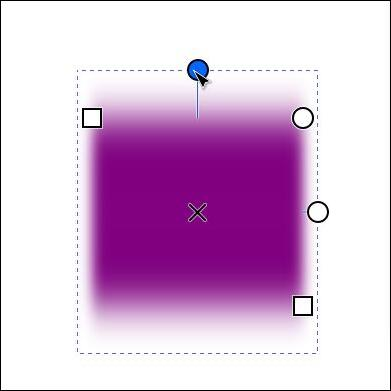 If I just want to make the blur bigger all the way around, I’ll hold <CTRL> and drag either handle. 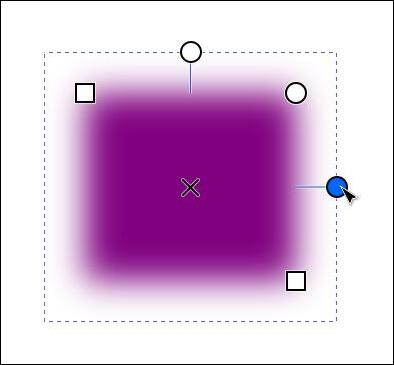 I hope you learned something you didn’t know! I didn’t cover all 13 of them, so we can do more later. |