| Previous
Page |
PCLinuxOS
Magazine |
PCLinuxOS |
Article List |
Disclaimer |
Next Page |
How To Create The Full Monty (FM) Desktop |
|
by Isaac Before I get started on this tutoriaI, I want to say a Happy Belated Birthday to PCLinuxOS, as she turned 20 this year. Next year she'll be able to gamble, and go get a margarita. I also want to mention that the FM desktop is the original creation of our founder, Texstar. The last official release of the Full Monty iso was in 2014 on KDE 4. It was discontinued for aesthetic reasons. A couple months ago, I was inspired to recreate it, after an article I read online. I recently created an ISO and it has had good reviews, but it does not adjust the way it should to screen size, aspect ratio or resolution changes. So, in the meantime until those problems are fixed and while I am continuing to work on it, I wanted to share a how-to guide on creating the FM desktop so you can use it too, without downloading an ISO. Now, without further hubbub, here is a very straightforward set of instructions on how to set up the FM desktop for yourself. Setup Note: You should know (not that you don't already, that depending upon what you wish to include, The Full Monty can take a lot of room on your drive. This is because, as the name suggests, it can incorporate anything and everything. Getting started 1. Open activities. 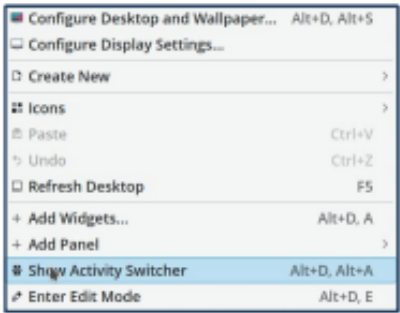 Add as many of those shown here as you like by clicking Create New. 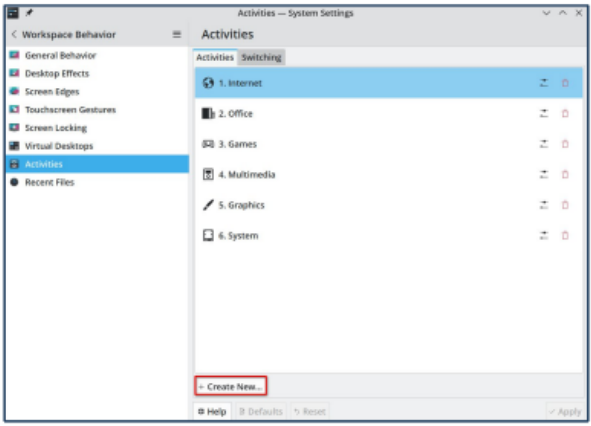 Click the icon and find the one that best suits the name of the activity. I use all the basic icons. Click All and find the one you like best. Here, because it is the internet, I chose the globe icon. 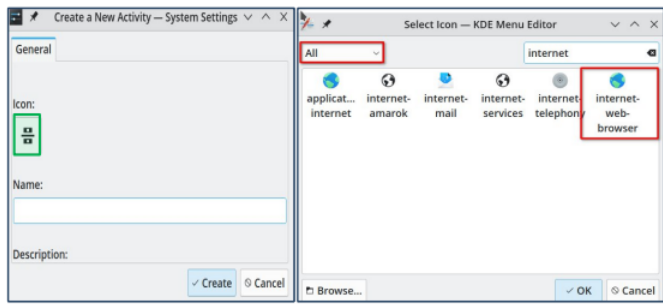 Remember to name the activity according to what kind of apps you will be using for that activity. To ensure the activities appear in the order you wish them, number them, and they will appear in that order. 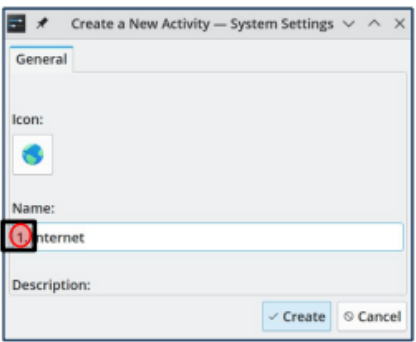 2. When you are done creating the activities, open the Virtual Desktop settings. 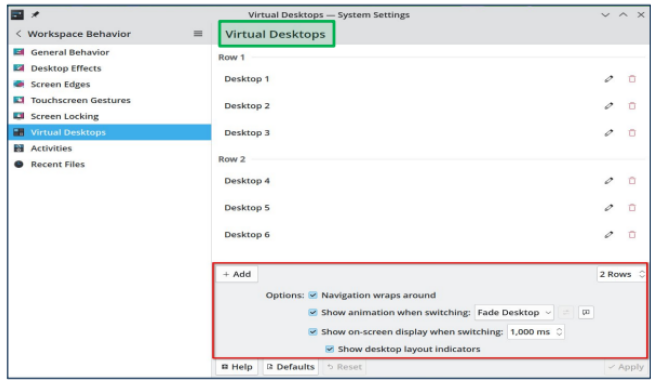 I set my number of virtual desktops to six, because each activity has to have at least one desktop assigned. There is no separate setting to only set the number of desktops per activity. So initially this is necessary to enable the activity pager to work properly. If you choose only one desktop, you will not be able to initially use the pager. I go into detail about this in the notes below. Make sure all the settings for virtual desktops shown above are chosen. Select the desktop you wish to view, by using your mouse wheel while hovering over the desktop (as shown here). 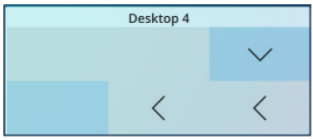 Note: At the end of the day, multiplying the number of activities by the number of desktops, will give you the total number of usable desktops. In my case, I have 6 activities, each with 6 desktops, for a total of 36 individual desktops. However, if you only want a couple desktops per activity, you can remove the extra ones when you are done setting up the activity pager. 3. Right click the panel, and open the Add Widgets dialog.
Choose the pager for virtual desktops. Because you chose two rows, you will have two rows of pages. 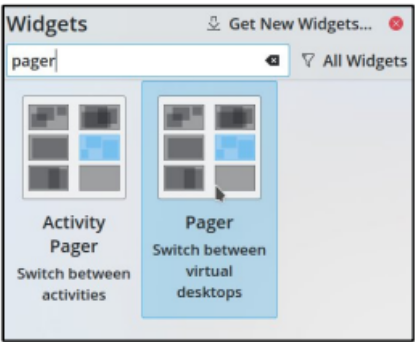 Right-click the panel and click Enter Edit Mode. Move the pager where you want it.  Right-click on the desktop pager on the panel, and choose Show Alternatives. Then choose Activity Pager. Now you can change all your activities and desktops will work. 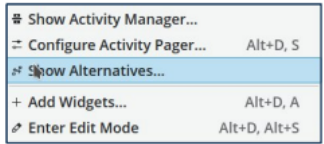 Assign Wallpapers 1. Click on the activity where you want to change the wallpaper. 2. Open wall paper settings, and you will be able to assign the wallpaper for each activity. Each desktop/workspace will have the same wallpaper as the activity you are using. Each Activity will have the same number of virtual desktops workspaces. 3. Each virtual desktop will have the ability to independently open upon mouse click. 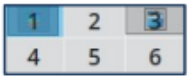 Included wallpapers are: The six originals included by Texstar on the original FM desktop. These are meant to be used with a dark theme. I recommend Breeze Dark. 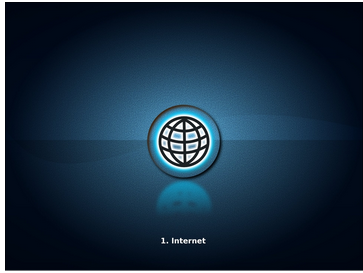 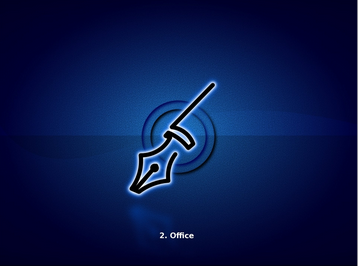 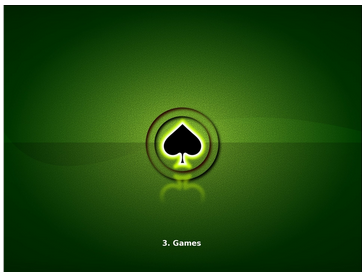 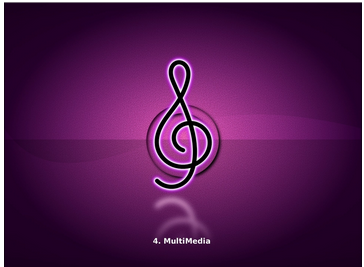 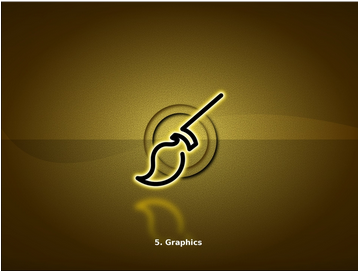  I created six more for this version. These wallpapers look good on Breeze or Breeze Dark.    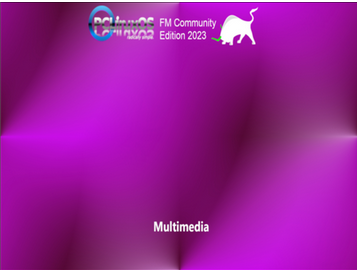 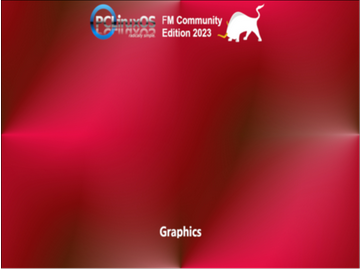 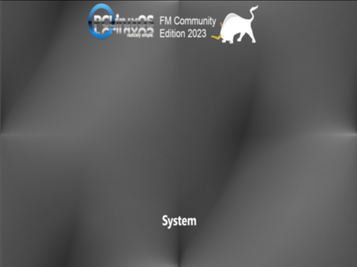 You can download a *.tar.gz archive file containing all the new wallpapers I created, along with the wallpapers from the original Full Monty, from here. The images are high resolution files, and the archive is 27.6 MiB in filesize. There are separate wallpaper files for those using a monitor with a 4:3 aspect ratio, a 16:9 aspect ratio, and a 16:10 aspect ratio. They are all in the one archive available for you to download. Using Quick Launch 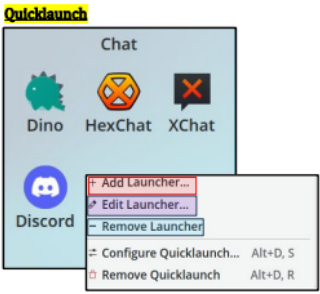 1. Right click on the Quicklaunch you want to use, and either: add, or remove the launcher. 2. You can also edit the launcher to add a description, or change an icon. 3. Right click the Quicklaunch you want to edit and select Configure Quicklaunch to open the Quicklaunch Settings dialog. 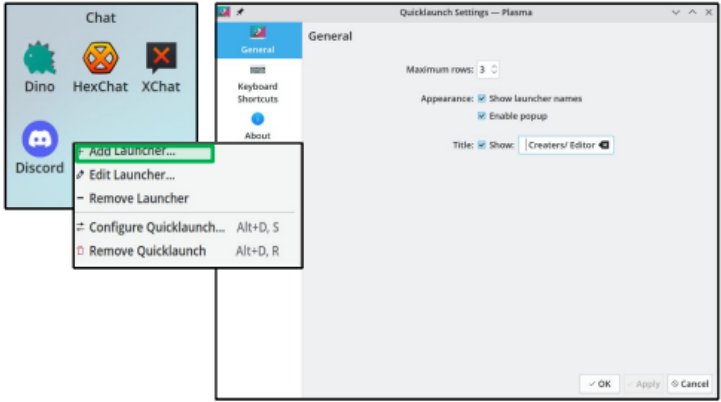 Adding Shell apps 1. Right-click the KDE menu Icon and open Edit Applications. 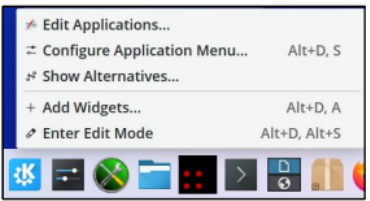 Find the correct category for the CLI app you want to add and click New Item. 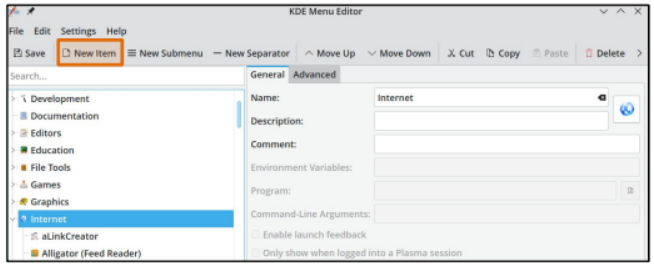 Enter the Item name. 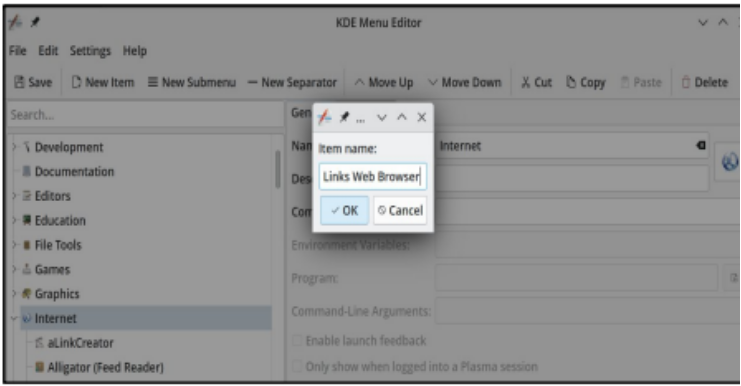 Add the relevant information; ie Name, Description, Comment. 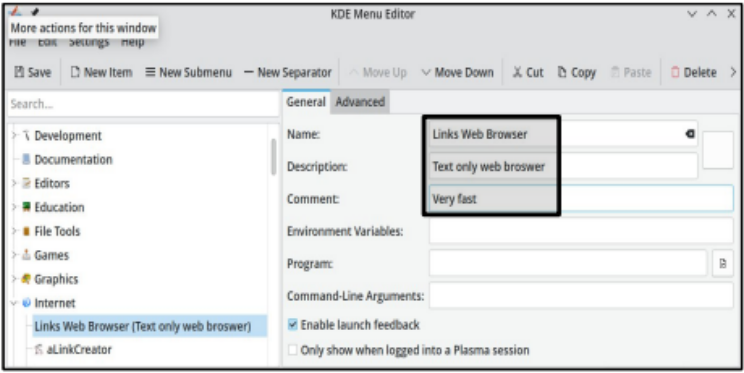 Click the box to choose the correct icon. Choose the relevant category and type a description of the icon you want to use, choose the icon, then click save. 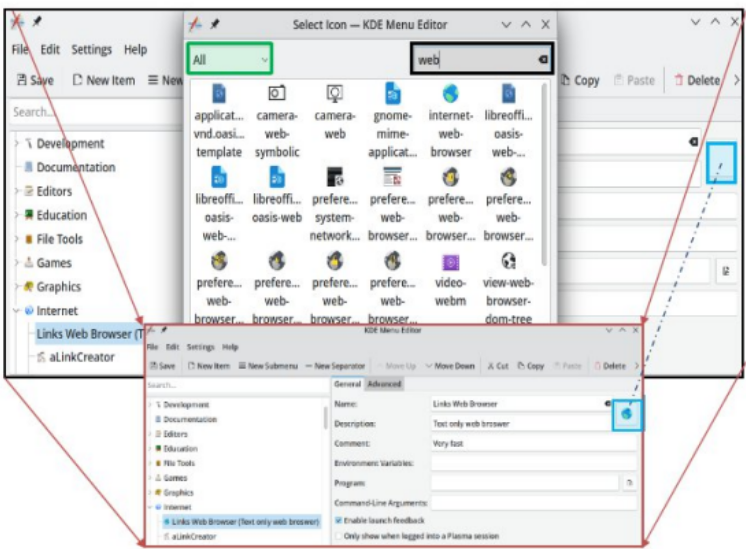 Select Open file dialog. Navigate to /usr/bin and type the name of the program you want to use, in the Name field, and click Open. 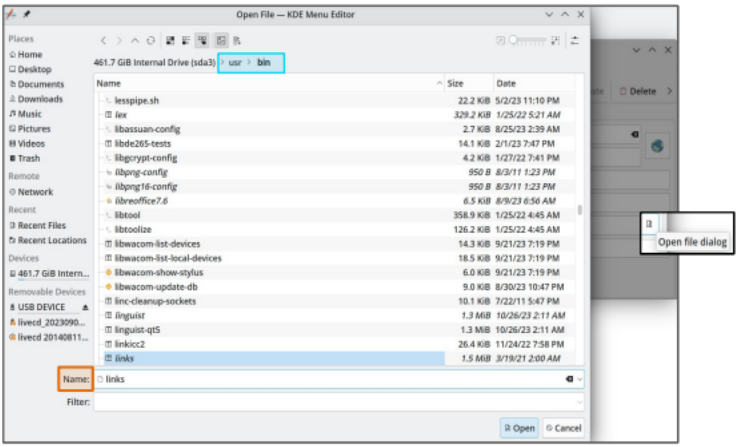 Open the Advanced tab, and check Run in terminal. 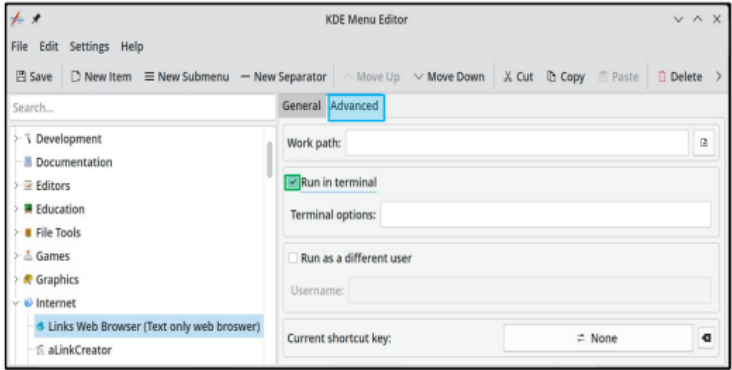 IMPORTANT: Do not try adding the shell launcher from the quick launch, since doing so will break the specific file association. 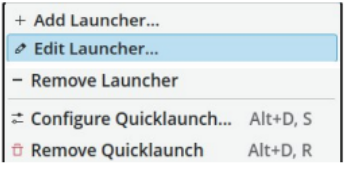 You should end up with an end result similar to these screenshots below: 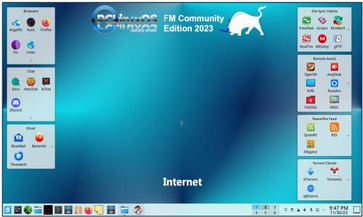 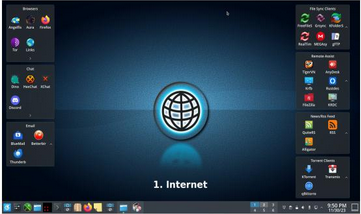 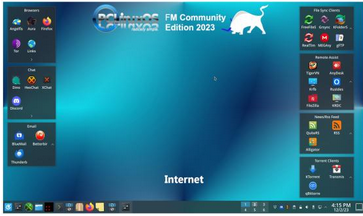 That's all! If you have any questions, reach out. I'm happy to help. Email me at yourfriendisaac@pclosmail.com |