| Previous
Page |
PCLinuxOS
Magazine |
PCLinuxOS |
Article List |
Disclaimer |
Next Page |
Inkscape Tutorial: Create A Rose |
|
by Meemaw This tutorial is really fun, and you end up with a pretty clipart rose.  Draw a simple circle for the top of the flower.  Use the Spiral tool to draw a spiral within the circle. You may have to change the settings a bit. I changed Turns to 2. You can always draw it outside and drag it into the circle. The outer end of the curve needs to be on the circle somewhere.  Select the circle and spiral and flatten them a bit. While they're still selected, click on Path > Object to Path to convert them. 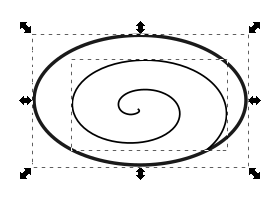 To add character to our rose, let's use tapered lines. The first step is to draw a flat ellipse somewhere on your page, then copy it to your clipboard. Open the Path > Path Effect Editor. Select the spiral, add a Pattern Along Path effect, and then click Paste path (the clipboard) for the pattern source. Since the ellipse was copied to the clipboard, its shape will now be stretched along the spiral. 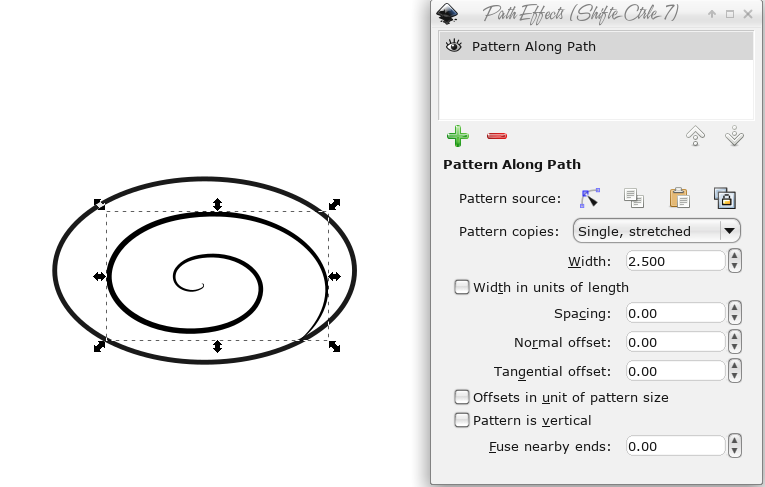 Adjusting the stroke width to 6 will result in this: 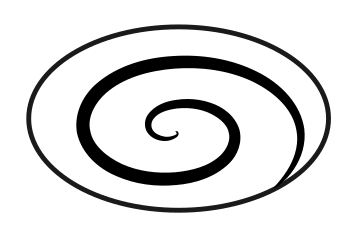 Now let's do the rest of the flower. Using the Pencil tool, with the shape changed to Triangle Out, draw a triangle shape. 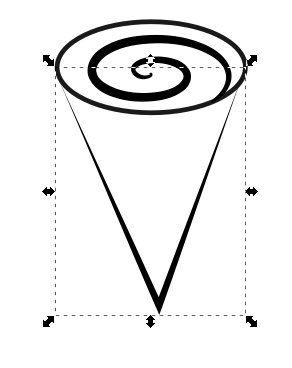 Next, click on the Nodes tool and move the sides so they are rounded. 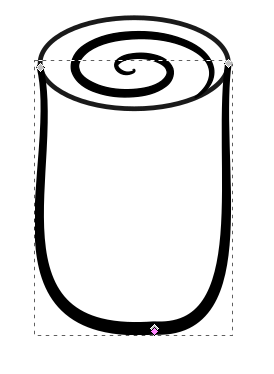 We want a red rose, don't we? However, you'll notice that you can't fill this shape since it isn't closed. So, duplicate the tapered line, click on Path > Remove Path Effect, and then change the color of your new section to red. 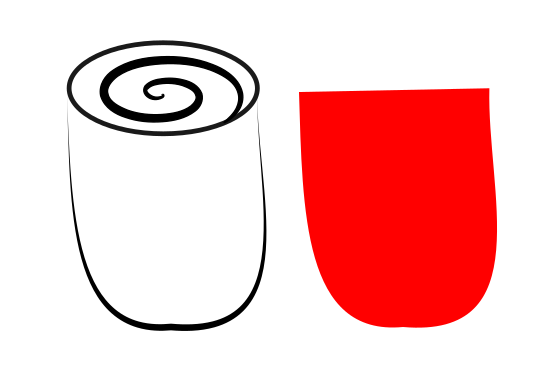 Move the colored section behind the tapered line, and change the fill on the top circle to red as well. 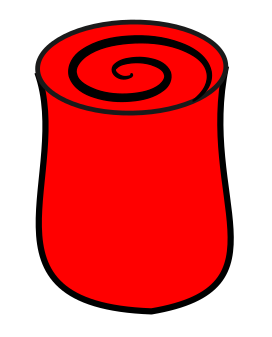 Before I finish with the flower itself, I want to add some detail. With the swirl in the center ending at the bottom right side of the top, that's naturally where the petal edge should be, so I will use the pencil tool again to add a line on top of the flower that imitates the edge of the petal. To easily move the flower, select all and group the parts. 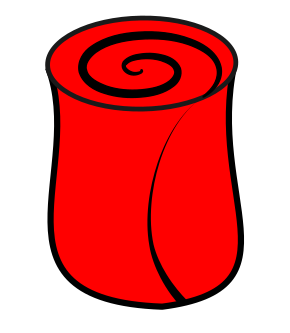 To finish the flower, we need to draw the stem and some leaves. Using the Pen tool with a Triangle In shape, draw a very slightly curved line. 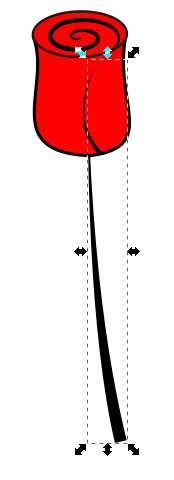 The leaves are pretty easy. Use the Pencil tool with a Triangle In shape and draw a couple of freehand lines. Increase the Smoothing until you get the result you want. Mine was 50. Draw another line down the middle for detail. 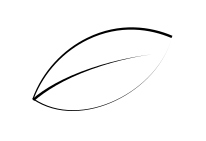 To color the leaf, do the same thing as you did with the flower - create a copy and click on Path > Remove Path Effect and change the fill to green. Place the green section under the outline section. You can make as many leaves as you want by grouping the original (if you haven't already), duplicating it, flipping it horizontally and placing the copies on the stem. You can also change the size or rotate them to get the effect you want.  We're finished! That was fun! If you want to change the background that's up to you. Save and export your rose in whatever image format you want. I made several for a Valentine's Day bouquet.  |