
| Previous
Page |
PCLinuxOS
Magazine |
PCLinuxOS |
Article List |
Disclaimer |
Next Page |
Inkscape Tutorial: Draw A Cartoon Turkey |
|
by Meemaw I found a fun tutorial the other day, and since Thanksgiving is coming up soon for many of us, I thought it would be fun to do a turkey. I'm sure you have done something this easy already, but we'll use some of the skills we've learned over the years. Open Inkscape and a new canvas, and start by creating a couple of circles. Make the fill brown with a darker brown or black stroke. You can create the first circle and then use <CTRL> + D to duplicate it. After you do that, make one of the circles smaller than the other. Open your Align & Distribute window and align the two circles vertically. Now you have your body and head. 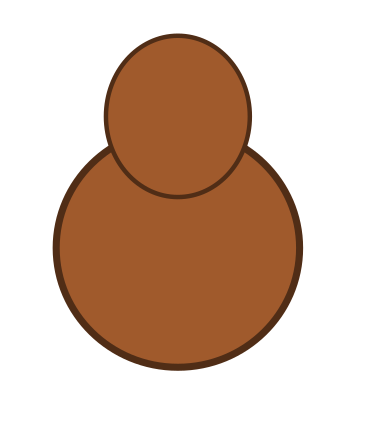 Now draw two circles with white fill and black stroke for eyes. Also, add a black circle to each. Use Align & Distribute to line them up as well.  For the beak, draw a small triangle with a shade of yellow fill and black stroke. I also grabbed the top line and curved it a bit. 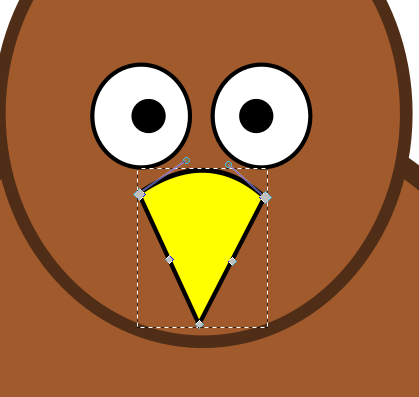 Turkeys have a "beard" or snood under their beaks. I drew this with the Bezier tool, moving the nodes to edit it the way I wanted it, but you could use the Pencil tool as well. 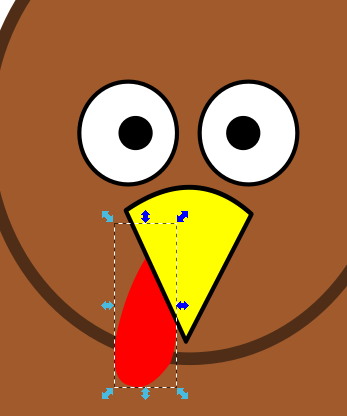 Also, for wings, create a zig-zag with the Bezier tool. Choose Path > Object to Path, and curve the lines until you have 3 smooth curves. Fill and stroke it with the same colors as the body. 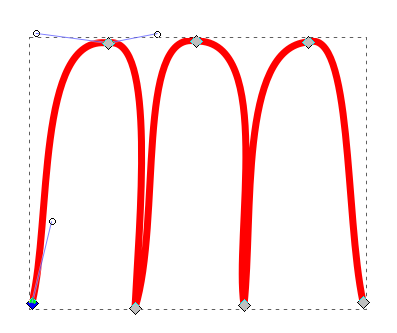 Rotate them around and duplicate once for the other side, then place the wings. 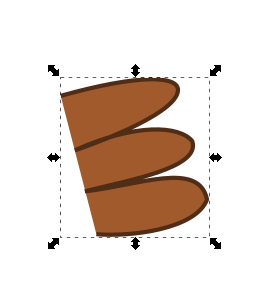 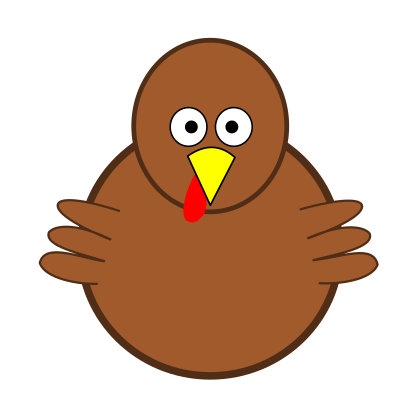 If you have the body and face the way you want them, you could choose them all and Group them (or not), but be sure and save your work. Now let's get busy on the feathers. To create the feather shape, start with a long oval. When you get it drawn, choose Path > Object to Path. Now use the Nodes tool again to add a couple of nodes to one end so we can make it a bit different. For the finishing touch, use the Pen tool or Bezier tool to draw a simple line down the middle of the feather. I made mine a shade darker than the feather color. Group these two when you're finished, and also move the point of rotation to the right side of the feather. 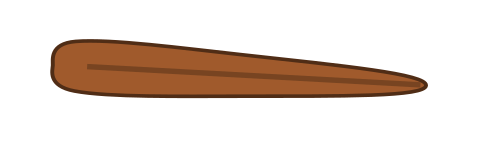
With the feather group selected, we're going to Edit > Clone > Create Tiled Clones.
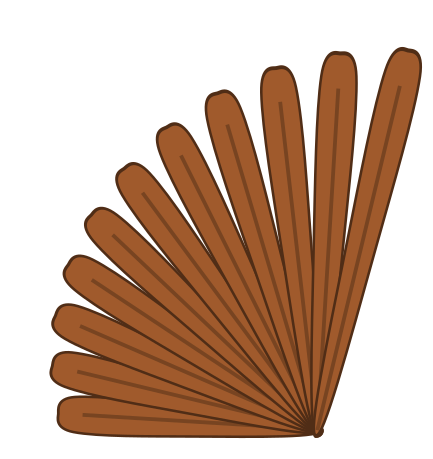 Now, select the bunch of feathers, and group them. Duplicate the group and flip the duplicate horizontally. You can do this as many times as you need to, in order to make the feathers as full as you want. I think I made extra, but I like the result. You will have to rotate them and line them up in the center, then position them behind the body. For the feet, simply use the Pen tool and draw a few lines to make feet. Group them and duplicate, then flip the duplicate horizontally. Position them at the bottom. We need to do some shading to finish. Draw a couple of circles, or ungroup and duplicate one of the ones you made for the head or body. I made one just a little darker than the turkey color. We need a circular wedge to use for shading, so position them as shown below. Select both of the circles choose Path > Difference. 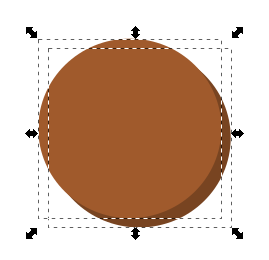 The shape you'll get is a wedge that can fit at the bottom right of the face. Give it an Opacity of about 50%. Make sure the beak and snood are brought in front of the shadow. 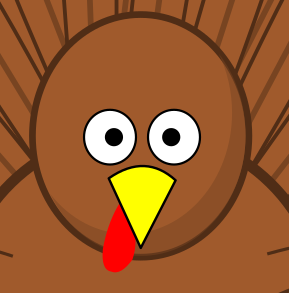 Do the same to the body. You can also add a drop shadow to the grouped, finished turkey. 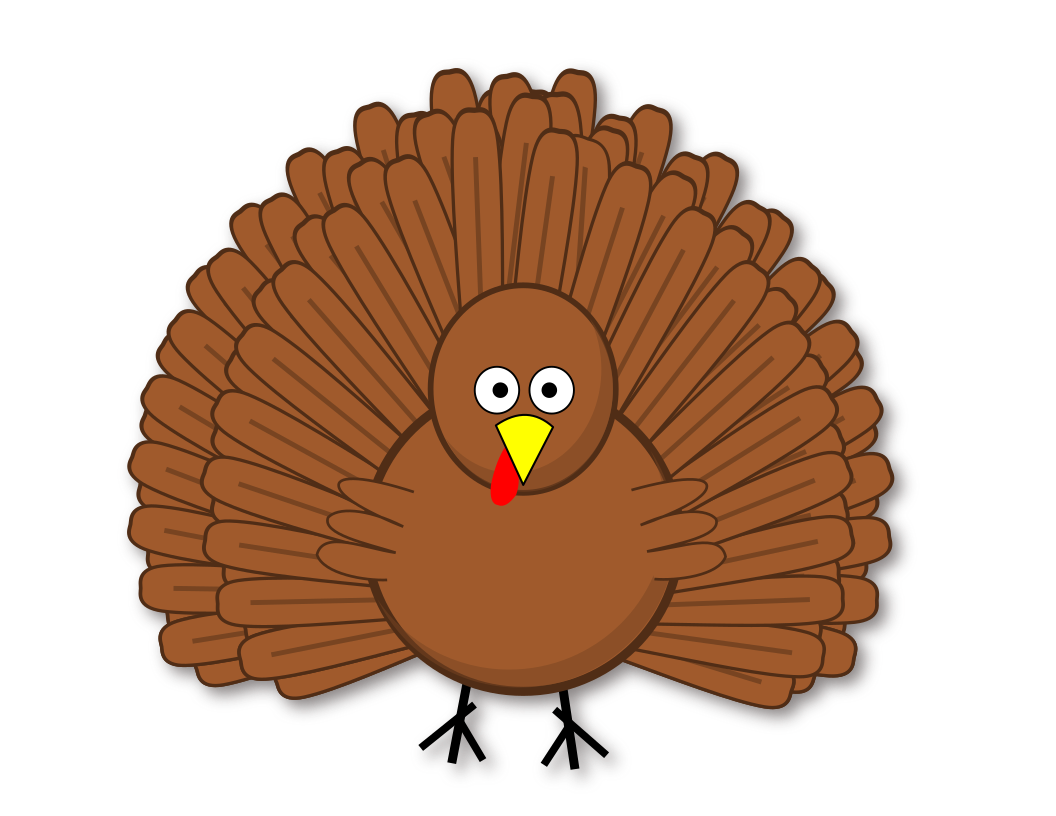 If you want to, you can add a background. I hope you like the way yours turned out. 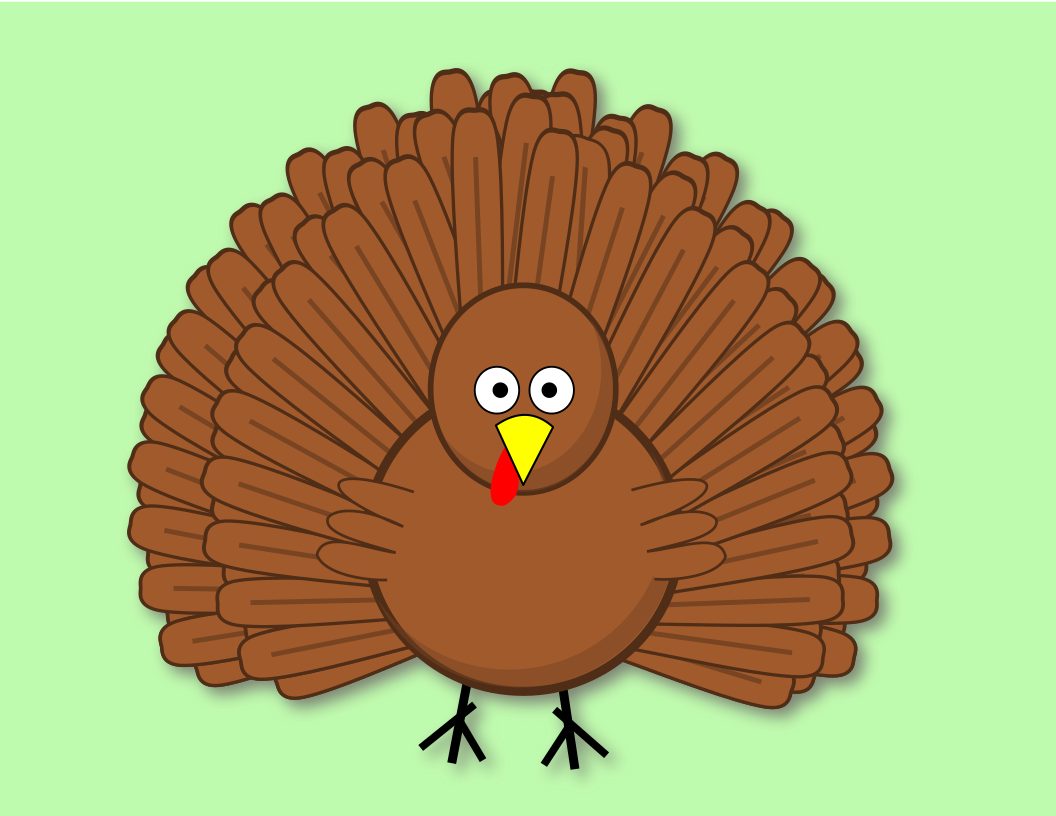 |


