| Previous
Page |
PCLinuxOS
Magazine |
PCLinuxOS |
Article List |
Disclaimer |
Next Page |
GIMP Tutorial: Make A Folded Map |
|
By Meemaw 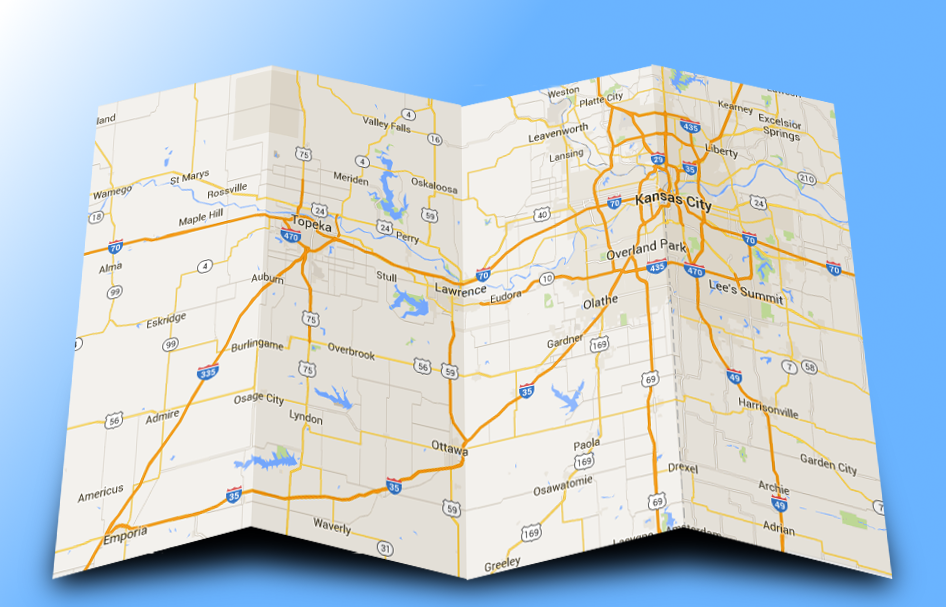 I have signed on to the Gimp Chat forum. It is a fun place where everyone shows their Gimp creations and help each other learn new things. A user named alc59 posted a tutorial for this project. I took a screenshot of a Google map of Kansas City and used it for this tutorial. I was surprised how easy it turned out to be. This is the map I used to start: 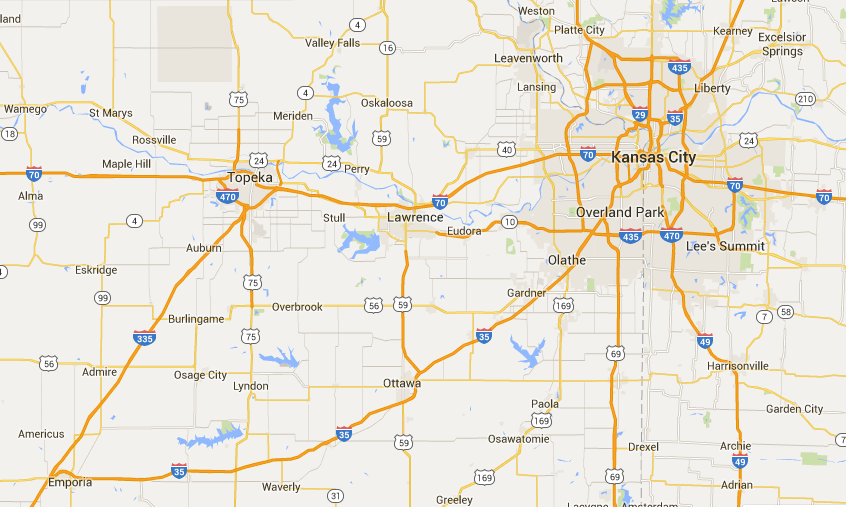 Let's start by giving ourselves more room in the image. Choose Image > Canvas Size. I want a 50 pixel border around my map, so I added 100 pixels to each measurement, clicked on Center, then clicked Resize. 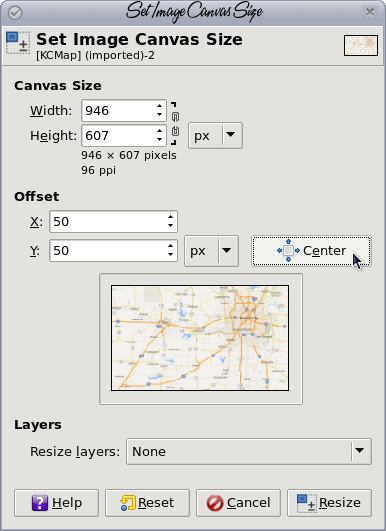 Choose Layer > Layer to Image Size, so when we start changing things the changes will show up correctly. Now let's put some guides in where we want our map folds. From the left ruler, click and drag three guides over your map to divide it into fourths.  Using your rectangle select tool, select the first section of your map, then click on the Shear tool, then click back in the selection. Give the Y magnitude a setting of -50, then click Shear. Anchor the layer, then select the third section and do the same thing. 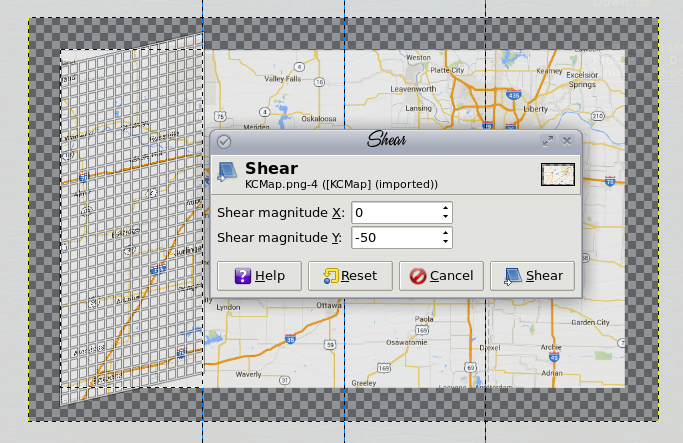 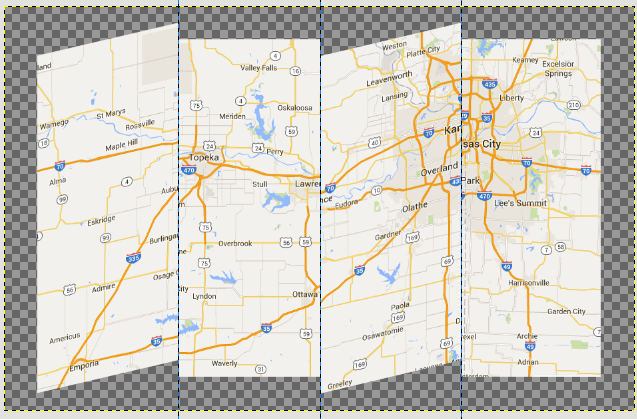 Selecting the second section, apply the value 50 (positive this time). While you have the section selected, choose Color > Hue and Saturation and change the Lightness to about -20 or so, whatever looks good to you, enough to make it look like it's a bit shadowed. Anchor the layer. Do the same steps with the fourth section. 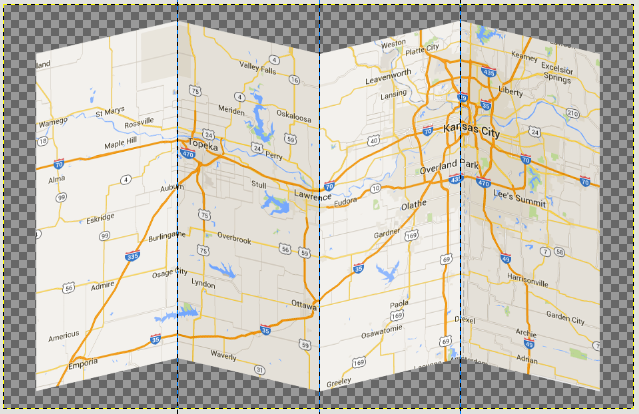 You can move your guides back now as we no longer need them. Now we will use the perspective tool to make our map look more realistic. 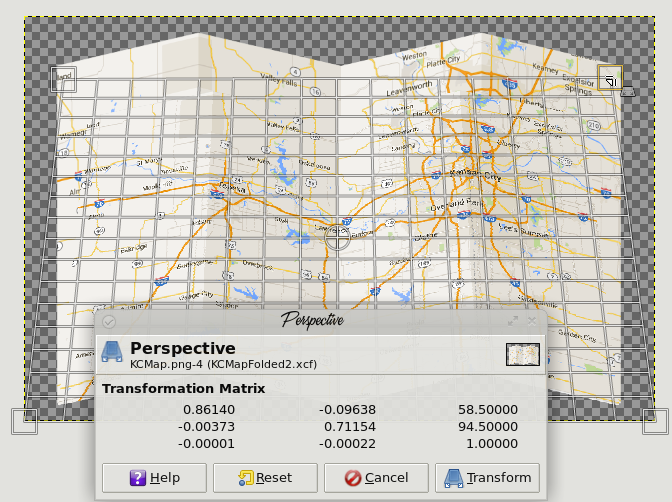 Choose the perspective tool and move the top of your map down and inward so it looks more like it's lying on a surface.  Choose Layer > Layer to Image size. Duplicate this layer and move it under the main map layer. Right click on the layer copy and choose Alpha to selection, then bucket fill it with black. You might have to set your Threshold up quite a bit on your bucket fill tool, but it will work. Also, create a new, transparent layer and put it under both of your other layers. We will put a shadow under this map. Choosing the black layer, click on your Scale tool and shorten that layer down so it's only about ¼ the height of the map layer. 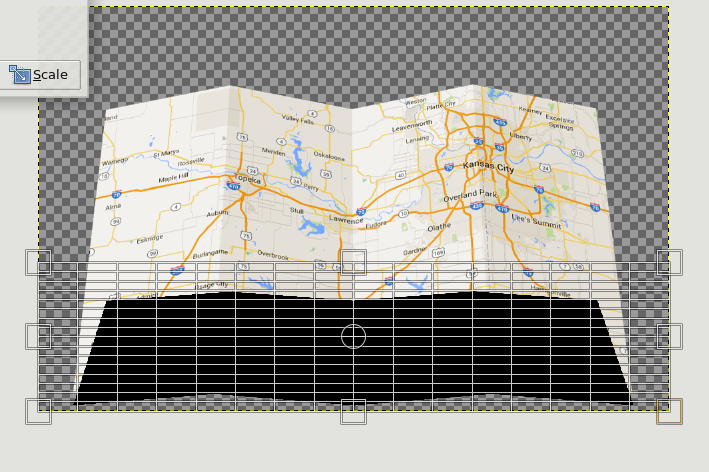 Choose Layer > Layer to Image size for this layer as well. For the shadow, we want to choose Blur > Gaussian Blur and set it about 35. Now it has a shadow. 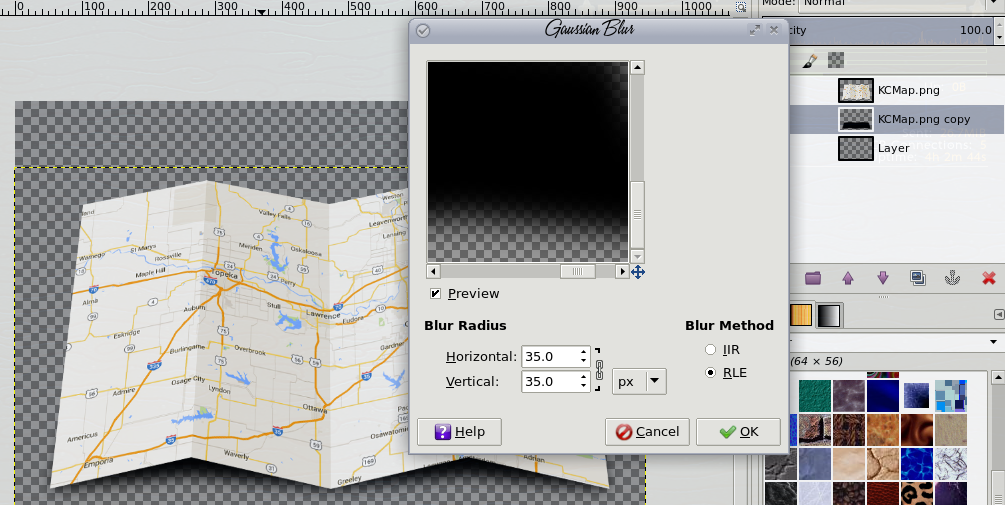 Now, choose the bottom, transparent layer and use the Gradient tool, choosing a Linear BG to FG gradient. On mine, I changed the foreground color to blue, but you could make it any color you wish. This time I'll use a beige. Start in the upper left with your gradient so it looks like the light is coming from there. That's why we made the sections facing away from the light a little darker. The result is below.  I had fun with this one! You don't have to use a map, either. You can use any picture you desire, or even make the folds different - horizontal, maybe, or only two folds. Your only limit is your imagination. |