| Previous
Page |
PCLinuxOS
Magazine |
PCLinuxOS |
Article List |
Disclaimer |
Next Page |
GIMP Tutorial: Make An Image Seem To Fly Apart |
by Meemaw
 This is an oldie, but we haven’t done it, so I thought it would be fun. I saw it on LittleWebHut.com. It makes your image look like pieces of it are flying away. Load your image and add an Alpha Channel. Your image needs to have a transparent background, so if it has anything else, you’ll need to remove the background. We did an article in May, 2021, and another in July, 2021 about removing backgrounds, so feel free to use one of them. I already did this to my image… 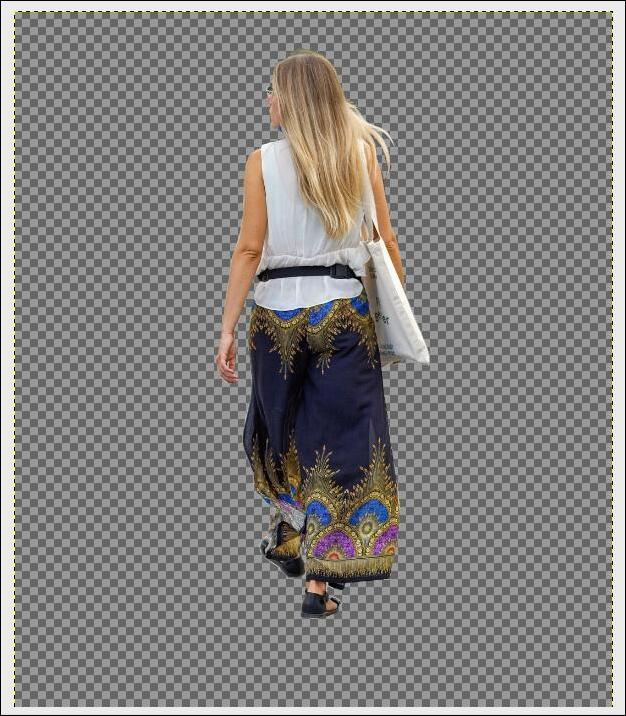 Add a separate white background & move that layer to the bottom. Duplicate your image, then select the duplicate. Right-clicking on that layer, choose Alpha to selection. This will outline the image.
Select the Resize tool 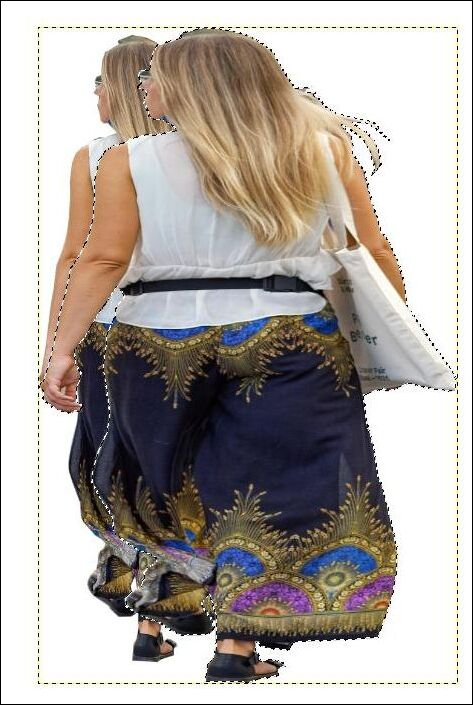 Select the resized layer copy, and add layer mask by right-clicking in the layers dialog and choosing Add Layer Mask. When the window comes up, choose Black (full transparency), and you’ll see the layer copy disappear, and a black square appear in the layers dialog. 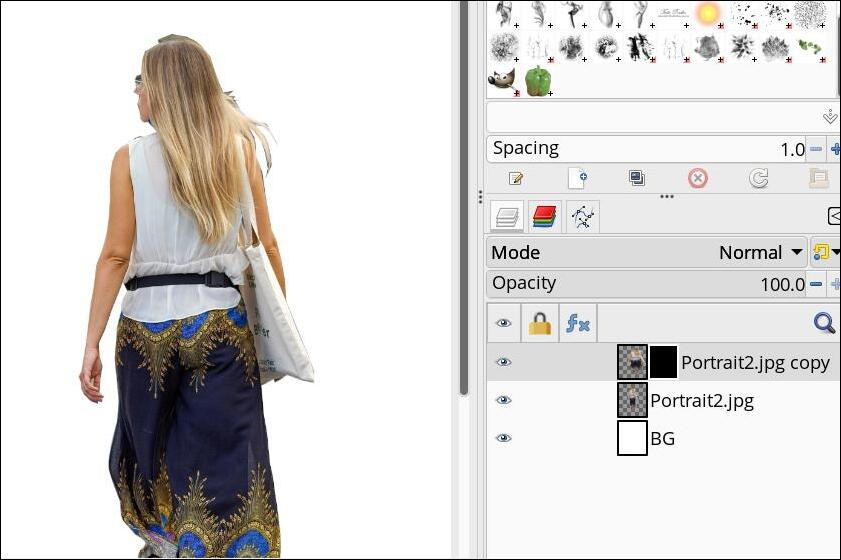 Select the original layer and the eraser tool. Choose the vine brush. Set the Opacity at 100%. The size of the brush depends on the size of your image (I used size 75). All items at the bottom of tool options should be unchecked. 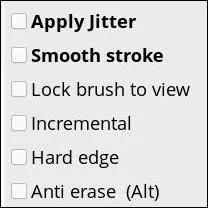 Using the eraser tool, click over the original image to show pieces that have “flown”. 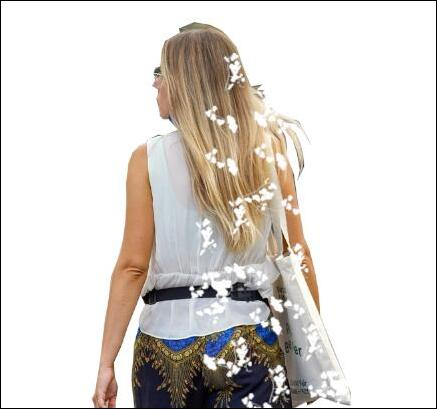 Now we’re going to add the pieces that have “flown”. Select the layer mask by clicking on the black square. It should now have a white outline. Make sure your background color is white. Using the same eraser tool, start clicking on the layer. It will change the image copy in the places you clicked to translucent instead of transparent, so you are bringing out only what you want to see. If you notice some little lines next to the items you placed, it’s because the vine brush creates leaves with stems. If you want to get rid of them, choose Colors > Threshold. This works on the layer mask. Let’s add some blur to those pieces, since they are flying… select Filters > Blur > Gaussian Blur. I set mine at 1.50. 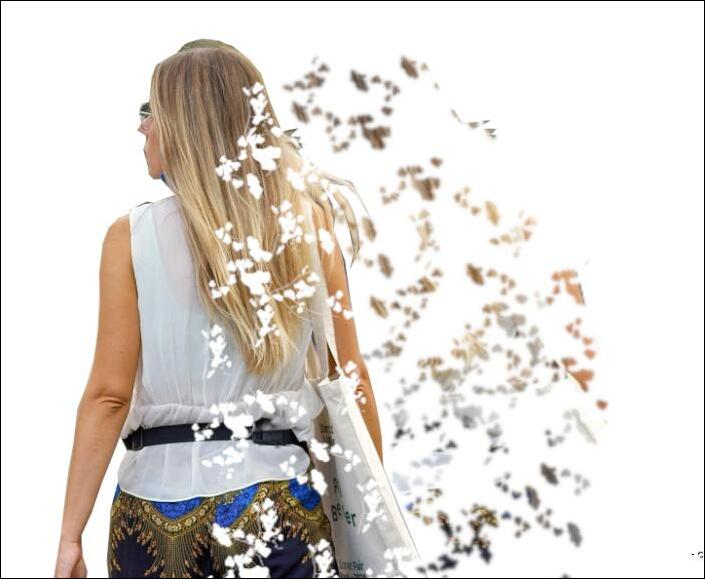 Add a wind effect to the original image using Filters > Distorts > Wind. Since the pieces are on the right side, my direction is right, and my strength is 6. Play with the settings until they look the way you want. 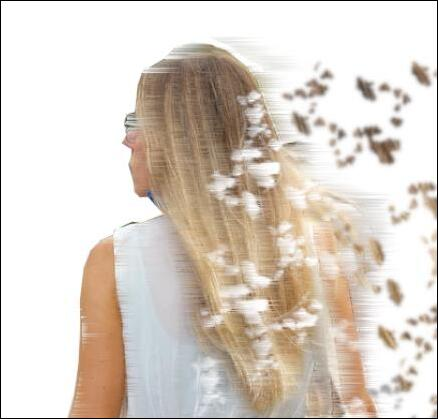 Now you have a photo that looks like some pieces are flying out to the right. |
 . Resize the layer copy taller and wider. The resize will be on a floating selection. Anchor the floating selection by clicking on the anchor at the bottom of the layers dialog. In the image below, you can see both layers.