| Previous
Page |
PCLinuxOS
Magazine |
PCLinuxOS |
Article List |
Disclaimer |
Next Page |
GIMP Tutorial: Playing With G'MIC |
|
by Meemaw
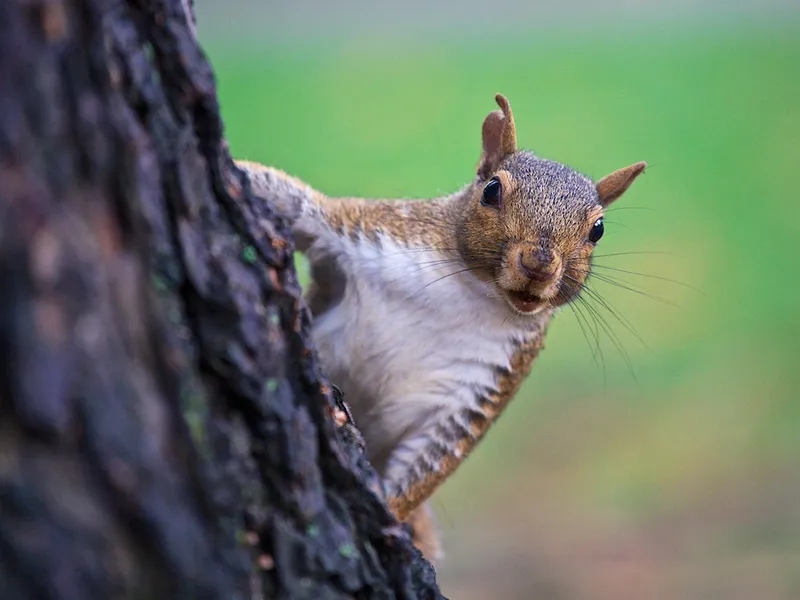
We've done a few things with G'MIC over the years, but not much. If you haven't heard of G'MIC, it's an add-on program for GIMP that has LOADS of different effects. Some are weird things that I probably wouldn't use, but everyone is different, so you might use something I don't think is very useful. Let's spend some time just looking at what G'MIC does. It might take a bit since there are twenty categories and the first TWO have 86 different effects. I'm going to pick out a few that I found. Hopefully the ones I show you are useful for something you are creating. I originally did this article during my lunch break at work, where I have to use Windows (sorry). I came home to find that some of the effects that are in Windows, AREN'T in our version of G'MIC. The first category is Arrays & Tiles, so I'm sure all the effects are going to reflect that. I started with this photo: 
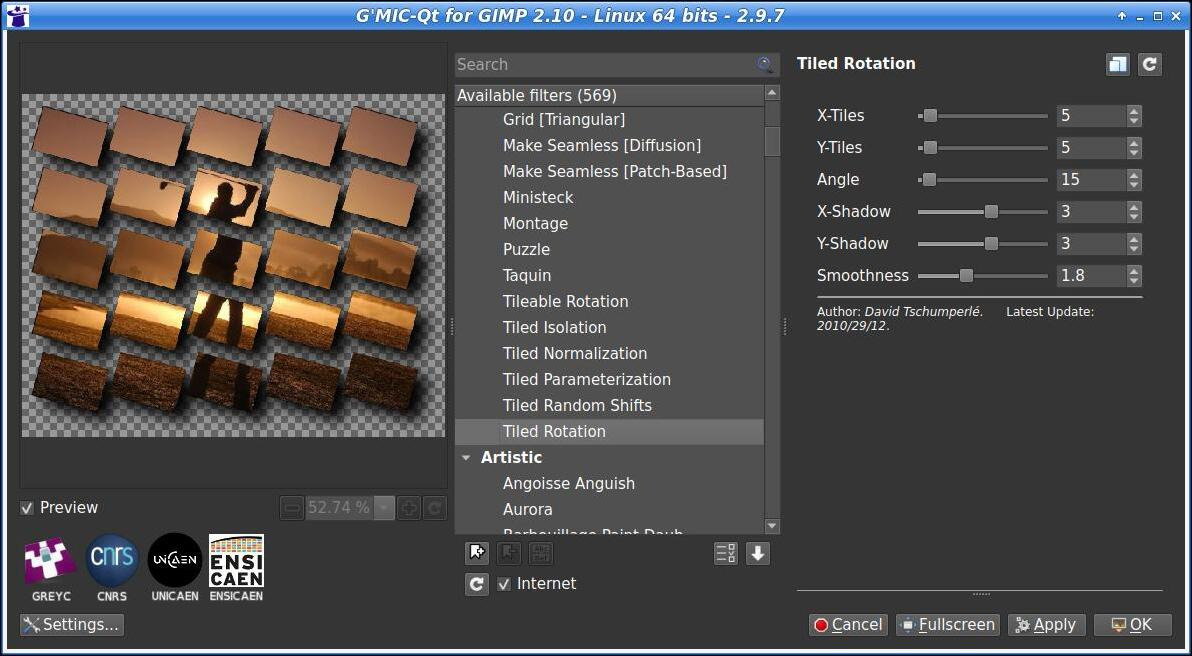
In Arrays & Tiles, we see 28 effects listed. The first one I tried was Tiled Rotation. The nice thing about G'MIC is that a separate window opens when you click Filters > G'MIC-Qt near the bottom of that menu. You can resize it so it shows the effects list, the settings for whatever effect you have chosen, and a preview of the results. I noticed that the layout is different from Windows to Linux, with the Preview being on the right in Windows and on the left in Linux. So, when I choose Tiled Rotation, without adjusting any settings, my G'MIC window looks like this:
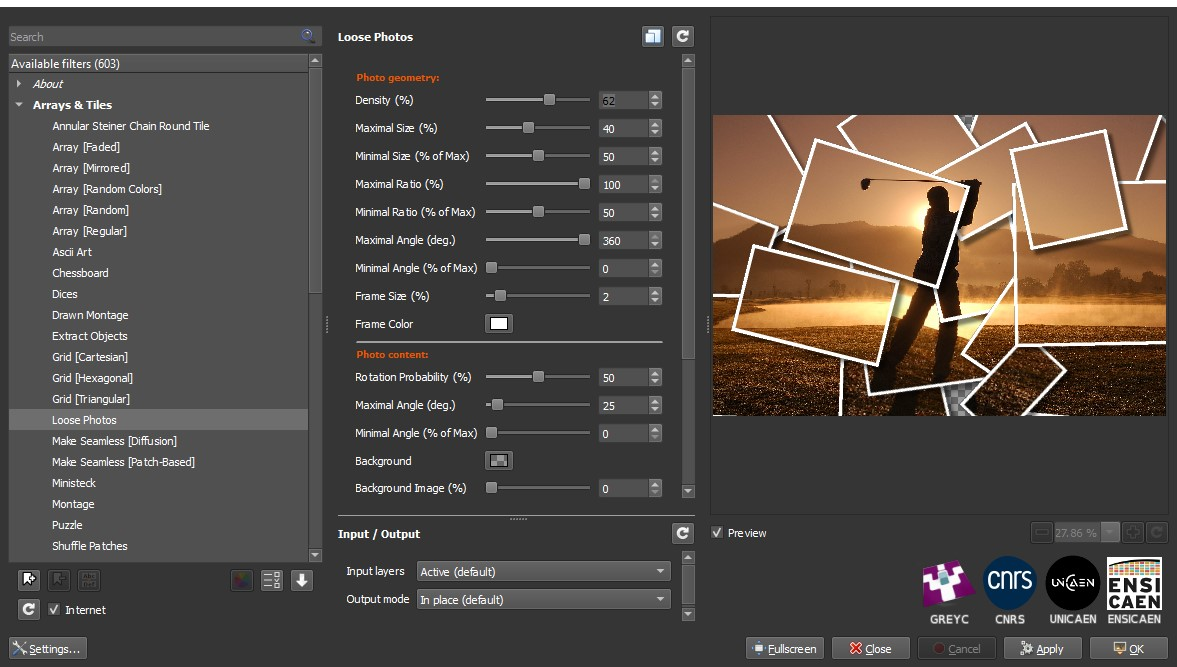
You can change the number of tiles in each direction (X-Tiles and Y-Tiles), amount of rotation, and also the shadow depth. I just used the default. That's a fun effect, and I think I've seen an ad or something that used that. Another cool one is Loose Photos. However, it isn't in our version of G'MIC.
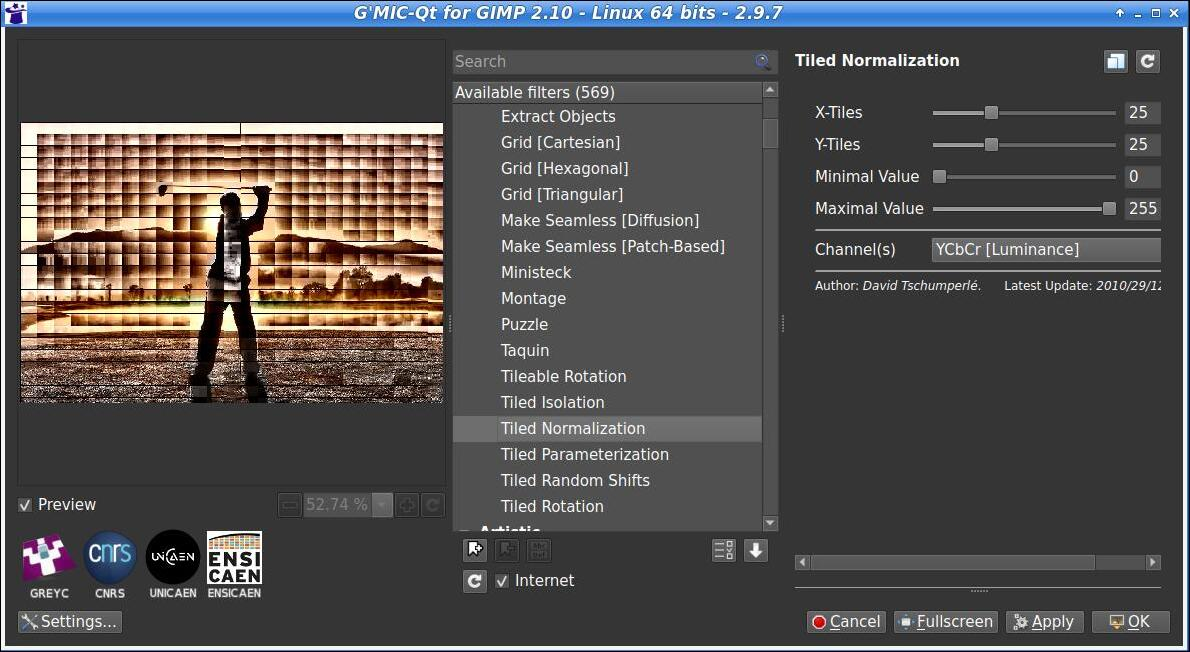
Adjusting the first setting sets the density of the photos. A lower number leaves space between them, and a larger number makes them overlap more, so the background isn't as visible. There are also settings for frame size, frame color, rotation angle, etc. Tiled Normalization is another effect you could try. It's a tiled effect but preserves the subject of the photo. Other tiled effects seem to mask it.
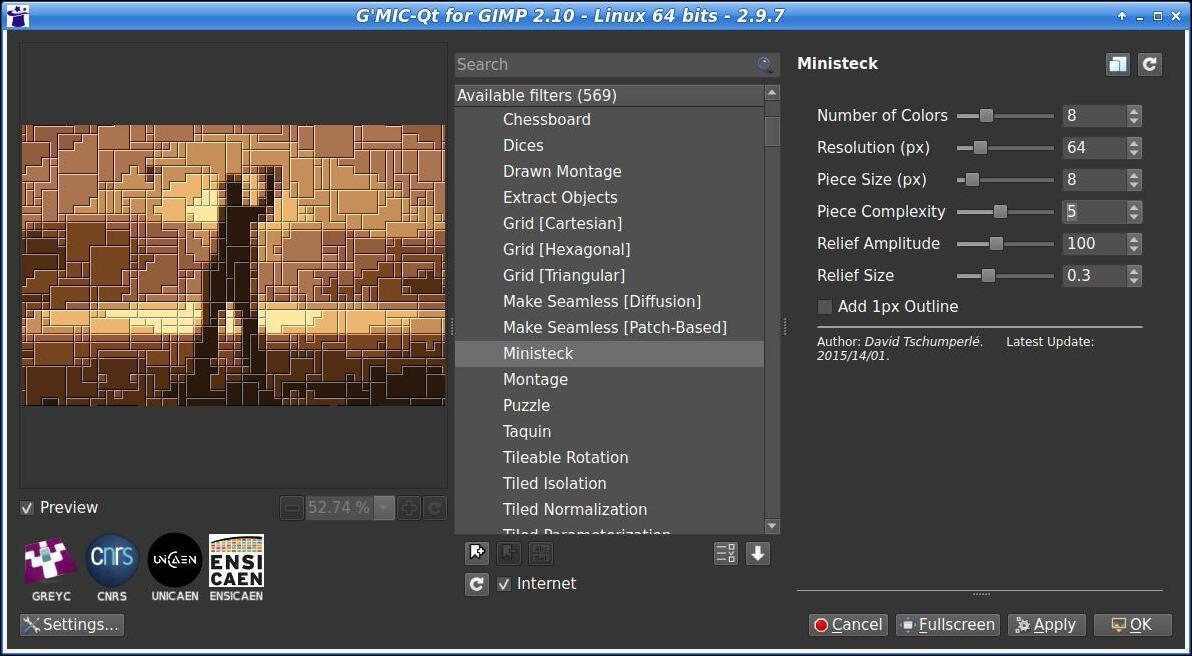
Another one is called Ministeck. It overlays the photo (following its color curves) with many tiny boxes, shaped like rectangles and squares, starting out, but one setting is “complexity” which changes them so they might resemble a set of stairs.
I started wondering what a color photo would look like with some of these effects, so I changed photos, since the one I'm using is nearly monotone with just different shades of brown. The next image I found was a random clipart image I've had for years.
There's a bit more color in this. Let's see what we can do to this little guy. I also went to the second category, called Artistic. One of the effects is called Brushify, which makes it look like it was painted rather than like a photo. ImageSquirrelBrushify
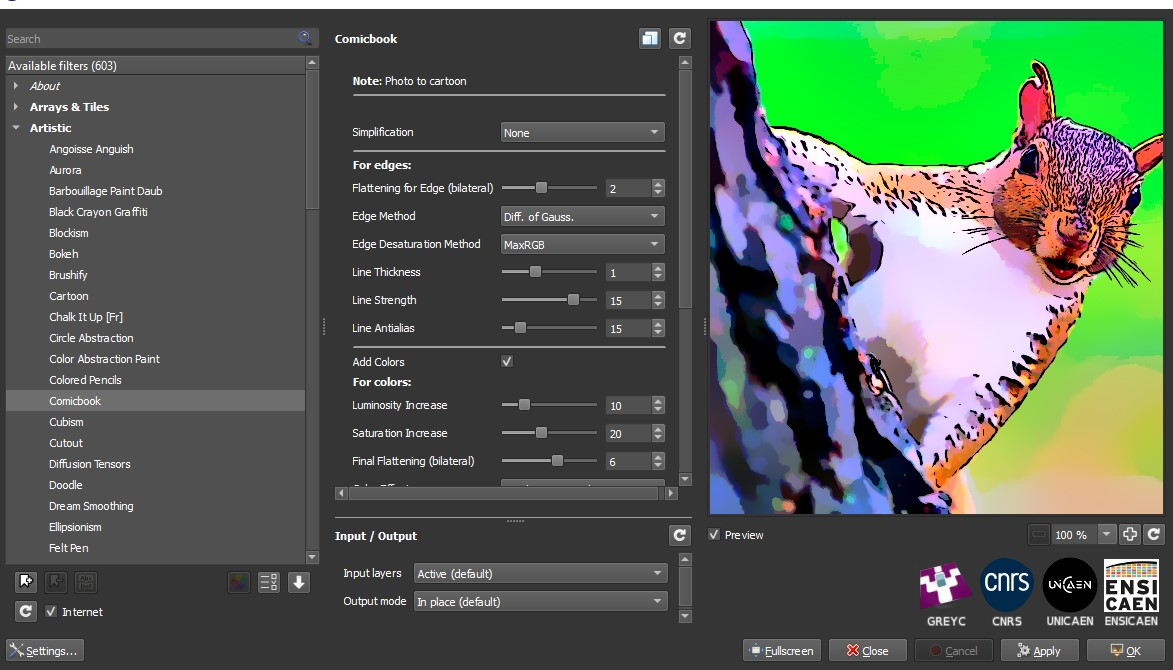
In this one, you will find several different brush shapes, from elliptical to star-shaped, each making a little change to the image's appearance. The default is elliptical, but I changed it to star. Another effect is called Comicbook, which is probably pretty self-explanatory, making your image look like it was drawn for a comic book (shown below). Unfortunately, it isn't in our version of G'MIC. However, there is a similar filter in GIMP. You find it by choosing Filters > Artistic > Cartoon.
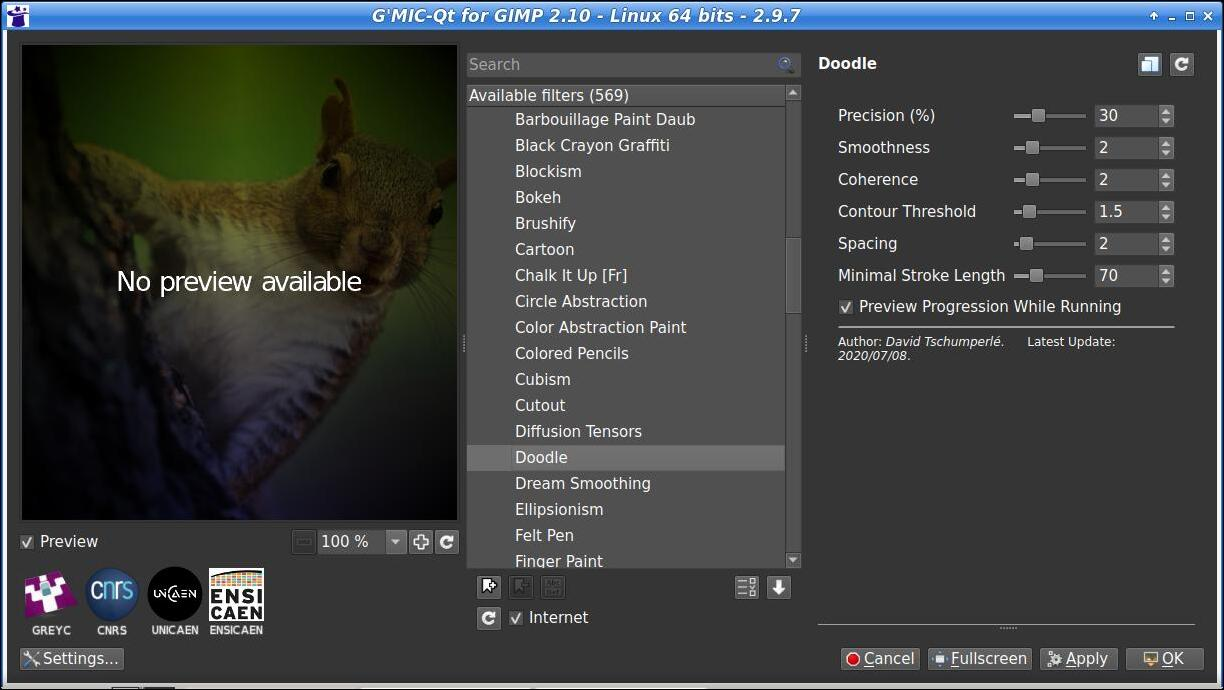
The next one I chose to look at is called Doodle. When I chose it, I was met with this screen (on the left side of the window). No preview available?
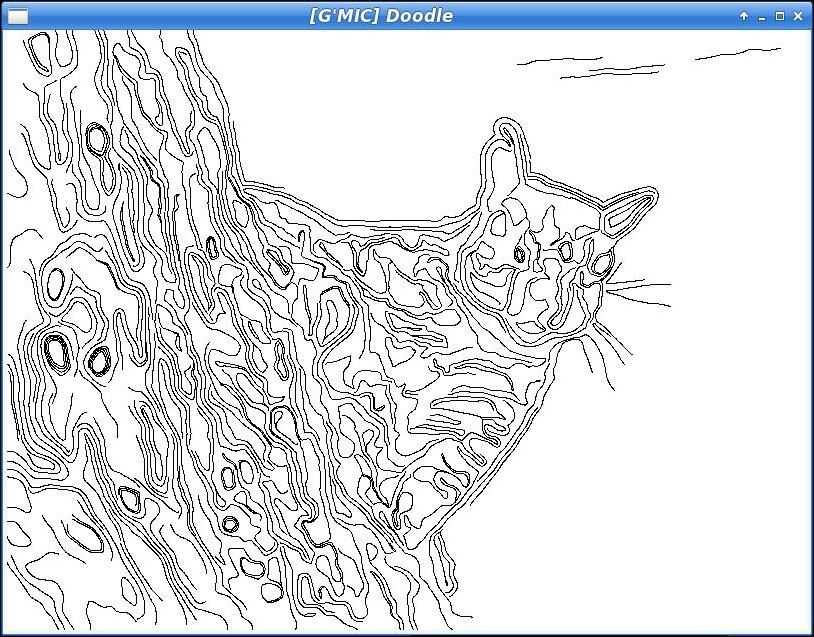
Choosing OK, I saw a separate window pop up, and lines being drawn as I watched! When it was finished, that window closed, and the finished effect opened in the GIMP window I had opened.
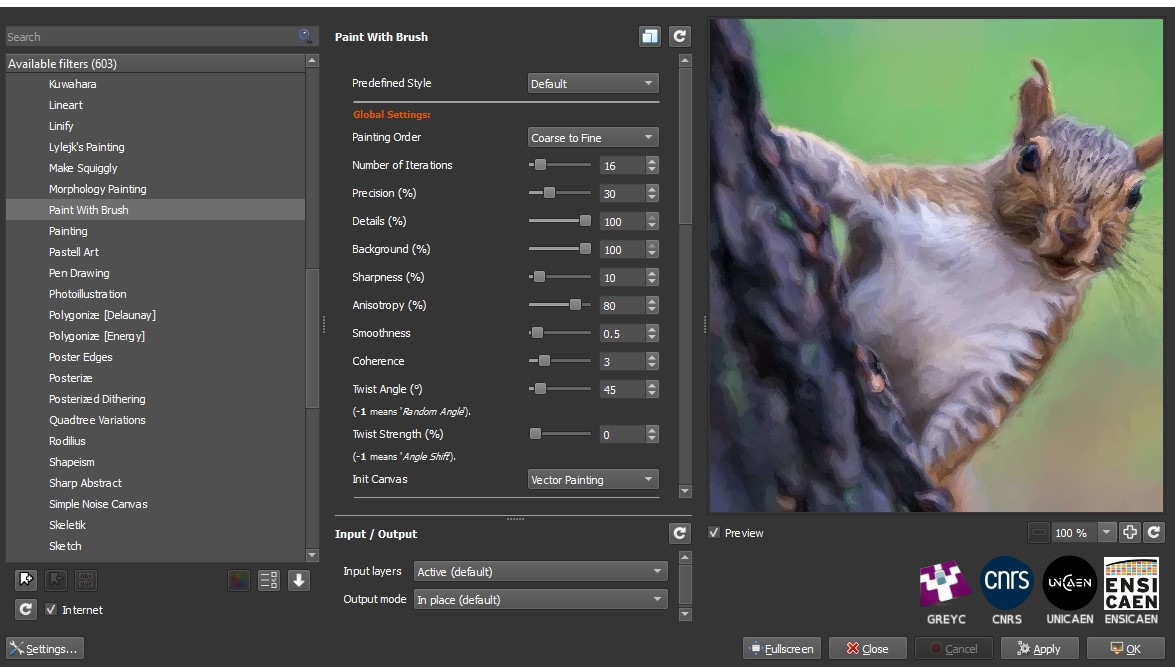
This one's kinda sporadic. I did it three times before it showed up in the GIMP window. Hopefully it's my computer rather than the program. If you decide you don't want that effect, it's very easy to undo it, simply by pressing <CTRL> + Z, the same way you always undo a step in GIMP. We looked at Brushify above, but if you don't want to see so much texture, you might try Paint With Brush. It also gives the impression of being painted, but it's a bit smoother. Unfortunately, it isn't in our version of G'MIC.
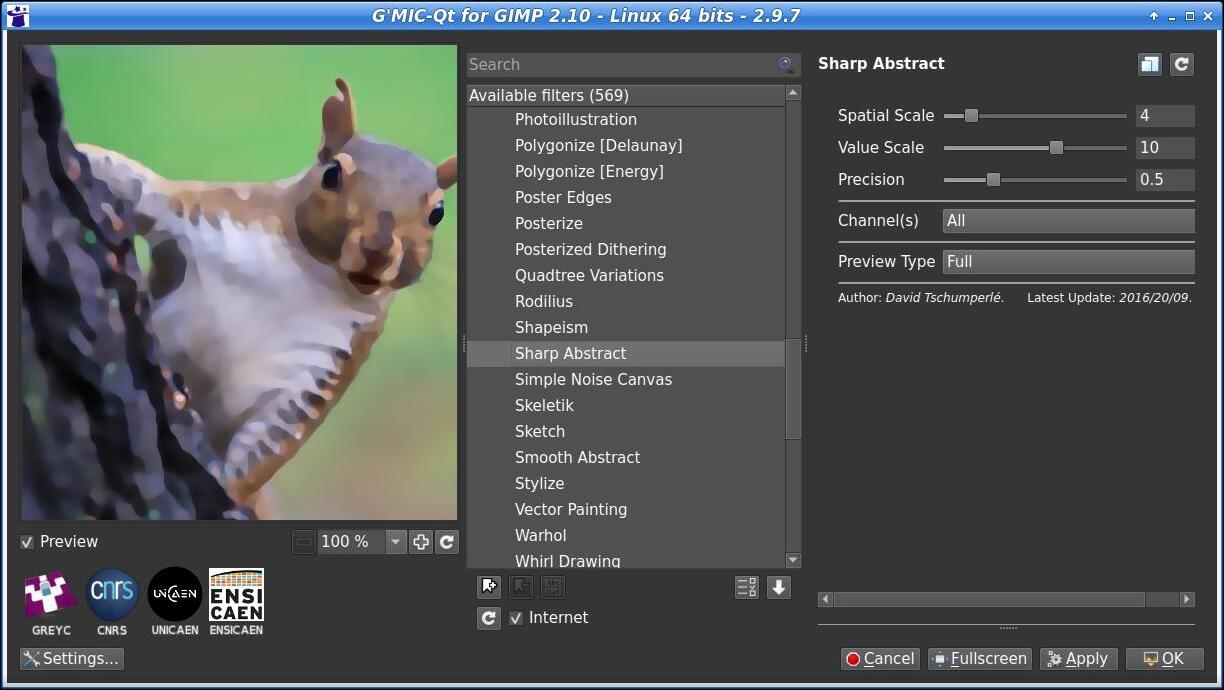
Another one that might work is Sharp Abstract.
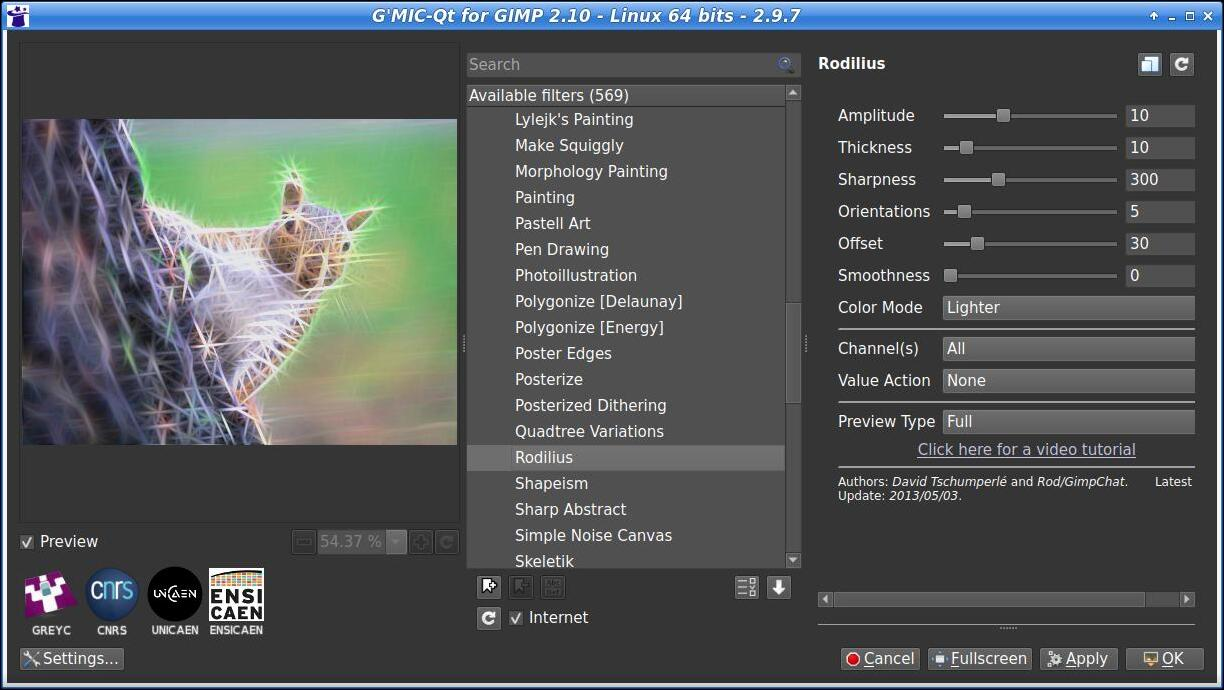
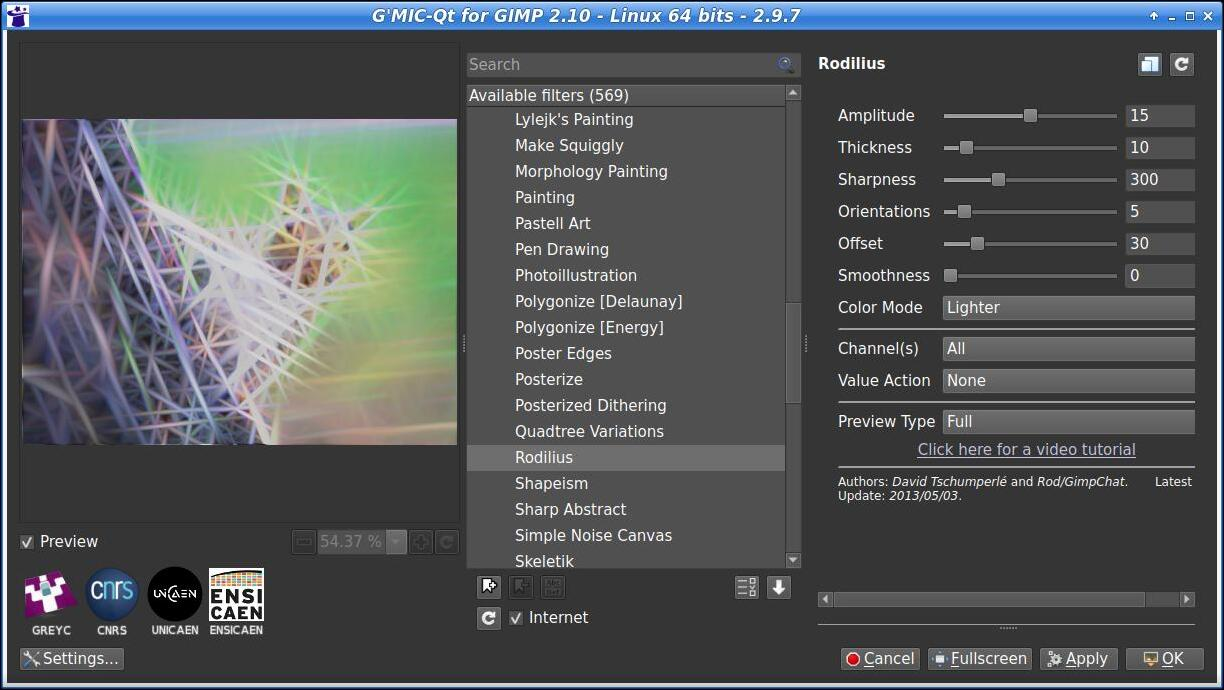
The last two effects are a bit crazier. I think I've shown Rodilius before, but it's always fun to do. Depending on your settings, it can be sorta crazy or really crazy. Rodilius makes your image look like there are reflections or sparks at each curvature in the object. The higher the settings, the further out the “sparks” extend. The default amplitude is 10. In the second image, the amplitude is 15.
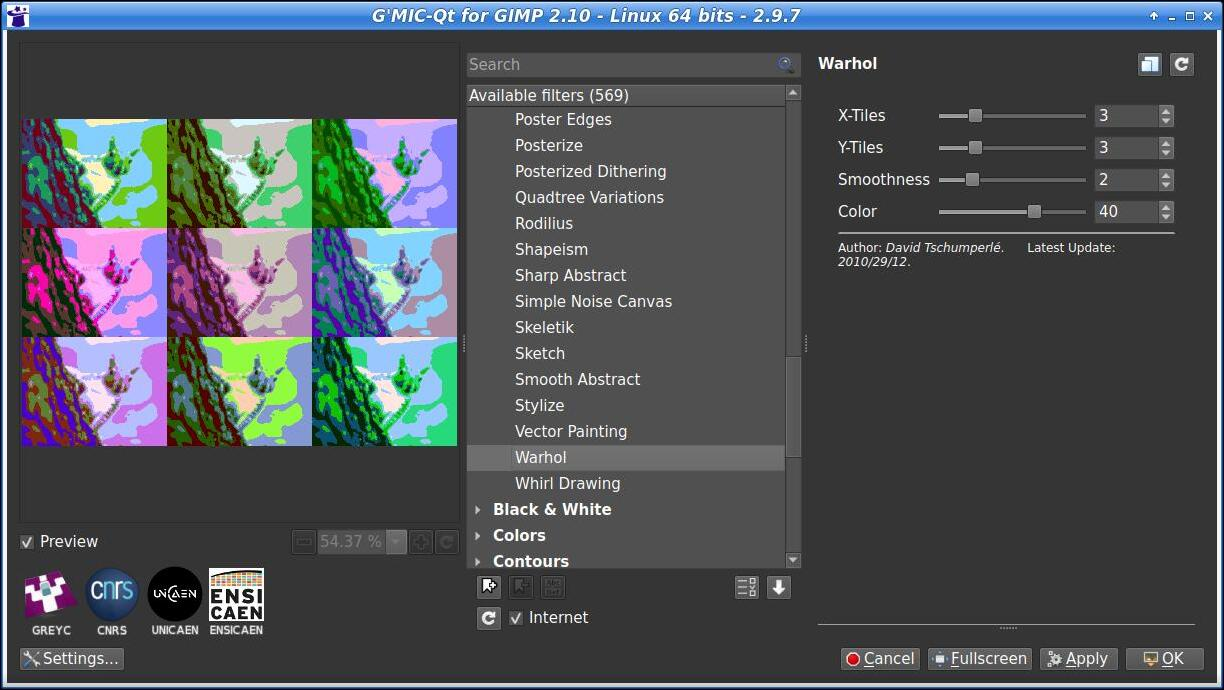
I'm sure with a little experimentation, you can make this look really awesome. In the Artistic sub-category, I see Warhol. Now, I'm old enough to remember Andy Warhol's art, but maybe you aren't. Some of his paintings were several tiles of the same subject (like a face or flowers) using different color schemes. Applying that effect to our squirrel, we get this.
We'll look at G'MIC again at least once. There are many categories that we haven't seen yet. If you have used some of the effects in G'MIC, I'm sure you had fun. |