| Previous
Page |
PCLinuxOS
Magazine |
PCLinuxOS |
Article List |
Disclaimer |
Next Page |
GIMP Tutorial: Create A Smoke Effect |
|
by Meemaw I'm still looking for fun projects to do in GIMP! I came across this video from Logos By Nick on YouTube, and it's a cool effect. The first thing you need is some smoke brushes for GIMP. I downloaded this set from deviantart. You need to sign on in order to download files. This is an .abr file, which means it's a brush set designed for Photoshop, but it will work in GIMP. Place the file in home/yourusername/.config/GIMP/2.10/brushes, and the brushes will show up in GIMP. Open a new document in GIMP. Nick recommends at least 1280 x 1000. Fill it with black. Import the photo you want to use. You could probably use a photo with a background but his didn't, so I removed the background from mine as well. We've done a couple of projects on removing the background from a photo, so I'm pretty sure you know how to do it. Scale it if it is too big. Whatever face you use needs to be close to centered in the page. The next step is to convert your photo to grayscale: Colors > Desaturate > Desaturate. He chose Luminance as the Mode, but use whatever you want to make the photo look best. 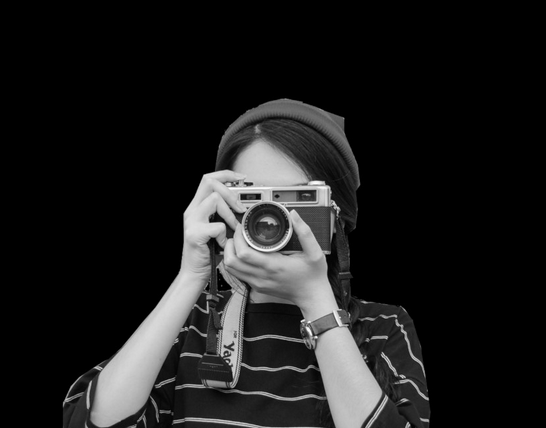 Add a new layer with white fill. Choose the Gradient tool with the FG to BG gradient chosen. Change it to radial gradient as well. You actually want the white in the center, so either change the foreground and background around or reverse your gradient. You want just a hint of dark, so zoom out and drag from the center out way far. 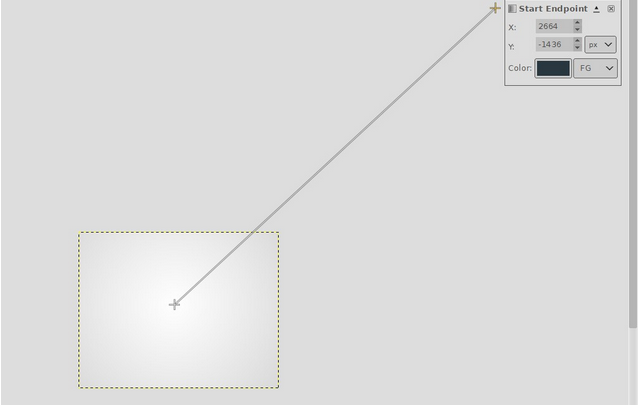 Set your layer opacity down so you can just see the photo on the lower layer. If you can go to 90% and see it, that's fine. I went down to 75%. 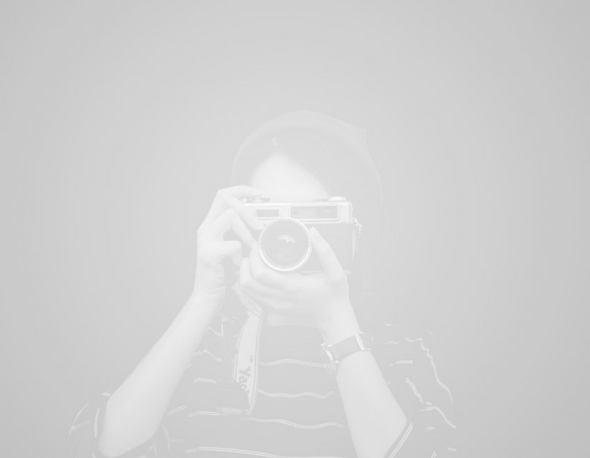 Add a layer mask to the top layer. It needs to be White (full opacity). Now we're going to use the smoke brushes to add a smoky effect to our photo. It will uncover parts of the photo that you want to see. Make your brush black, and choose one from the Brushes dialog. This set has seven brushes., and you should use more than one and arrange them around your photo to vary your effect. Each one you use will uncover part of your photo. 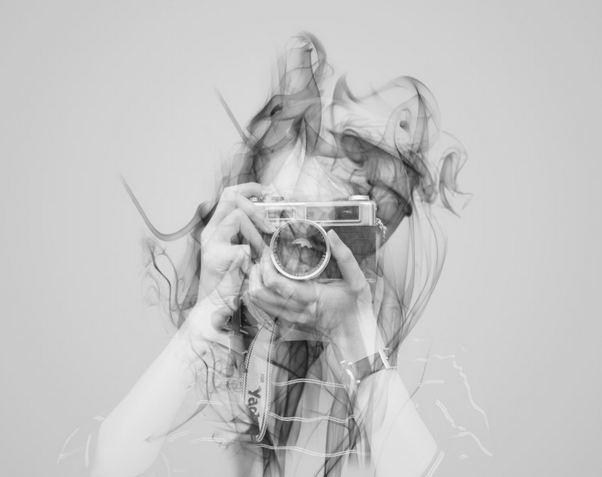 If you have all the smoke you think you need, you can use a very soft brush to uncover more if you want - if you uncover too much, you can change the brush color to white and use another smoke brush. Play with the brushes to get the result you want. I used the soft brush to emphasize the camera. 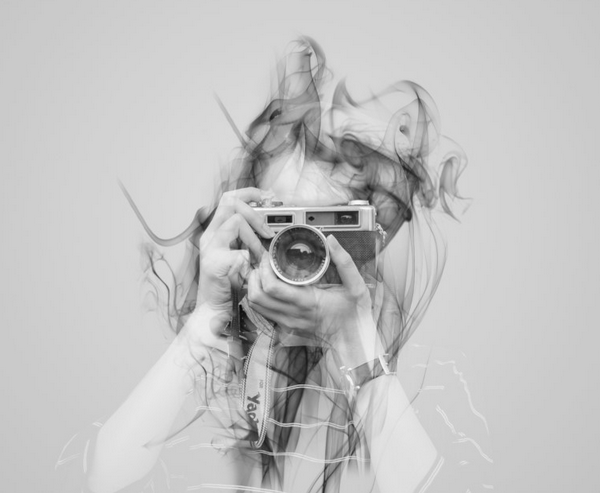 Cool! Now, just in case you want to use this on something else, you can change the background to transparent using these steps: If you put your photo on a separate layer from your black background, you need to right click on your photo layer and choose Merge Down. On your smoke layer, right click the layer mask and choose Apply Layer Mask. On your smoke layer, choose Alpha to Selection, then delete the layer. Now, simply press the Delete key. The background will be gone and you'll have your smoke effect on a transparent background. You can crop it, if you want, and export it as a png (or any file format that handles transparency). 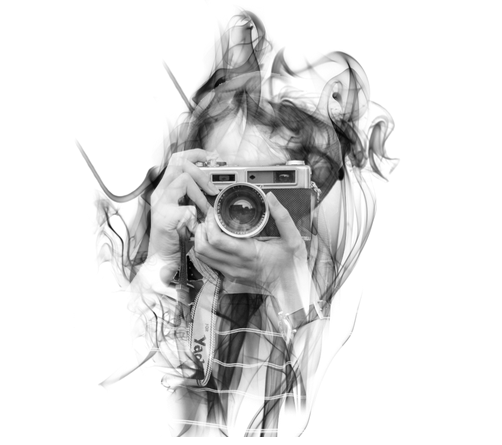 |