| Previous
Page |
PCLinuxOS
Magazine |
PCLinuxOS |
Article List |
Disclaimer |
Next Page |
Inkscape Tutorial: Create A Landscape |
|
by Meemaw I saw another Inkscape tutorial I thought was really neat, so I'm going to share it. This one is from Davies Media Design, and it gives instructions for a landscape which fades into the distance. He also outlines a way to get a palette of complimentary colors, if you are having trouble choosing them in Inkscape. You can go to the website https://coolors.co which is totally a color palette selector. 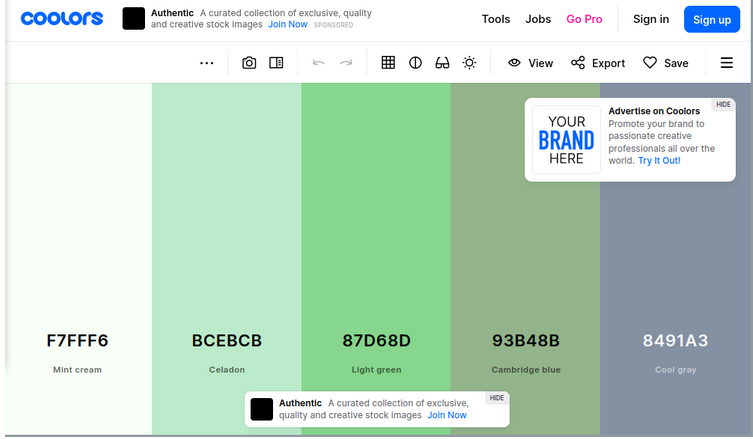 To choose a color you want to use, press the spacebar until you see one you want to use, then hover over it with your mouse and lock it. Hit the spacebar again and all the colors you see now will blend with the first. Keep choosing and locking colors until you have what you want, then export it as an Inkscape .svg file. You can then open it in Inkscape and use the colors. Here is my palette: 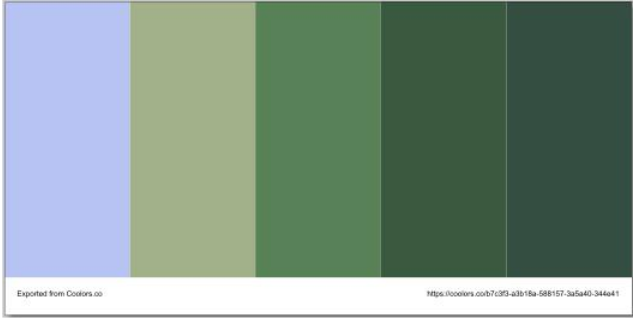 I saved two, but I liked this one the best. Davies Media Design used some oranges and browns to do a desert theme with cacti, but I'm going to use greens and trees. I used the tree method from my article in the August, 2018 issue. However, I didn't expand the stroke to make the tree full, because I wanted it to show nearly fall, rather than mid-summer. I DID, though, combine several trees together to make the branches fuller. 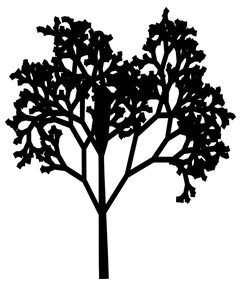 Open Inkscape, and create a new drawing. Davies suggests 1920 x 1080 canvas size, with the border always on top, so it's visible over your additions. I put a white rectangle at the back, because we'll be messing with opacity. Starting at the bottom of the page, you want to use your Bezier tool and draw a rectangle with rolling hills at the top. This will be the foreground. Edit your nodes at the top so your hills look the way you want them to, then using your color palette, change the fill color of your foreground. Notice that the hills extend off the page, so there are no spaces at the edge. When you export your finished product, you'll export the page, rather than the drawing, so all the excess at the edge will be cut off. 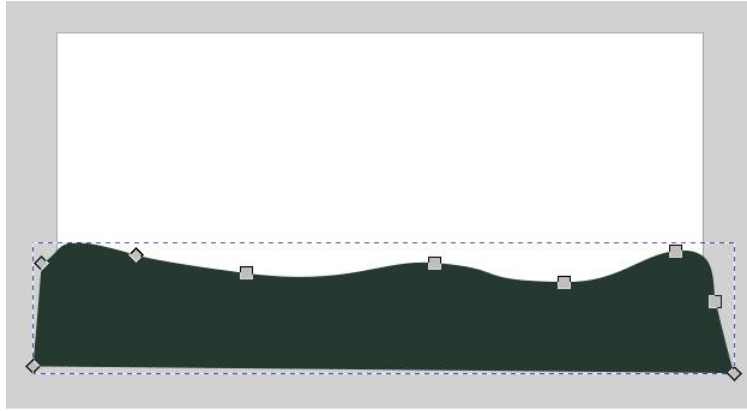 Davies suggests using a different layer for each hill farther away, and after you create this one you can add a layer below the present layer. Using your Bezier tool, create another hill on the new layer, edit the nodes, and fill it with the next lighter color in your palette (I skipped a color). 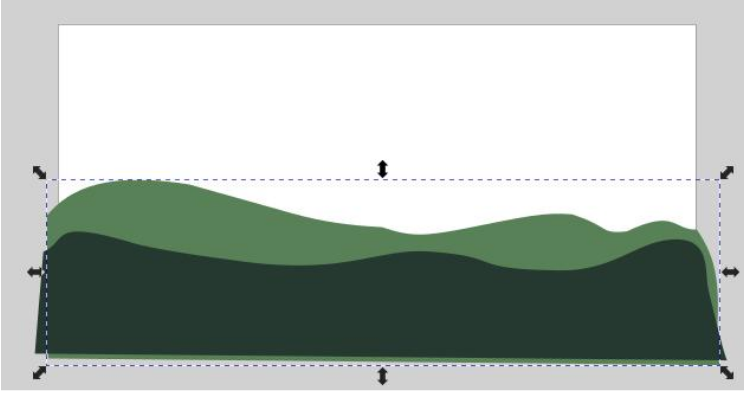 And a third… You can see the palette I used here as well. 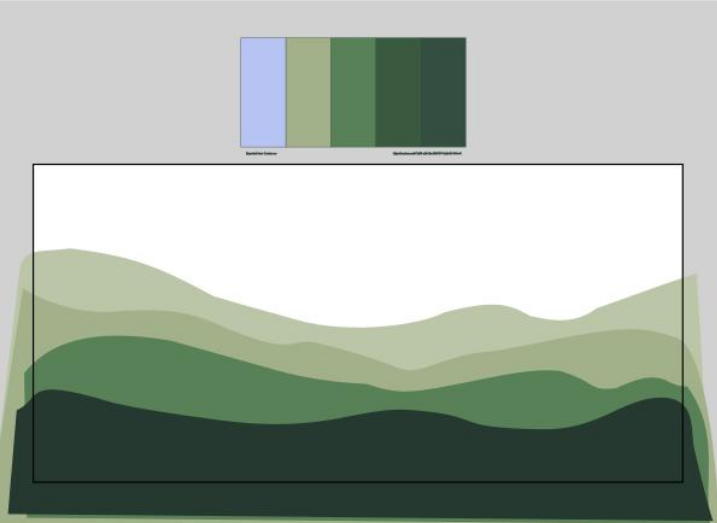 I chose to make a fourth hill, but it's your creation, so do what you want. For mine I used the same color as the third, but went into Fill & Stroke and lightened it more. When you have your hills as you want them, it's time for the trees. Create your trees however you want. I created 3 that looked similar, then resized and flipped them so they aren't exactly alike. You'll place the trees on each layer, in the same color as the hills in that layer. The effect here is items fading as they get farther away. I placed at least two trees on each layer, resizing them smaller as I went through the layers. 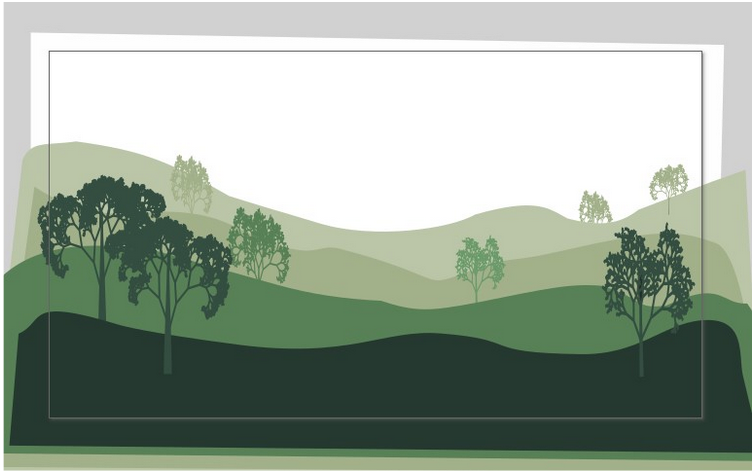 I want to add a setting sun to this. The easiest way is to add a yellow circle on another layer, and behind it, two more circles, progressively larger, but lighter shades of yellow. You can duplicate the first circle, and using the <SHIFT> key, resize it out farther and then edit the color and opacity. Then place them lower in the drawing so it looks like the sun is setting. 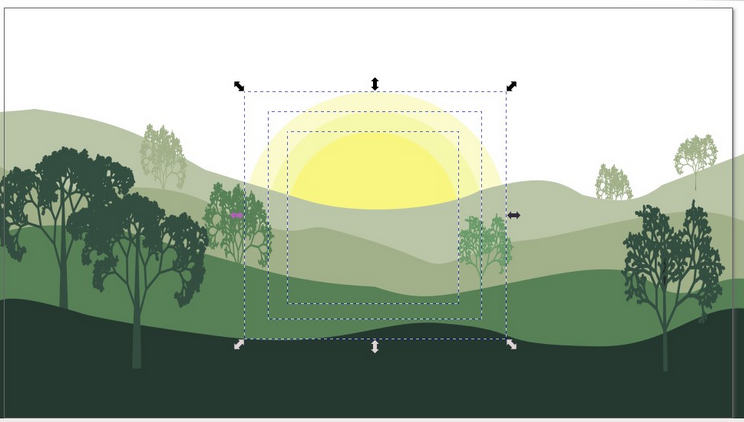 I'm going to add an orange sky (because the sun is setting). You can leave it one color or use gradients. My final was a gradient, and then I selected the larger two suns and blurred them a bit. It's not fine art, but it was fun! I suggest you also go to Davies tutorial (link above) and watch it, because it has some more tips when working with nodes. Have fun! 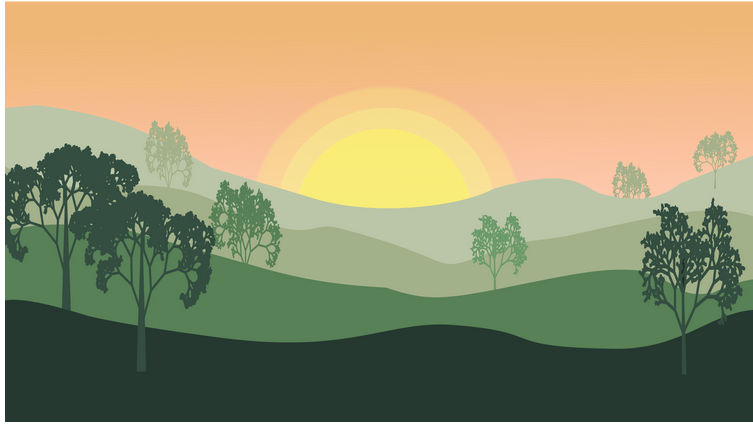 |