| Previous
Page |
PCLinuxOS
Magazine |
PCLinuxOS |
Article List |
Disclaimer |
Next Page |
GIMP Tutorial: Removing Objects From A Photo |
|
by Meemaw We do a lot of things with GIMP, but much of what we do with GIMP is edit photos. Sometimes we think that our photo would look lots better if that (insert object here) just wasn't in the picture. Let's explore some ways to remove an object from a photo. Resynthesizer Filter One method is the resynthesizer. This is an add-on that is in the repo. Open your photo and, using the lasso tool (or one of the other select tools), draw around the object you want to remove. In the tool settings, choose the mode Add to the current selection. In this photo, I wanted to get rid of the tan-colored area under the tree. 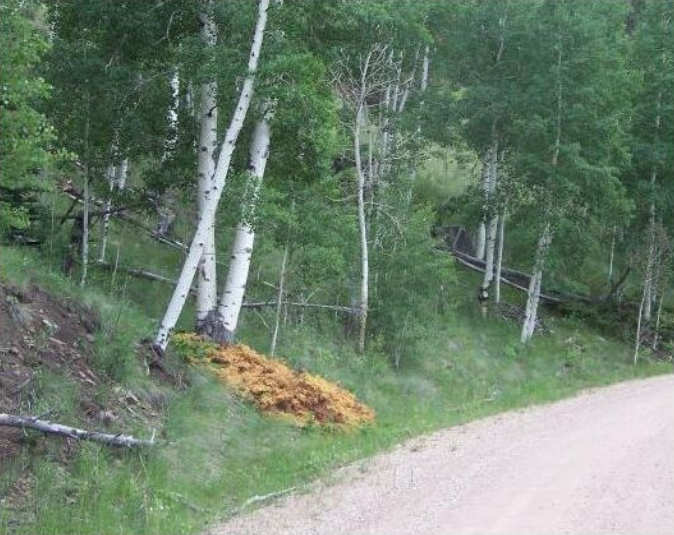 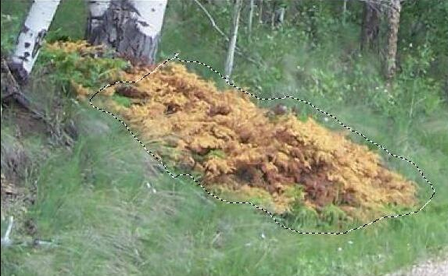 Make sure you close the curve at the end so you see the moving dashes in your curve. Clicking on Filters > Enhance> Heal Selection, you'll see this window: 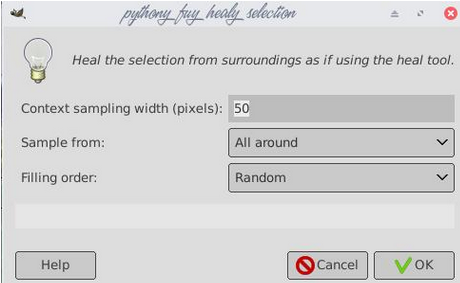 You can adjust the pixel size you want, choose the place you want to sample from (All Around, Sides, or Above and Below) and Filling order (Random, Inwards toward center, and Outwards from center). The settings above are the default, and that's what I kept. Then click OK. 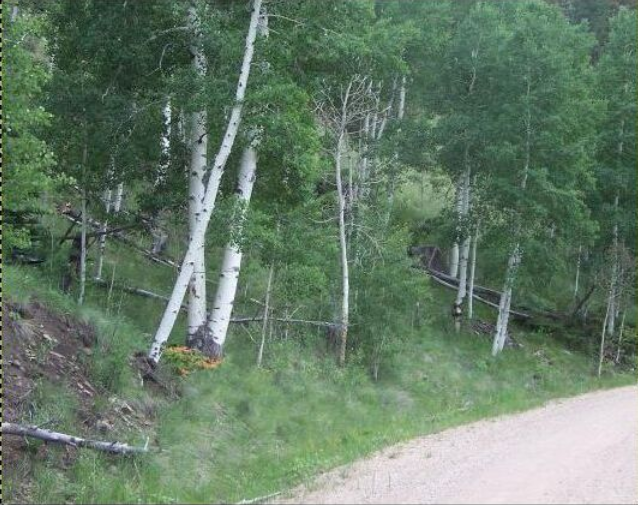 This scene is from one of my ATV trips, and it was dusty. I think it looks good - it even kept some of the flying dust. Bear in mind, you may have to use the heal tool to even some things out, but it will be much more minor. Clone or Heal Tool Many people just use the clone tool or the heal tool. They are good, but should be used to remove small items, like small objects in the distance, or blemishes on a face, or even spots in a photo, like dirt on the camera lens or raindrops on the window you're shooting through. Way back in December, 2012, I did an article where I cloned the background of a photo to remove a traffic sign. In January, 2023, I did an article about using the heal tool to remove some blemishes on a person's face.   Using the clone tool, you choose an area you want to clone, and GIMP takes that specific area and copies it to the area you click on next. It works pretty well, but if your specific area doesn't exactly match the area you're putting it in, then you might have a mess. The heal tool is a bit different. It lets you select a specific area, but instead of copying the exact area you chose, it picks samples from in and around your choice and uses them. Most of the time, that allows you to do a better job. Layer Mask Another method is using a layer mask. Load your photo into GIMP and select the area you want to remove. I have this beautiful lake photo that has a really ugly tree in the foreground. 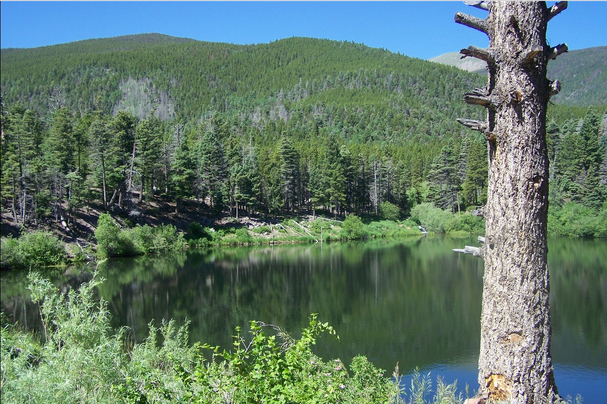 I'm going to select the tree with the lasso tool, just like I did before. However, now I'm going to duplicate the layer. I'll get two layers that are the same. Using the top layer (most probably the copy), with your move tool, grab that layer and move it over so your selection outline doesn't have the object in it anymore. Below you can see that I moved the tree away from the selection. 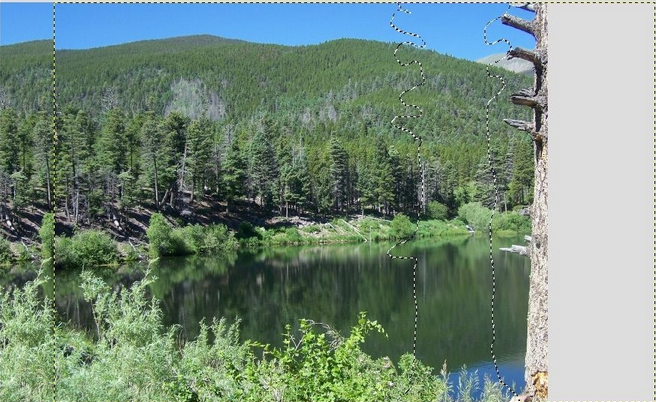 Right click and add a Layer Mask: Selection. You will see what is on the copy rather than the tree. 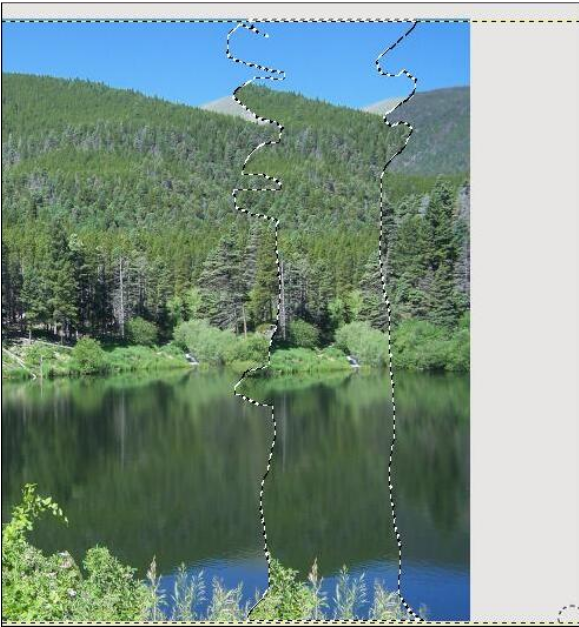 I'll have to fix the hill at the top, and can probably use the clone and heal tools for that, but it's much easier than putting all that background in with the clone tool. You may find that you have to do a little work in the water as well to even things out. 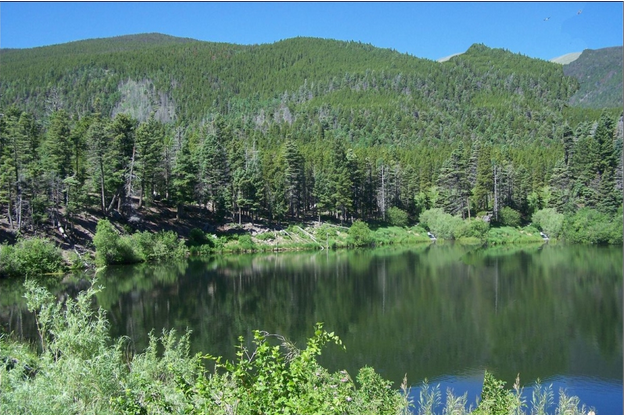 According to Davies Media Design, there are two more methods for removing objects. Let's look at them later. |