| Previous
Page |
PCLinuxOS
Magazine |
PCLinuxOS |
Article List |
Disclaimer |
Next Page |
GIMP Tutorial: Photo Editing, Part 3 |
|
by Meemaw In an ongoing effort to provide you with several ways to tweak your photos, I have found a few more tips that you can use in GIMP. Correcting White Balance Sometimes your camera will react strangely to the light conditions in the scene you want to photograph, and the photo may have a blue (or strange) hue to it, when the colors are obviously supposed to be different. In the photo below, the blue sky almost takes over the whole photo. 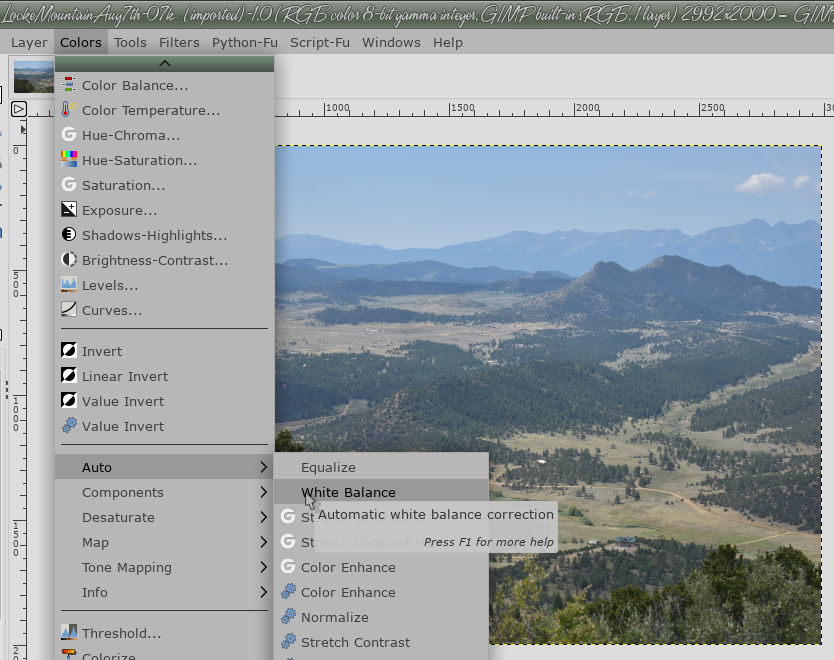 Choose Colors > Auto > White Balance, and it should be instantly corrected. 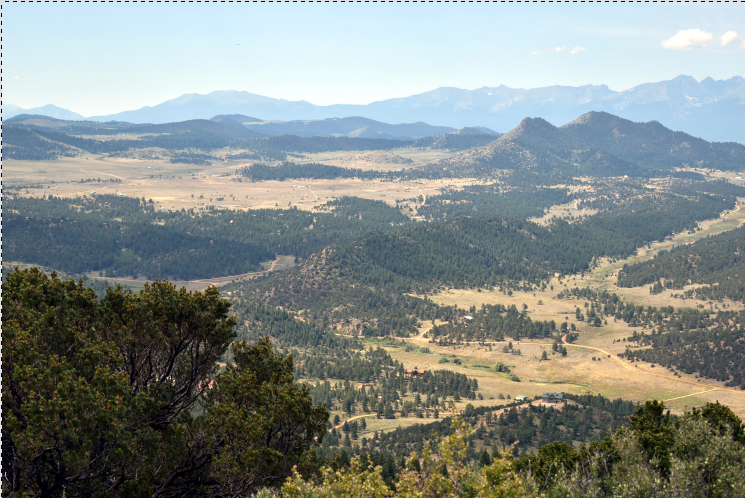 While it looks to me to be closer to the scene I remembered when I took the photo, I'll have to do some more later. Similarly, you may not like the results you get. If you aren't happy with the automatic results, there's always another way to do things in GIMP. Choose Colors > Levels, and toward the bottom of the window that opens, click on the middle eyedropper icon. This will let you set a gray point in your image, an area of neutral color off which all the other colors will be based. 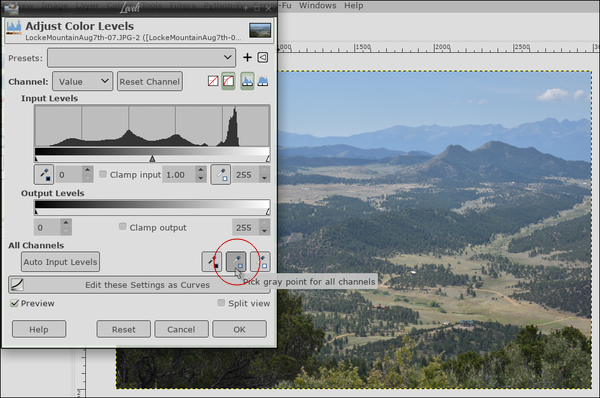 With the eyedropper selected, find an area of gray in the photo and click on it. The color of the whole photo will update. The good thing about this is that you can keep clicking different grays in different parts of the picture until you find one that you're happy with. Tweaking Photo Colors in GIMP Tweaking the colors of your photos can make dramatic effects. Depending on what you do with your photos, you might want vivid colors or subdued colors. Click on Colors > Hue-Saturation. The Saturation slider will boost your colors. Be careful because it's very easy to oversaturate your images. A good rule is to set the saturation to a level that looks okay, then just drop it back a little. Here, I set the saturation up. 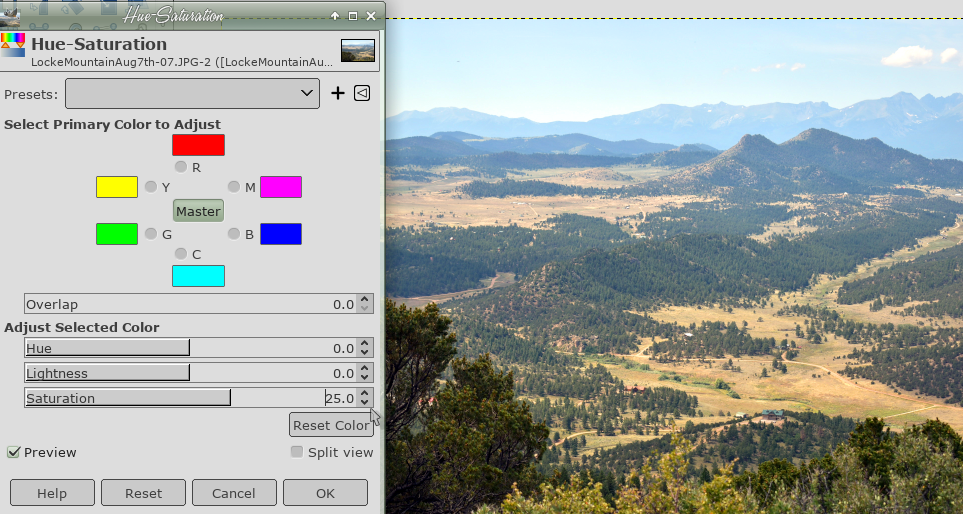 You can adjust the red, magenta, blue, cyan, green, and yellow parts of your image separately by choosing the color and using the Lightness slider. You can make a sky look bolder and bluer by focusing on the blue and cyan colors, and set the Lightness slider to a darker level. To make grass and foliage look greener and more vivid, increase the Lightness level for green. Here, I've set the lightness for green up a bit. It just increased the green in the foreground. 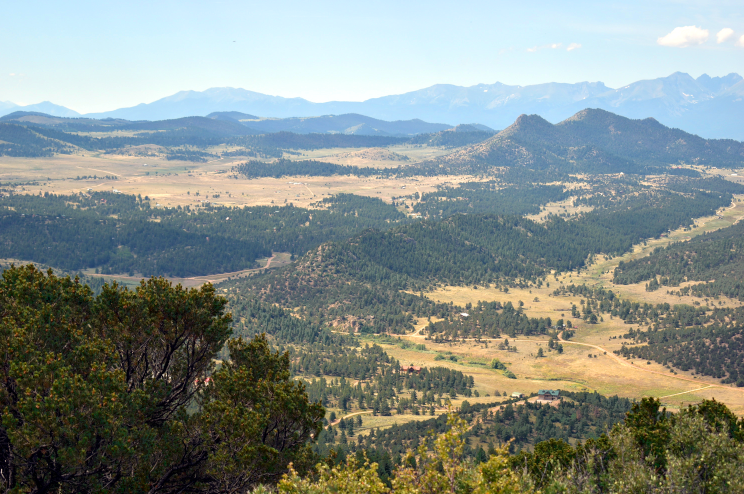 If you're left with harsh edges around the areas of color that you've adjusted, drag the Overlap slider to the right to help blend them better. After editing a bit more, I came up with this result. 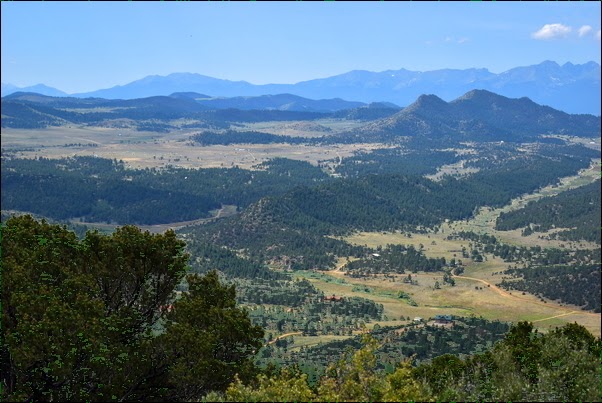 Removing the Background Sometimes, you shoot what you think is a perfect shot, but the sky is one big blob of grey-blue. Let's remove the sky and replace it with something better. Fortunately, you can remove the background in GIMP, which enables you to replace the sky with something a lot more interesting. In the photo below, the sky is almost white with no color at all. I want to replace it with something more colorful. 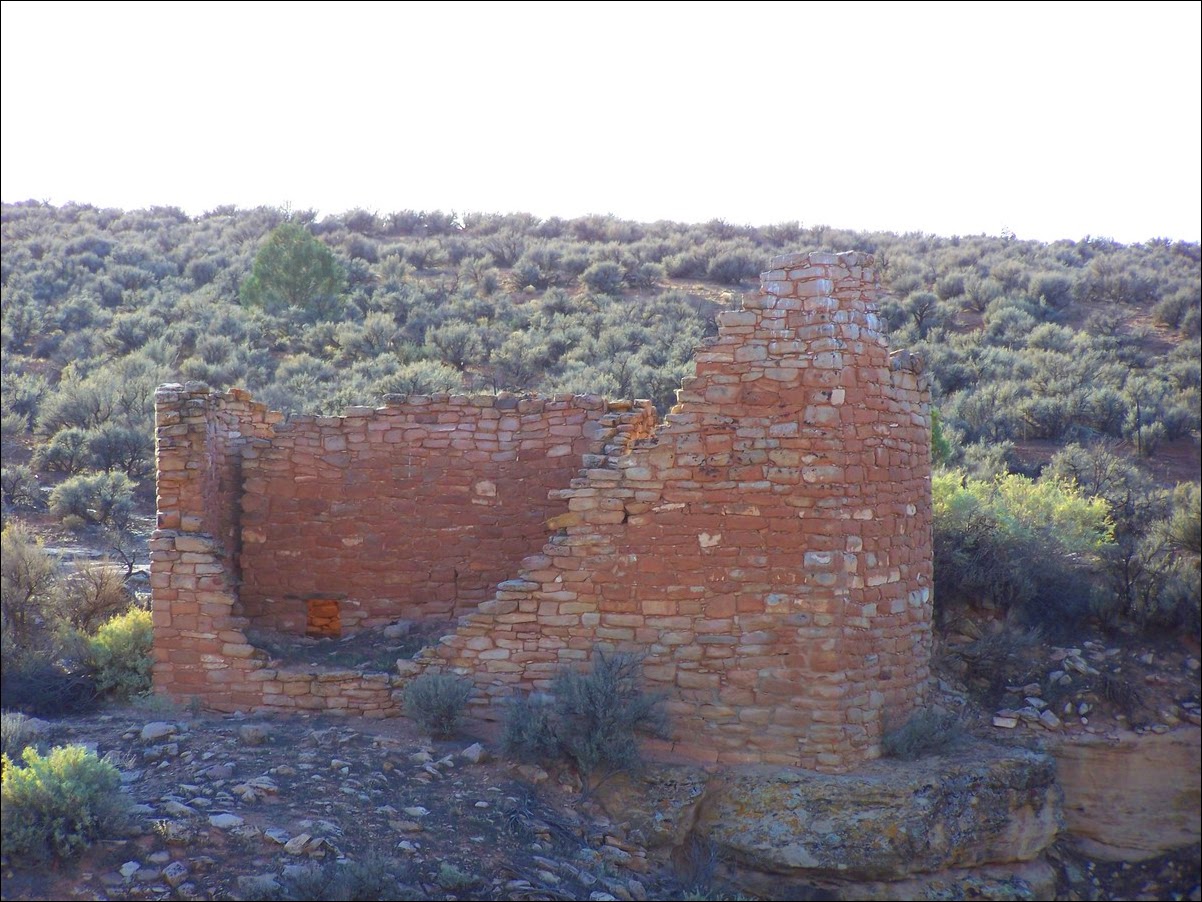 As you can see, the sky has almost no color at all, even after I used some of the above tweaks on it. We'll use one method of editing now. First, choose Layer > Transparency > Add Alpha Channel. Now, choose the Fuzzy Select tool, and click on the sky. You may have to play with the threshold setting to get only the sky, but you can click, then adjust and click again. My threshold was 35, and I got the following: 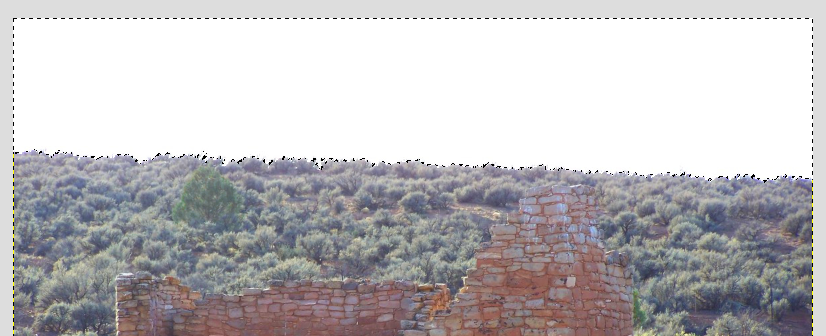 See the little dots across the tops of the trees? Those dots and the dotted lines over the top are moving, which means that's your selection. Now click on Delete. The sky will disappear. 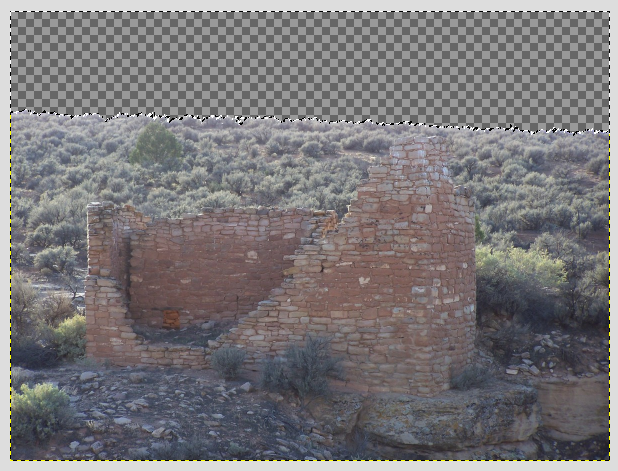 Now the only thing left is to add a transparent layer and paste a different sky into it. Open your sky and resize it to the width of your photo. Copy and paste it on a newly created transparent layer, then move that layer to the bottom of the layers. Export it to a new file. 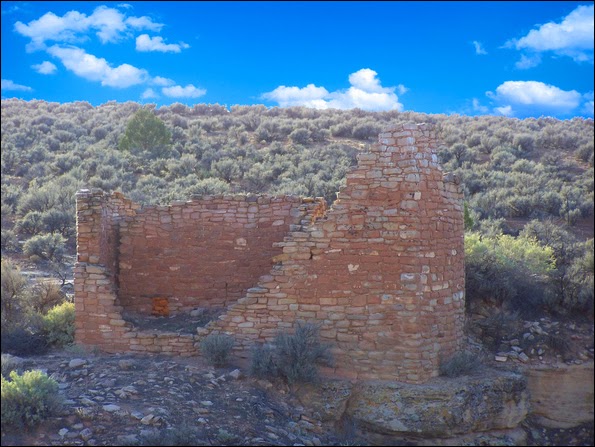 Several other ways exist to remove a background from a photo. We'll soon explore others in upcoming articles. |