
| Previous
Page |
PCLinuxOS
Magazine |
PCLinuxOS |
Article List |
Disclaimer |
Next Page |
GIMP Tutorial: Joined Photos |
|
by Meemaw I saw this tutorial on YouTube and it looked really fun, so I'm going to share it. This is similar to the "Out Of Frame Effect" tutorial I shared in the November, 2014 issue. This one will make an image look like it is spread across two photographs.  I am again using an image from a parade that my town has every year. 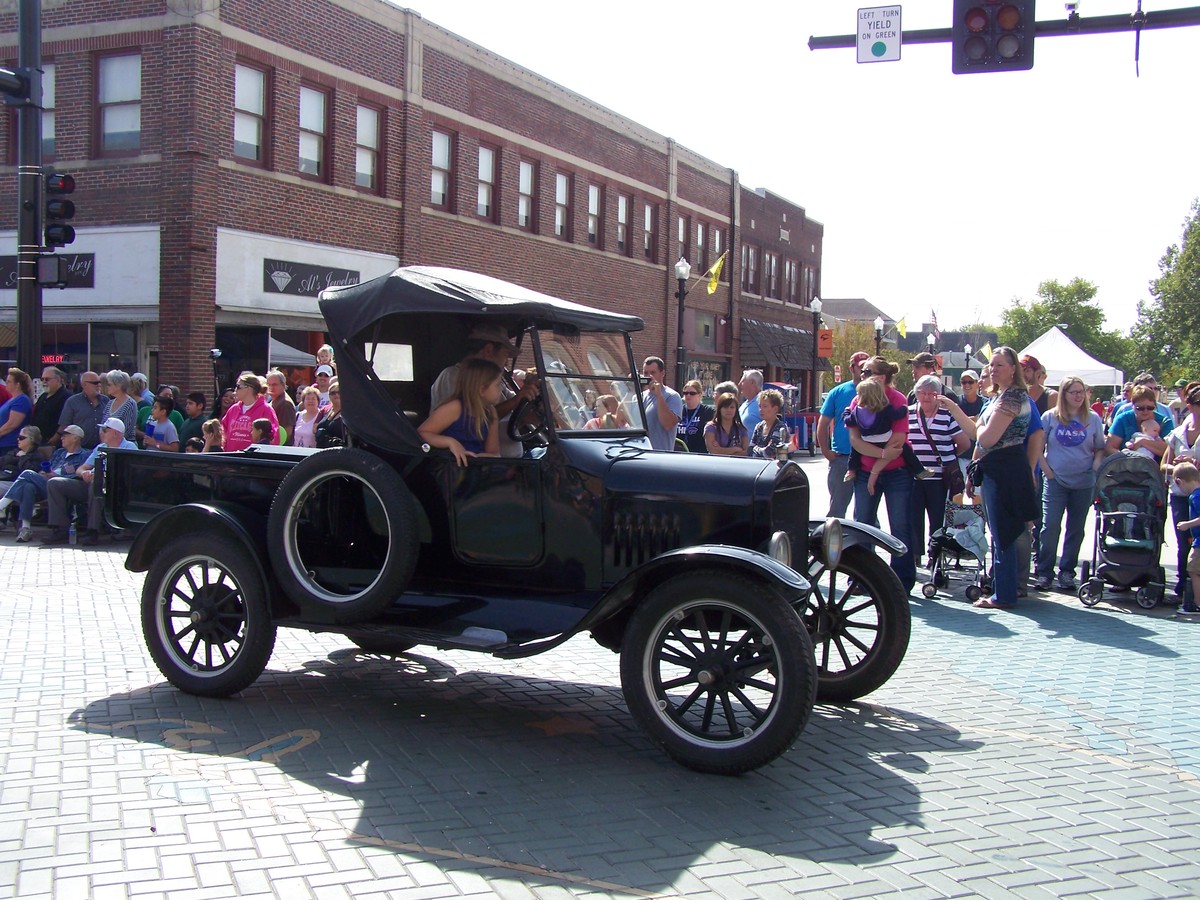 After loading your image into GIMP, right click on the layer that shows the image (in the Layers toolbox) and choose Add Alpha Channel. (We'll have to explore Alpha Channels soon.) To start working on the photo frames, add a new, transparent layer. In the Layers toolbox, make sure that your transparent layer is selected, then choose the Rectangle Select tool and draw a square. 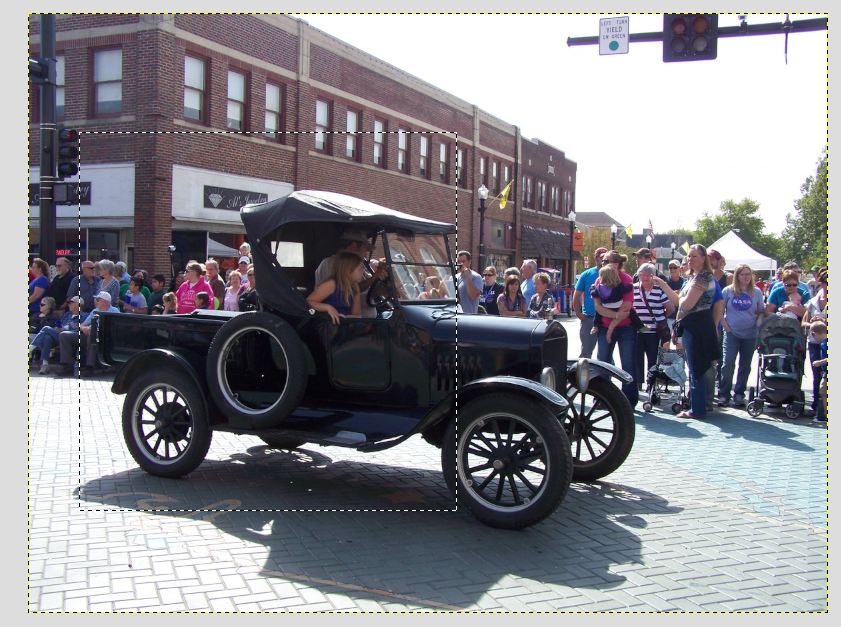 Using the Bucket Fill tool, fill your square with white. Now, with the square selected, go to Filters > Light & Shadow > Drop Shadow and add a drop shadow to the white square. I had to use the Drop Shadow (legacy) to see it, but you may not have any problem. With the drop shadow complete, you may see that it and your white square are in two different layers. If they are, right-click the drop shadow layer and choose Merge Down. 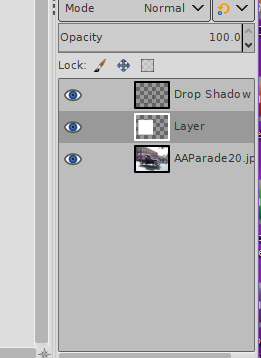 Now we're going to create the border of our photo. Go to Select > Shrink, and make it 25 pixels. Now the smaller square is selected, so press the Delete key to delete the white. 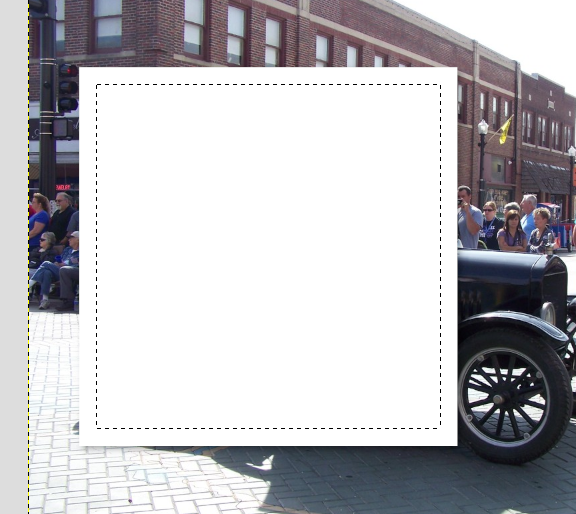 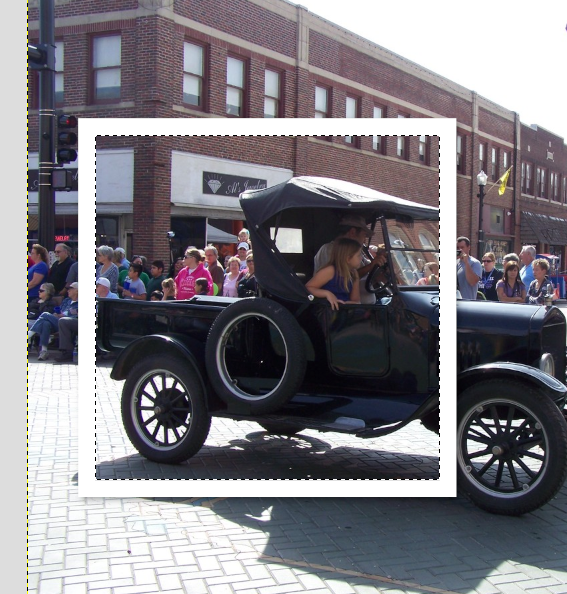 It's starting to look like a photo. With that layer still chosen, go to Select > None to de-select everything. Now choose the Rotate tool, and click on your photo frame. When the rotate window comes up, press the mouse key in the angle setting until your frame is rotated the way you want, then click on Rotate. 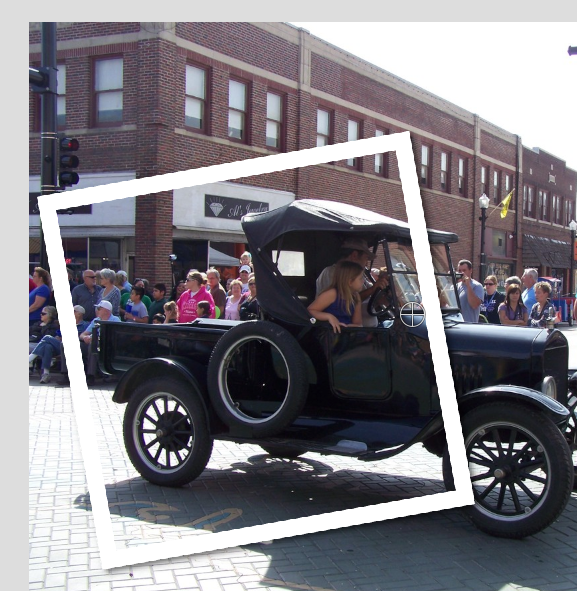 If you haven't saved your file, you should save it now. We want two photos, so duplicate the frame layer (it should still be selected, so all you should have to do is click on the Duplicate Layer button). You'll see another layer in the layers list but not another frame in your picture yet. Change to the new layer, and choose the Rotate tool again. We don't usually set every photo down in exactly the same position, so rotate this one a bit differently than the first - maybe even in the other direction - then click on Rotate. 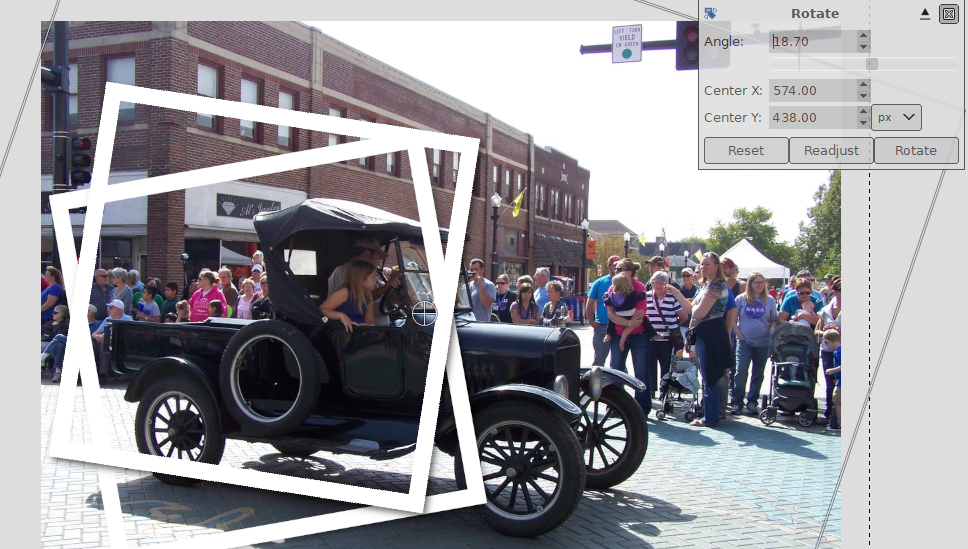 Now, choose the Move tool, to move this frame to a different position. Drag it to wherever you want it, but still overlapping the first frame. You also need to decide which of your "photos" will be on top, and make sure that layer is above the other. When I got mine moved, I wanted the left frame on top, so I raised that layer above the other with the arrow buttons in the Layers toolbox. Selecting your "frame" layers one at a time, choose your Eraser tool, and carefully erase those parts of the frames that are over the object you have in your photos. You also want to erase that part of the bottom frame that should be under the top photo.  Let's really make them look like two photos on the table. With your Eraser tool still active, choose the layer that the photo is in, and erase the part of the photo around the frames. There is a trick to erasing that you might use: click the mouse at one corner of a frame, but don't hold it down. Go to the next corner, hold down the Shift key, and click your mouse there. You should see a straight line erased between the places where you clicked your mouse. I was able to do all the boundaries of the frames very quickly using this method. After that, I made my eraser tool much bigger, and was able to erase the rest of the picture quickly and easily. I've used this trick many times since I learned it! Remember though, it works that way only for straight lines. 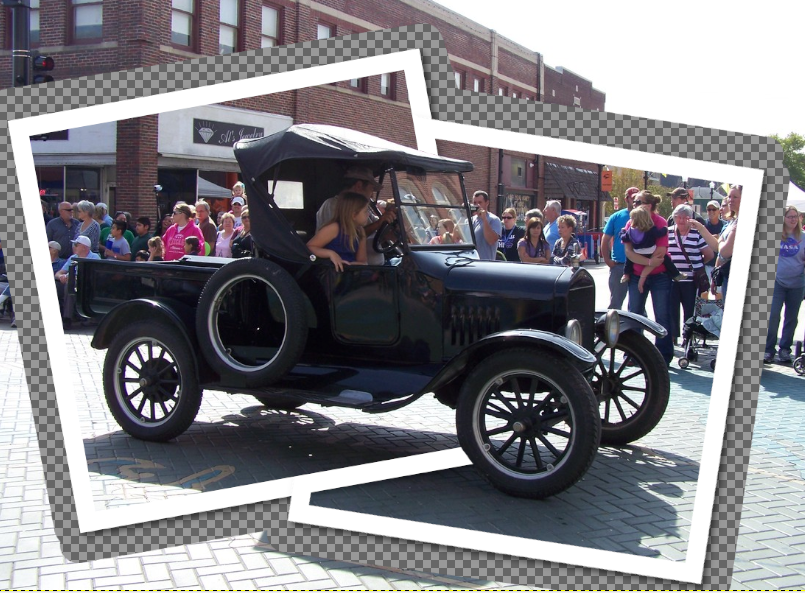 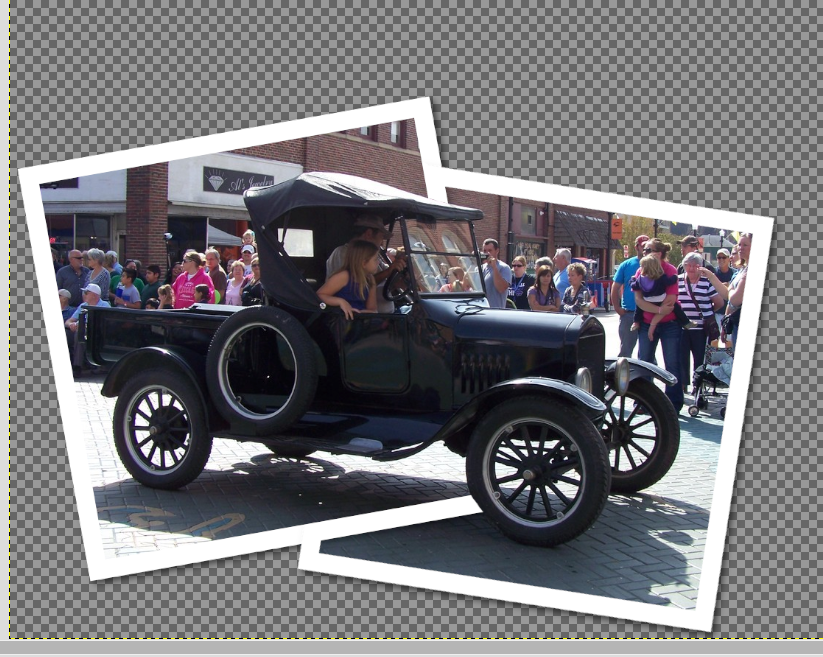 At this point we want to add another transparent layer (for a tabletop). Move it to the bottom, and Bucket Fill it with the color of your choice (I'm partial to blue). You can also crop it down to a nice size. 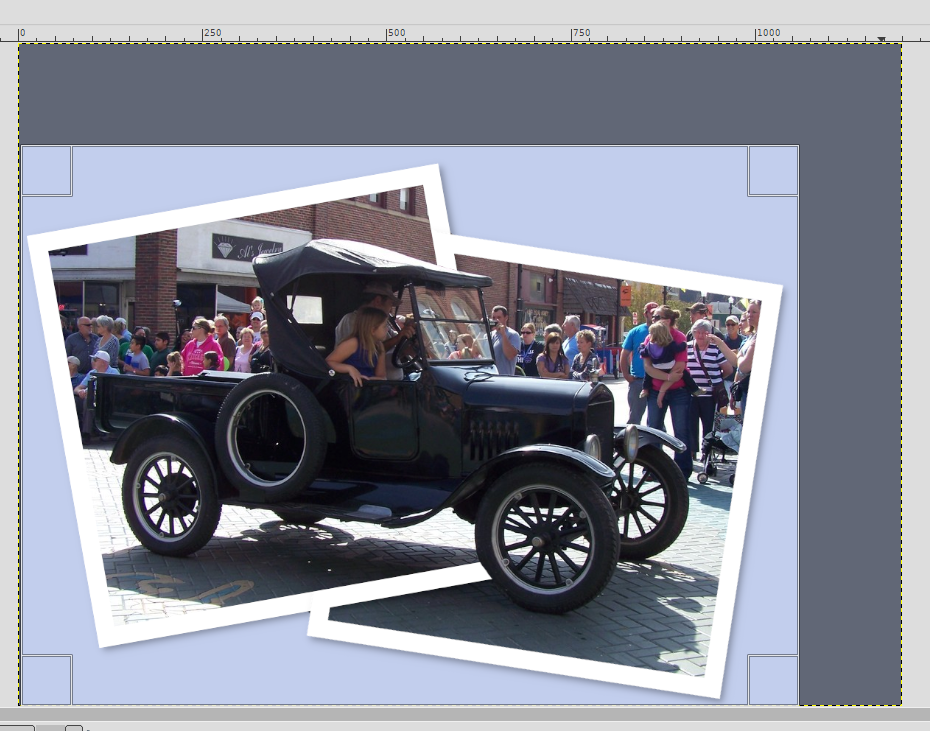 Save and export your image, and you're finished! |


