| Previous
Page |
PCLinuxOS
Magazine |
PCLinuxOS |
Article List |
Disclaimer |
Next Page |
GIMP Tutorial: How To Apply A Sepia Tone |
|
by Meemaw With photography what it is today, and photo manipulation programs being so easy to use, it is great to take a digital photo of something and then see how you can manipulate your photo for the best image possible. Most of the time, the photo is awesome just the way it is, but sometimes, a black & white or sepia image really pops as well. Google defines sepia as a reddish-brown color associated particularly with monochrome photographs of the 19th and early 20th centuries. Since we've explored image enhancing, changing a photo to sepia is just another enhancement. In an earlier magazine article, parnote discussed tutorials for Photoshop & GIMP, which got us discussing the tutorials, and which Photoshop tutorials could be used in GIMP. At one of the links he provided, I came across a Photoshop tutorial for changing a photograph to sepia. It was a very simple tutorial, and is shown below.
Here is a step-by-step for Photoshopping a photo to get a sepia tone. While I'm sure this is very simple (I have never used Photoshop), this can be done in GIMP, and with fewer steps. Open the photo in GIMP (of course). I'm using a cute animal photo I found. 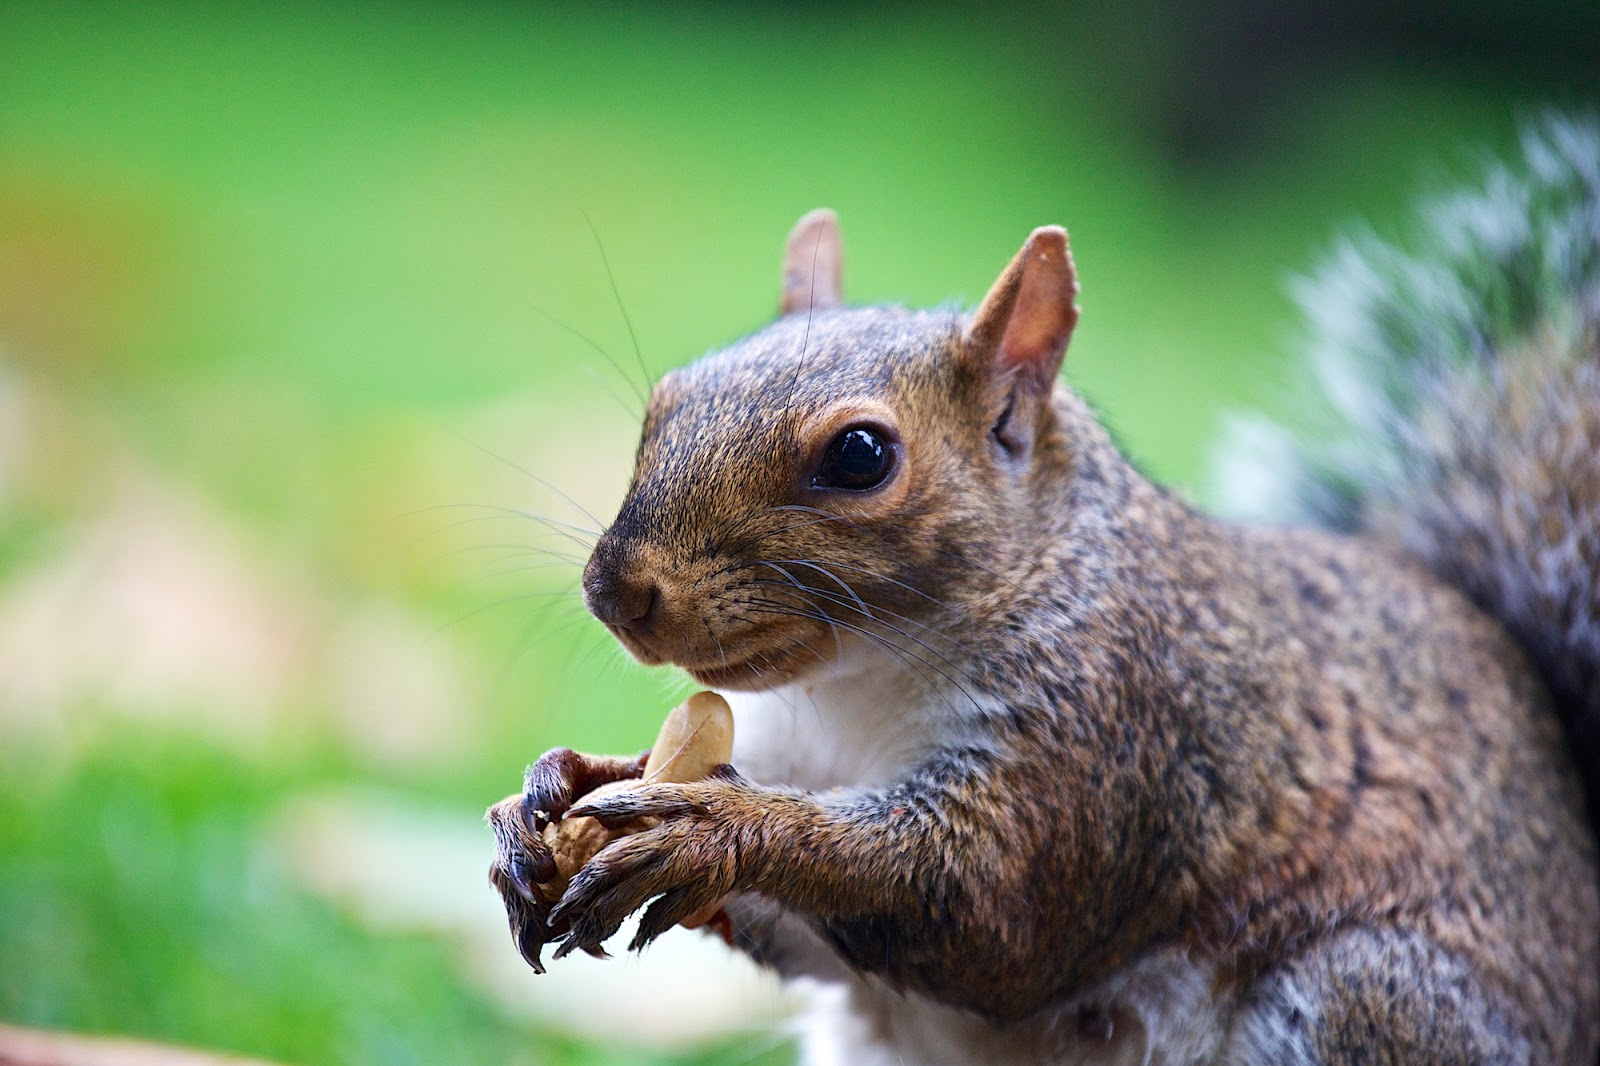 Click on Colors > Desaturate > Sepia. 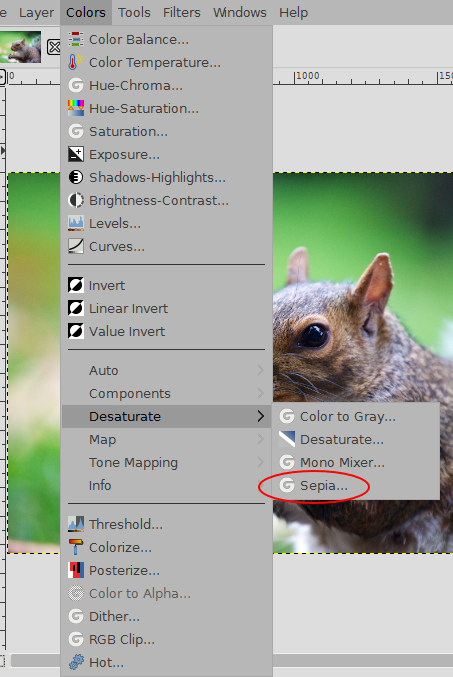 It should happen immediately. 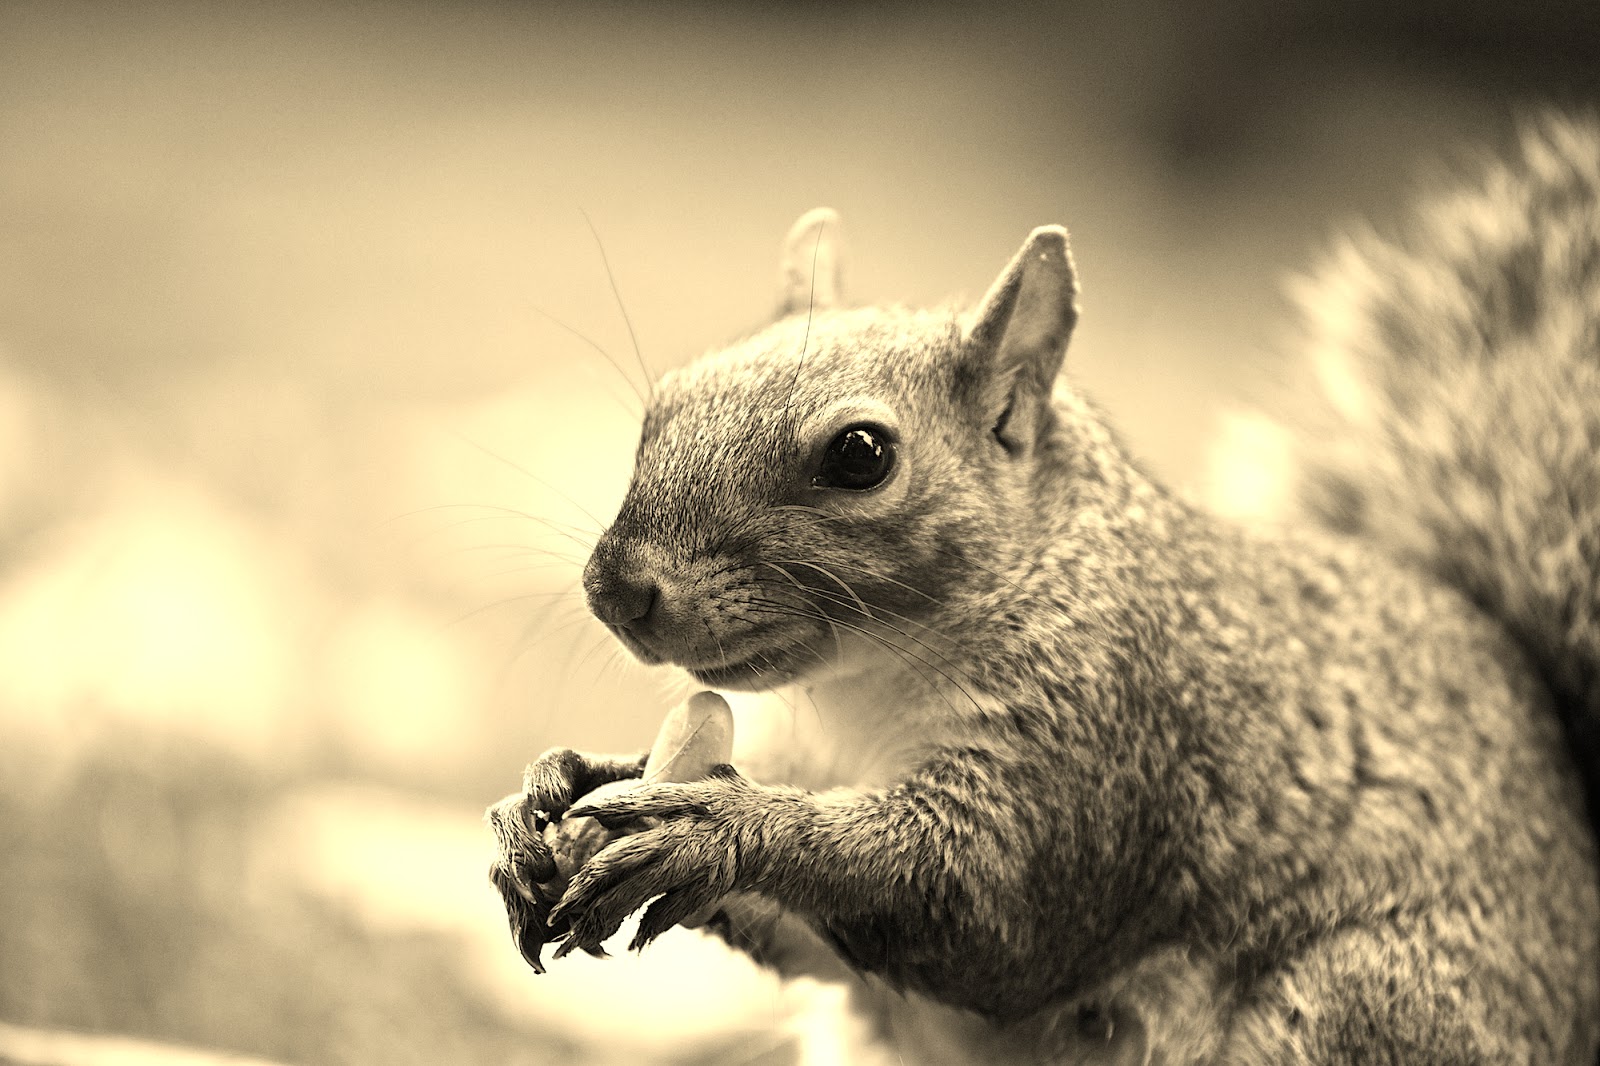 Wow! That was fast! However, what if you don't like the way it looks? Go click on Edit > Undo Sepia. Now, you can do it a bit differently to allow yourself to control the color. Go back to the Colors menu and choose Desaturate > Desaturate. You will get a photo in grayscale.  You can now go back to the Colors menu and choose Colorize, just a bit farther down in the main Colors menu. Don't be shocked if your photo turns a blue color, as that is just how the window comes up. In the center of the Colorize window there is a color button which should be the same color as your photo is now. Click on that, and the Color window will appear, and let you change the color to a sepia (brownish) color. Feel free to play with the color in the Color window before clicking OK. 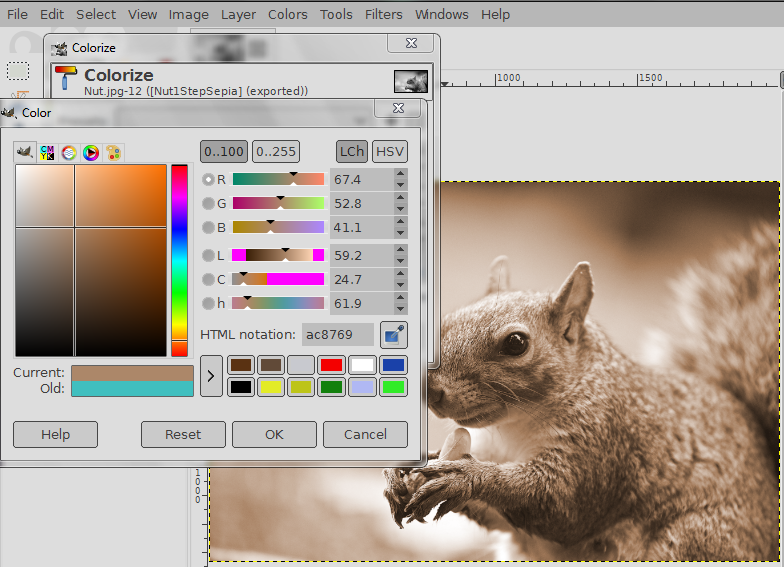 If it looks the way you think it should, you are free to quit adjusting and export your photo. If you think it could use a bit more red or yellow, you can also click on Colors > Color and experiment there. To add more of the colors on the right, click the up arrow on the right end of each scale. To add more of the colors on the left, click the down arrow. 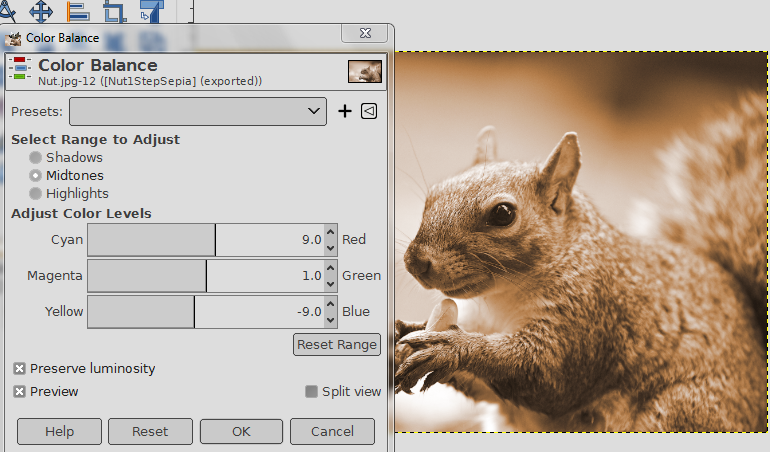 Feel free to experiment all you want to get your perfect color. 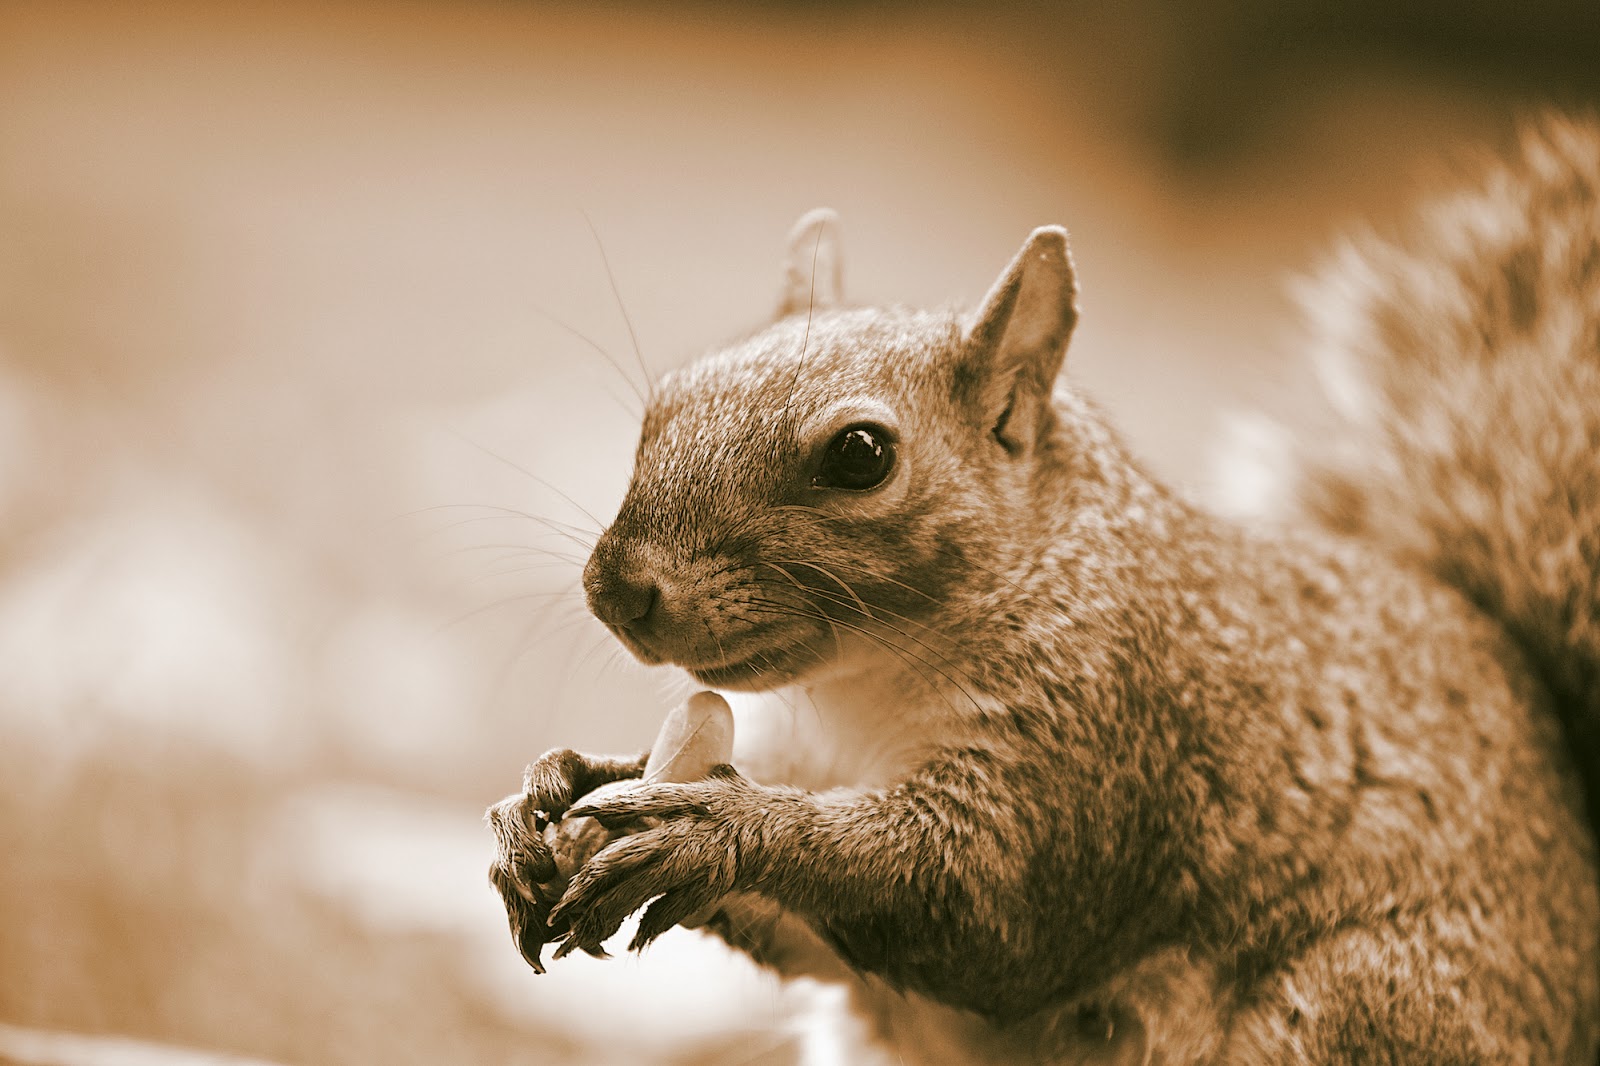 |