
| Previous
Page |
PCLinuxOS
Magazine |
PCLinuxOS |
Article List |
Disclaimer |
Next Page |
Inkscape Tutorial: Drawing Realistic-Looking Grass |
|
by Meemaw I saw this one a while back and it looked really fun! We'll be making a bunch of grass that looks realistic. To do this we'll have to start with a single blade of grass. Using the Pen tool, enable the Triangle out setting and draw a straight line. Change to the Nodes tool and widen the bottom of your line just a bit, then curve the line a little (since grass is never absolutely straight). 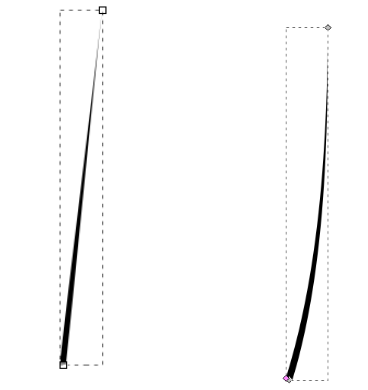 Before we go any farther, use the Gradient tool to make a light green to dark green linear gradient.  OK, now it's important that we change the rotation location on our line. Generally when you double-click an object, there's a small plus sign in the center of it. For this project, we need to drag that plus sign to the bottom of our line. 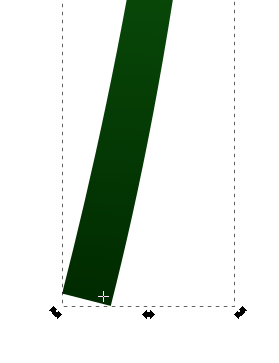 Since we want a whole bunch of grass, we're going to use an easy way to get it. Before we learned so much about Inkscape, our first thought would be to use <CTRL> + D and duplicate the heck out of that single line. However, making them all look different would be loads of work. So instead of that, we will use Tiled Clones again.
Select your single blade of grass and go to Edit > Clones > Create Tiled Clones. The first thing you should do is click on Reset at the bottom of the window to make sure that no previous settings are still there. Then, we want the following settings: 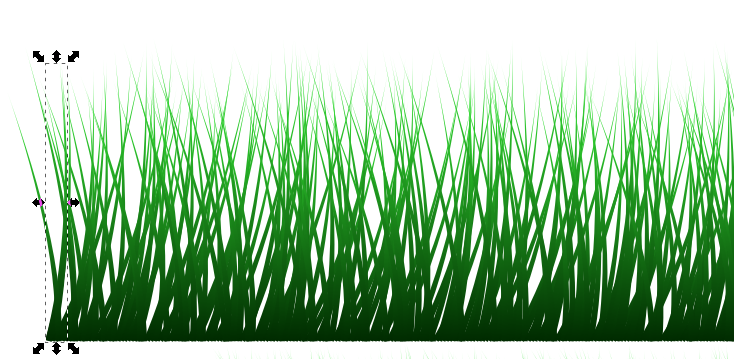 You're done! The tutorial I read said to make two or three of these. You can just export, or duplicate one of the blades of grass and do it again. To make things easier, group each bunch of grass together so it will be easier to move. Flip one so they aren't all going the same direction. I made three, grouped each one, then centered the three horizontally and vertically aligned the bottoms. 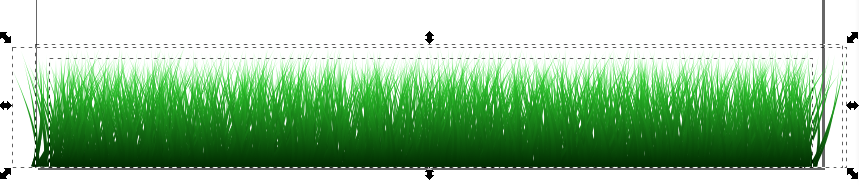 After all that I moved them to the bottom of my page. Put a blurry green rectangle behind your grass to make it look like it is really thick.  This can be exported by itself. All you have to do is select your grass, and choose Export Selection. You should probably export it as a .png to preserve the transparency. Now, if you are making a scene that requires grass, you have it covered. Easy, huh? |
