| Previous
Page |
PCLinuxOS
Magazine |
PCLinuxOS |
Article List |
Disclaimer |
Next Page |
You Still Want To Be A YouTuber? Keep With PCLinuxOS And You'll Get There! |
|
by Alessandro Ebersol (Agent Smith)  Continuing the series of Hatari.pngarticles on how to become a YouTuber, today I will address a few necessary (and useful) programs, real tools to produce gameplays and make your videos. We will see two computer emulators, and how to make videos of the programs running. OpenMSX OpenMSX is an excellent MSX emulator, which can emulate around 150 different machines (as long as you have the BIOS of the machines). This emulator can capture both audio and video of the game/program running. And, how to do it? You must start the emulator319 through OpenMSX Catapult, loading the game/program you want to record. 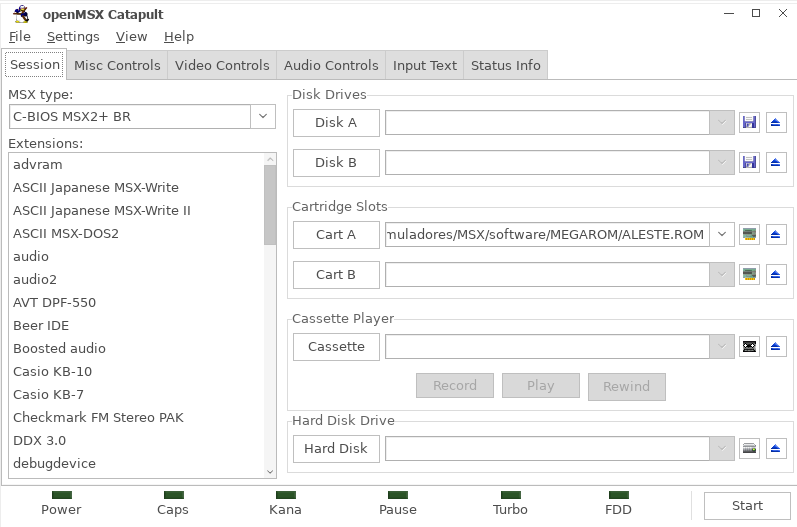 Then, pause the emulator. 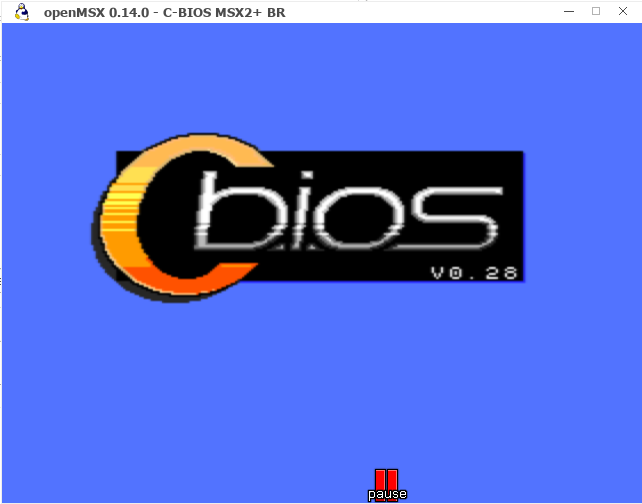 Now paused, in the emulator window, press F10 to open the OpenMSX command console. 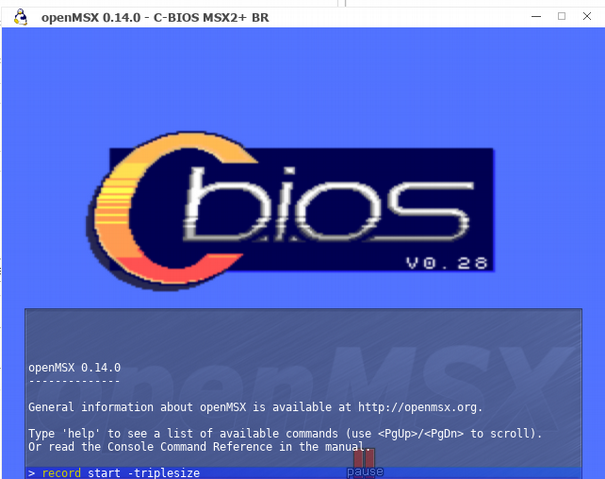 At the command prompt, type record start -Size of the screen (without argument, will record at 320x240, -doublesize will record at 640x480 and -triplesize will record at 960x720) and it will start recording to the file /home /~/.openMSX /videos/openmsx0001.avi To stop recording, reopen the console screen (F10) and enter the command record stop. And voila, your video will be in the .openMSX folder, /videos, in your /home. The video will be in ZMVB codec, the same from DOSBOX, being easily supported by any video editor in PCLinuxOS. Hatari Hatari is an Atari ST emulator, STE, TT and Falcon for Linux, * BSD, MacOS, Windows and other systems that are supported by the SDL library. The Atari ST was a 16/32 bit computer system that was first released by Atari in 1985. Using the CPU Motorola 68000, was a very popular computer with a very powerful CPU at that time. Hatari allows you to record audio and video of the application that is running on it, and how to do it is simple: just open a menu and click a button. Two codecs are available Hatari.pngthat store the video, either using BMP images for each frame, uncompressed or compressed lossless PNG. The first option consumes considerable disk space; the latter allows the user select 10 levels of compression; the higher the level,more CPU time is required to process the video, which can lead to a noticeable slowdown of the emulator during recording. That is, to use the codec as PNG leaves the emulator very slow, perhaps even not playable. The sound is stored in 16-bit PCM codec (default WAV), and the two streams, audio and video are wrapped in an AVI container file. The emulator has a status bar, with several indicators, which, in capture time can be distracting. To improve the capture, it's better to get rid of that status bar. Open the emulator. When it starts loading its OS, press F12. This will open the setup/control screen of Hatari. Press the Hatari screen button, which will open the following screen: 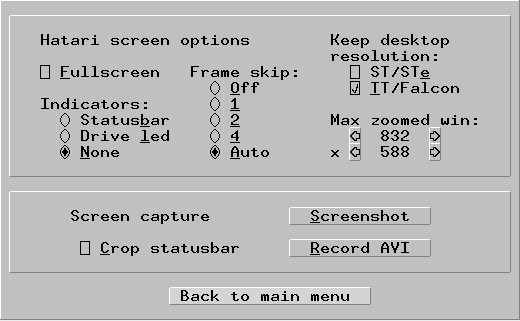 In Indicators, choose the option NONE, as it is in the picture and press Back to main menu. Now we have to change the Hatari configuration, so that it will save the video in uncompressed BMP format. It can be done from the command line, but to do this for every game/program that is executed, is very laborious. We will then change an option in hatari.cfg file, located in /home /~/.config/hatari With a text editor, look for the following section:
[Video]
AviRecordVcodec = 2 In the line AviRecordVcodec, put the value at 1 (2 is PNG, 1 is BMP). Now, to start capturing video games gameplay footage, open the Hatari, load the disk image or cartridge and then by pressing F12 again, press the Hatari screen button, and press Record AVI, to start recording. You must have enough disk space, since the output in raw uncompressed BMP is very big, but at least does not degrade the performance of the emulator nor the computer. The resulting file, hatari.avi should be edited to a smaller format, with any video editor or a video converter (such as WinFF and many others). Just to illustrate, a 10 minute capture generated an AVI file of 46 GB... I hope you enjoyed, and in due course, I will continue this series of how to be a Youtuber. |