
| Previous
Page |
PCLinuxOS
Magazine |
PCLinuxOS |
Article List |
Disclaimer |
Next Page |
Google Cloud Print Capable Printer Using Raspberry Pi |
|
by kolosus Our objective is to make a standard printer into a cloud print capable printer, without breaking the bank. This will allow us to be able to print to the printer from any program within PCLinuxOS. Background I have a trusty laser printer (Brother HL-2270DW). The printer itself is pretty good and reliable. It has the duplex feature, is wifi capable and ink is pretty cheap. I usually buy one (aftermarket) toner and after it is empty I refill it 1-2 times. It hasn't given up on me yet. I print a bunch, both office work and personal. I am not always close to my printer when I want to print to it. I have used a Google Cloud print capable printer before at a different job and it was awesome. Print from anywhere convenience. Go back to the printer and it is printed. Sadly, that job is no more, and with it went my access to the printer. So I looked into getting my own cloud aware printer, but they are not so popular: few models exist and the cost is prohibitive. I learned that if I had a box with Chrome on the same network as the printer then I could make the plain printer "cloud aware". The problem with that is that running a box 24/7 brings costs into question. Even if you use a netbook, it will consume roughly about $130/year in power. Looking around the internet I came upon the idea of using a Raspberry Pi. Cost of running a Raspberry Pi is roughly about $5/year. Both estimates will vary on your wattage costs, etc. 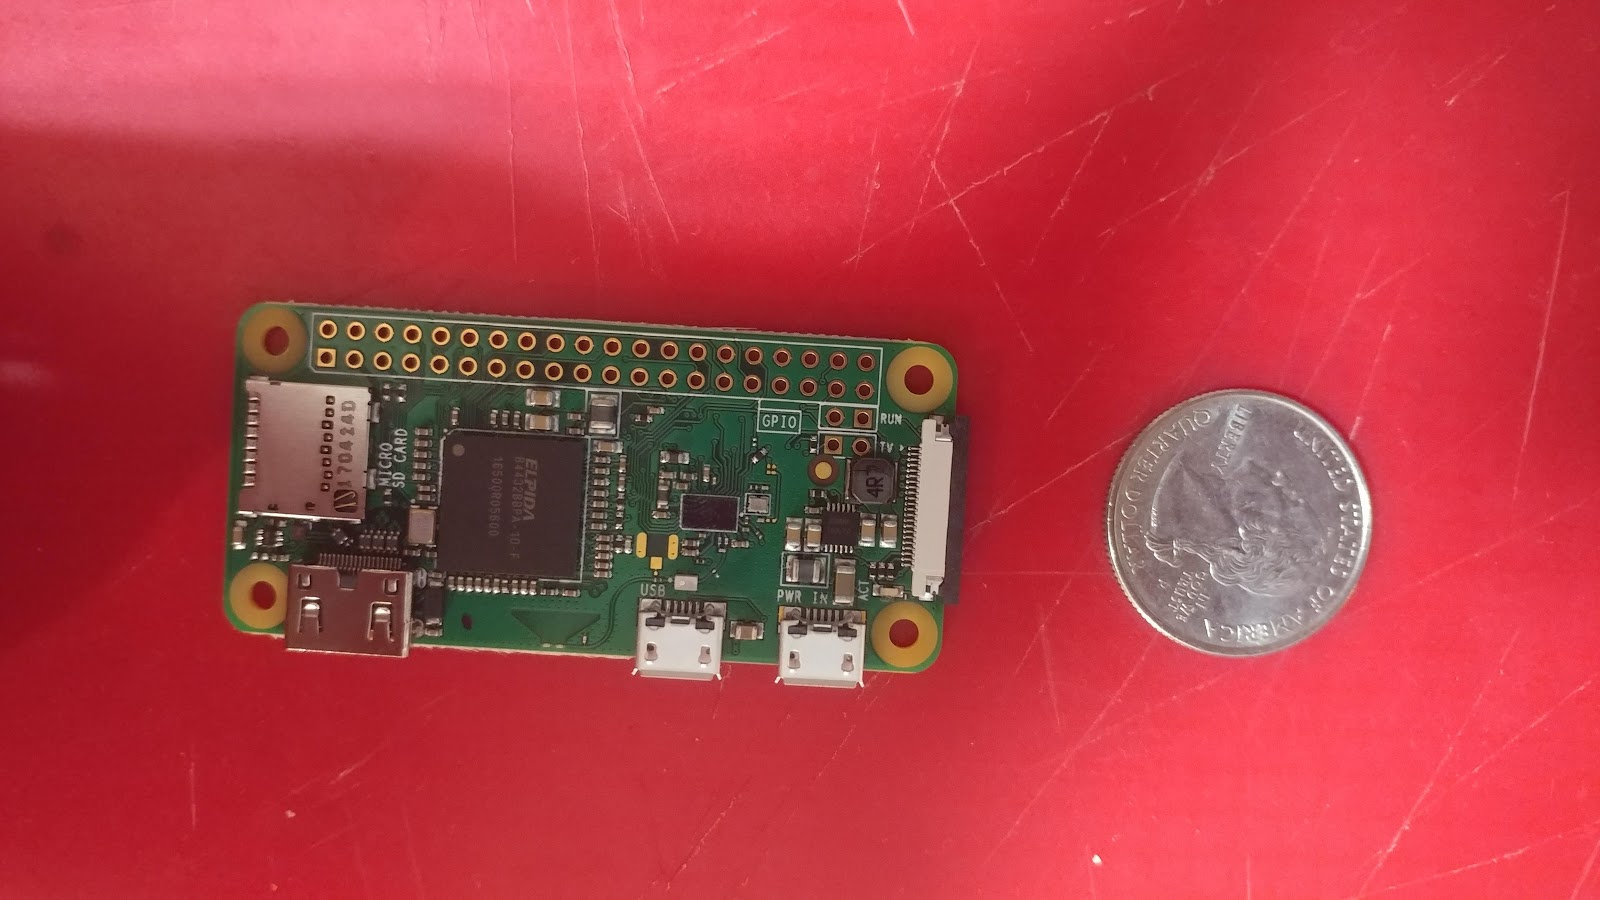 Thus, my project was born. While it is possible to have a full on desktop on a Raspberry Pi with a toned down version of Chrome, I wanted to get this done with the minimum of fuss. Here are the tools used in this project.
A few different setups can be used: a wired network printer, a USB printer that's wired to the Raspberry, or a Raspberry that's wired into the network. First, we get a fresh Rasbian Stretch image directly from their site. Two different versions exist. The one with a desktop and the one without. If you want a full on desktop, then you'll need a 8GB tf card. I wanted a very sparse installation with nothing extra on it. I used the lite version. The lite version, with all the programs needed for this project,will fit comfortably into a 2GB flash card. Once the download is complete, unpack it. Then use the following command to write the image to the card. Please make sure the device you are writing to isn't mounted when writing to it using dd. You may have to be root to do this so start with su. dd bs=4M if=/path/to/image/2017-xx-xx-raspbian-stretch-lite.img of=/dev/mmcblk0 conv=fsync There is no visual indication that the image is being written, so just give it a bit. Lite took about five minutes for me. A full desktop image will take significantly longer since it is about three times the size. A word of warning. Bad things can happen with the misuse of dd. Please make sure you're writing to the correct device!  After the image is written, remove the transflash card from the computer and reinsert it. You will notice that there are two partitions. A boot partition and another unnamed partition. At the root of the boot partition create two text files.
The file named ssh will be left blank. The file wpa_supplicant.conf should have the following text in it.
ctrl_interface=DIR=/var/run/wpa_supplicant GROUP=netdev Don't forget to replace YOUR_NETWORK_NAME for your wifi network's name and YOUR_PASSWORD for your network's password. If leaving a plain text file with your network password on the Raspberry Pi gives you sleepless nights, then the password can be configured as a pre-encrypted 32 byte hexadecimal number. You can use the wpa_passphrase utility to generate an encrypted PSK. This takes the SSID and the password, and generates the encrypted PSK. With the example from above, you can generate the PSK with wpa_passphrase "YOUR_NETWORK_NAME" "YOUR_PASSWORD". The wpa_passphrase CLI tool is built into PCLinuxOS. If you're using a wired Pi for this, then the wpa_supplicant.conf file is not needed and you can skip the whole section. It is only for connecting to wifi networks. At this point, the Raspberry Pi's "hard drive" is all set up, and you can put the flash card into the Raspberry and supply power to it. After about a minute or two, the Raspberry should boot up. I didn't use a usb keyboard, mouse or a monitor on my raspberry. So I'm going to ssh into the Raspberry remotely. If you have a keyboard, mouse and monitor, then you can do the next steps directly on the Raspberry. The first order of business would be to find out the network IP of the Raspberry Pi. I simply logged into my router and looked up the list of connected devices. If you have a monitor hooked up to it, then you will see "My IP is xxx.xxx.x.x" in the CLI interface. If you have the full desktop, then you can hover over the wifi icon on the taskbar, and the IP will show up. From another computer connected to the same network, issue the command ssh pi@<raspberry IP>. It will ask for the Raspberry's password. Since this is the initial boot up and the password hasn't been changed yet, the default password is "raspberry." Once inside you can issue the following commands in succession.
sudo apt-get update Let me explain what's going on. First we update the Pi. Then we upgrade. Then we install the cloudprint and cloudprint-service. This will bring on a host of other packages that need to be installed, such as CUPS, printer drivers, etc. After all that is done, we add the user "pi" to the group "lpadmin," and after that, we reboot. Fresh back from rebooting the Pi, we issue the command: sudo nano /etc/cups/cupsd.conf This will open up the file cupsd.conf and let us edit it. Change the line Listen Localhost:631 to Listen 631 In the sections <Location>, <Location /admin> and <Location /admin/conf> add the line Allow All You can alternatively, instead of allowing all, allow only IPs from inside the network access the CUPS tools by not putting in "Allow All" and instead putting in Allow 10.0.0.*. Or, 192.168.0.* or 192.168.1.*, whatever the case may be. At this point, CUPS is set up, and access to CUPS can be done from any browser within the network. Simply pull up a browser on any computer that has access to the network the Pi is on, open the location *<yourpi's IP>:631*, and you'll be greeted with the CUPS landing page.
Add your desired printer to CUPS through this portal. I will skip this part. I'll assume that you were able to add the printer successfully to CUPS and printed a test page. Done? Great! Now let's add this printer to your Google account.
Issue the command sudo cps-auth After a few seconds, you'll be directed to visit a webpage. Open the page on your web browser, log into your Google account if you're not in it already, and you'll be asked if you want to add the printer to your list of Google cloud printers. That's all there is to it! You've successfully added the printer to GCP (Google Cloud Print) and you should be able to print to it from anywhere with Internet access! For security, cleanup, completeness you should issue the following commands:
sudo apt-get clean The first line is to clean up the /var/cache/apt/archives area so that the *.deb files are deleted, saving space on the card if you need it. The second will change your default password to something else. This is for security so that others cannot get into your Raspberry and do unwanted stuff. Then a reboot (or halt) for a clean start (or to relocate the Raspberry since setup is complete). After setting up the Raspberry to be my print server, I still have a bunch of space on my 2GB card.
Filesystem Size Used Avail Use% Mounted on At this point you should be able to print to the printer from Chrome from any computer. Print some random webpage to test things out. If you want, you can choose to share the printers that is available to you with other Google users. The steps to share a printer are as follows.
Now the objective is to add the printer into CUPS on your main workhorse computer. My workhorse happens to be a laptop that travels with me all over the place. On the computer that you want to add the cloud printer to, launch Synaptic and install python-httplib2, available in the official repo. It is a needed dependency for the next step. For this, we'll use a program made by Niftiest Software. They can be found at http://www.niftiestsoftware.com/ (NOTE: We should repeat the well-known warning about installing software from outside the official repo. Outside software can create problems with your install. Proceed at your own risk.) First, become root. We will have to install software into your installation and add a printer to CUPS. Both of these need root access. Issue the three commands in succession.
rpm --import The last command will start up the process of authenticating your Google account and adding the printers to your computer's list of printers. The dialogue will look something like the following...
Name for this user account ( eg something@gmail.com )? Open this URL, grant access to CUPS Cloud Print, then provide the code displayed : https://accounts.google.com/o/oauth2/auth?scope=https%3A%2F%2Fwww.googleapis.com%2Fauth%2Fcloudprint&redirect_uri=uand_so_on When you go to the address provided, you will be given another code from Google. If you are not signed into a Google account, you'll be asked to sign in, or if multiple accounts are signed in, you'll be asked to pick the account you want to use. Copy/paste the code that you get back from Google after signing into your account back into your terminal window. Example code from Google: 4/EbUy5C36c0eB3L3AUgzYeEAWUwcG0Ps_xand_so_on At this point, you'll be asked if you want to add other Google accounts, and if you want to add all the printers that are on this account. Cloud print is a very convenient service, but there are a few things to note. Using the Raspberry Pi is not the fastest solution, certainly not as fast as printing directly from a computer to your printer. Most of the time, a little slow down is not really a factor when the alternative is not to be able to print until you get home. The print job is also going through multiple servers, so please do not send/print sensitive information using this method. |