| Previous
Page |
PCLinuxOS
Magazine |
PCLinuxOS |
Article List |
Disclaimer |
Next Page |
LyX: A Visual Approach To Typesetting In TeX |
|
by phorneker Up to now, we have used TeXmaker for editing TeX/LaTeX documents. While TeXmaker is a great editor for typesetting documents, there is another application in the PCLinuxOS repository that takes typesetting to the next level of simplicity. LyX takes a WYSIWYM (that is What You See is What You Mean) approach to typesetting. That is, when composing and editing documents, you get an idea of what the document is going to look like (without having to rebuild the document to see the changes). This is simpler than TeXmaker in the sense that you are editing the document without having to learn the TeX/LaTeX language. When installed from the repository, LyX is launched from the Office menu inside the main menu (or Applications menu depending on what desktop you are running). When launched for the first time, you will get an introduction to LyX (which is itself editable). 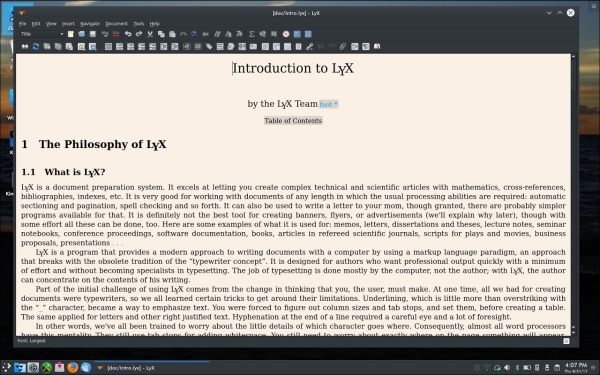 First, LyX is not a word processing application similar to AbiWord, Focus Writer or the word processing component of LibreOffice. It is instead a visual development environment for TeX and LaTeX in the sense that when you edit a document, you immediately see the changes to the document, whereas when you make changes to a TeX document in TeXmaker, you need to rebuild the document to see the changes in the preview panel. As I mentioned in the Introduction to TeX/LaTeX article, TeX was designed as a typesetting language. This means that you as a writer and publisher can focus more on the actual content of the document and less on the details of formatting the text in the document. As we scroll through the Introduction, we can see some things that differentiate LyX from typical word processing applications, starting with this one: 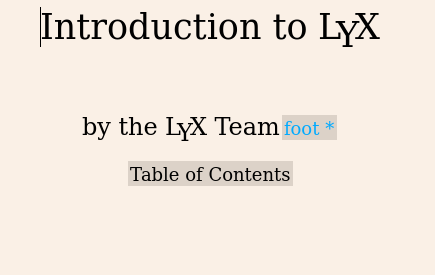 The highlighted foot * indicates that there is a footnote attached and that footnote will appear at the bottom of the page when printed. Clicking on the footnote reveals the following:  In this case, it is a reminder that there is a mailing list for the LyX Documentation team. The hyperlink provides a clickable link on the PDF version of the document when that document is published. Clicking on Table of Contents here, will open a left side panel providing you with an outline of the document you are publishing. 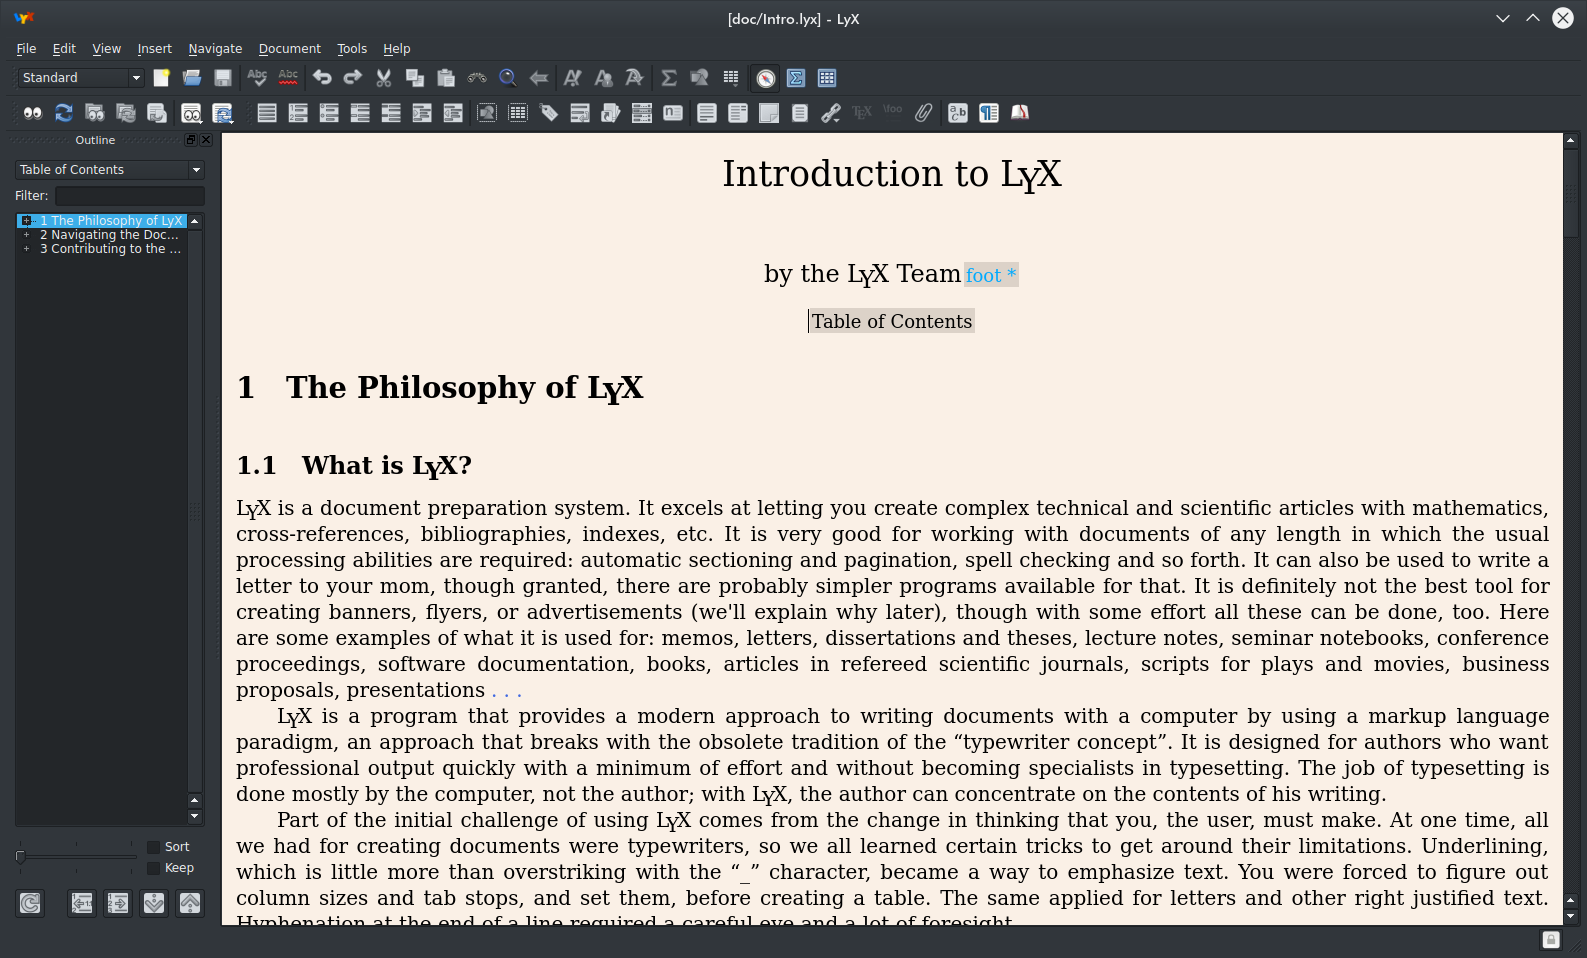 There is a section, namely 2.3 The Manuals, that contains a listing of the documentation included with the application. 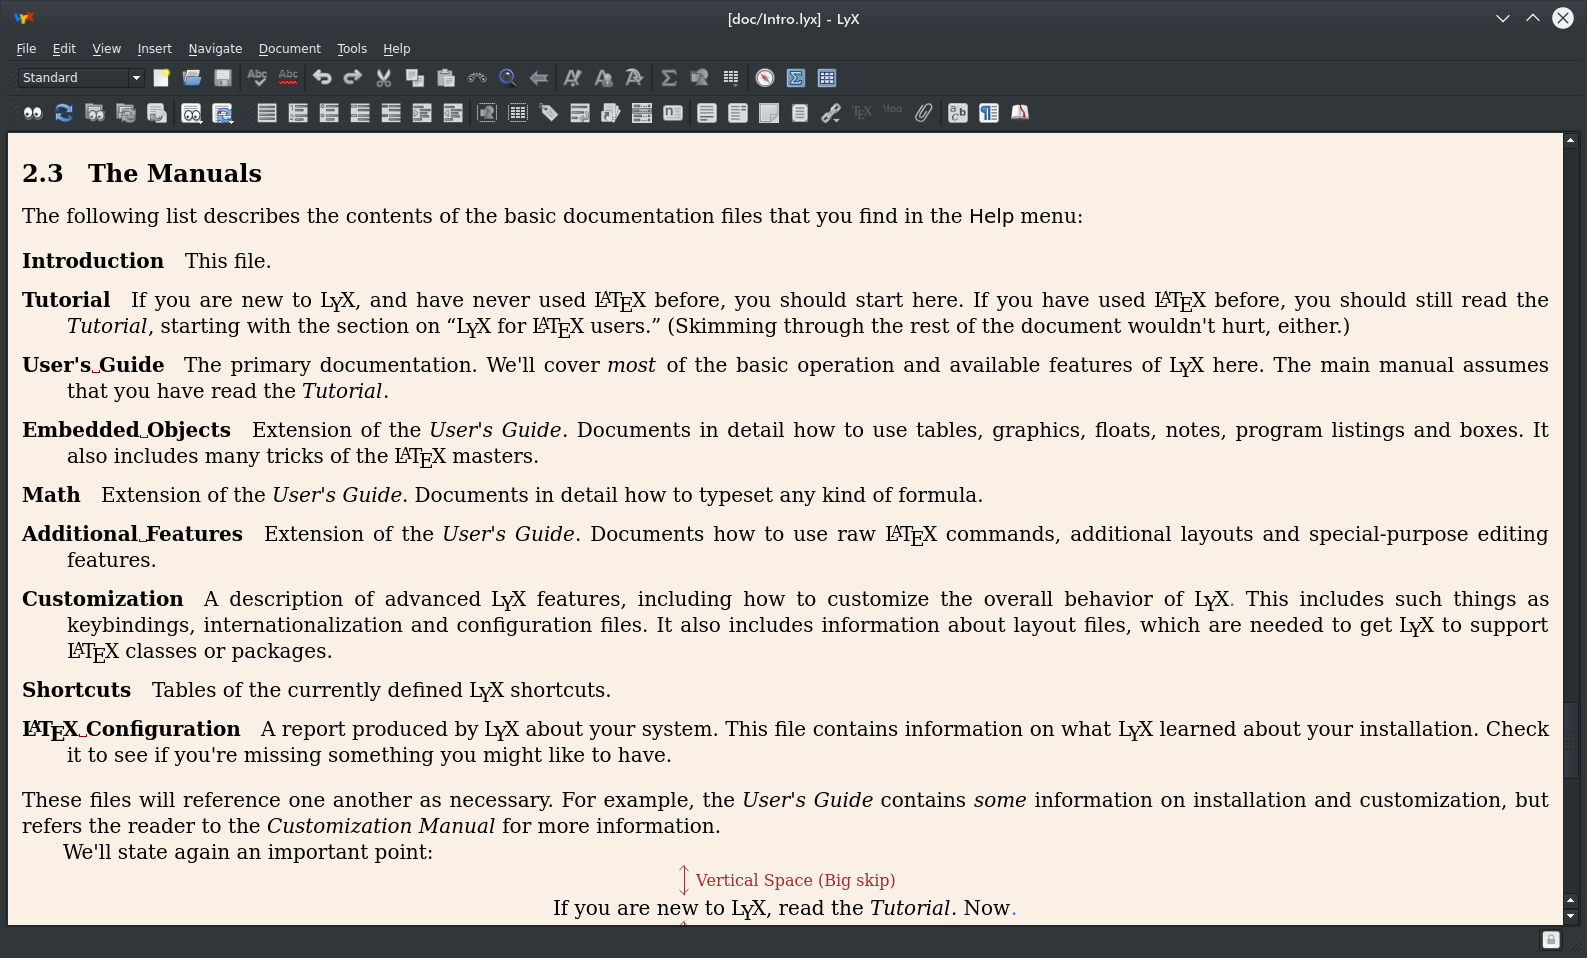
At this point, we should close this window (by holding down Control and then pressing the F4 key or by selecting Close from the File menu).  This is what we normally see when we launch LyX (after the first time). LyX comes with some templates that you can use to start a new document, or you can simply start with a blank document. Holding down Control and pressing N will start you with a blank document. However, if you want to use one of the templates included with LyX, then hold down both Control and Shift, and then press N.  Templates are stored in /usr/share/lyx/templates and are available to all users of LyX on your PCLinuxOS installation.
Each of these templates is self documenting as to their intended usage. For example, let us look at DocBook_article.lyx. 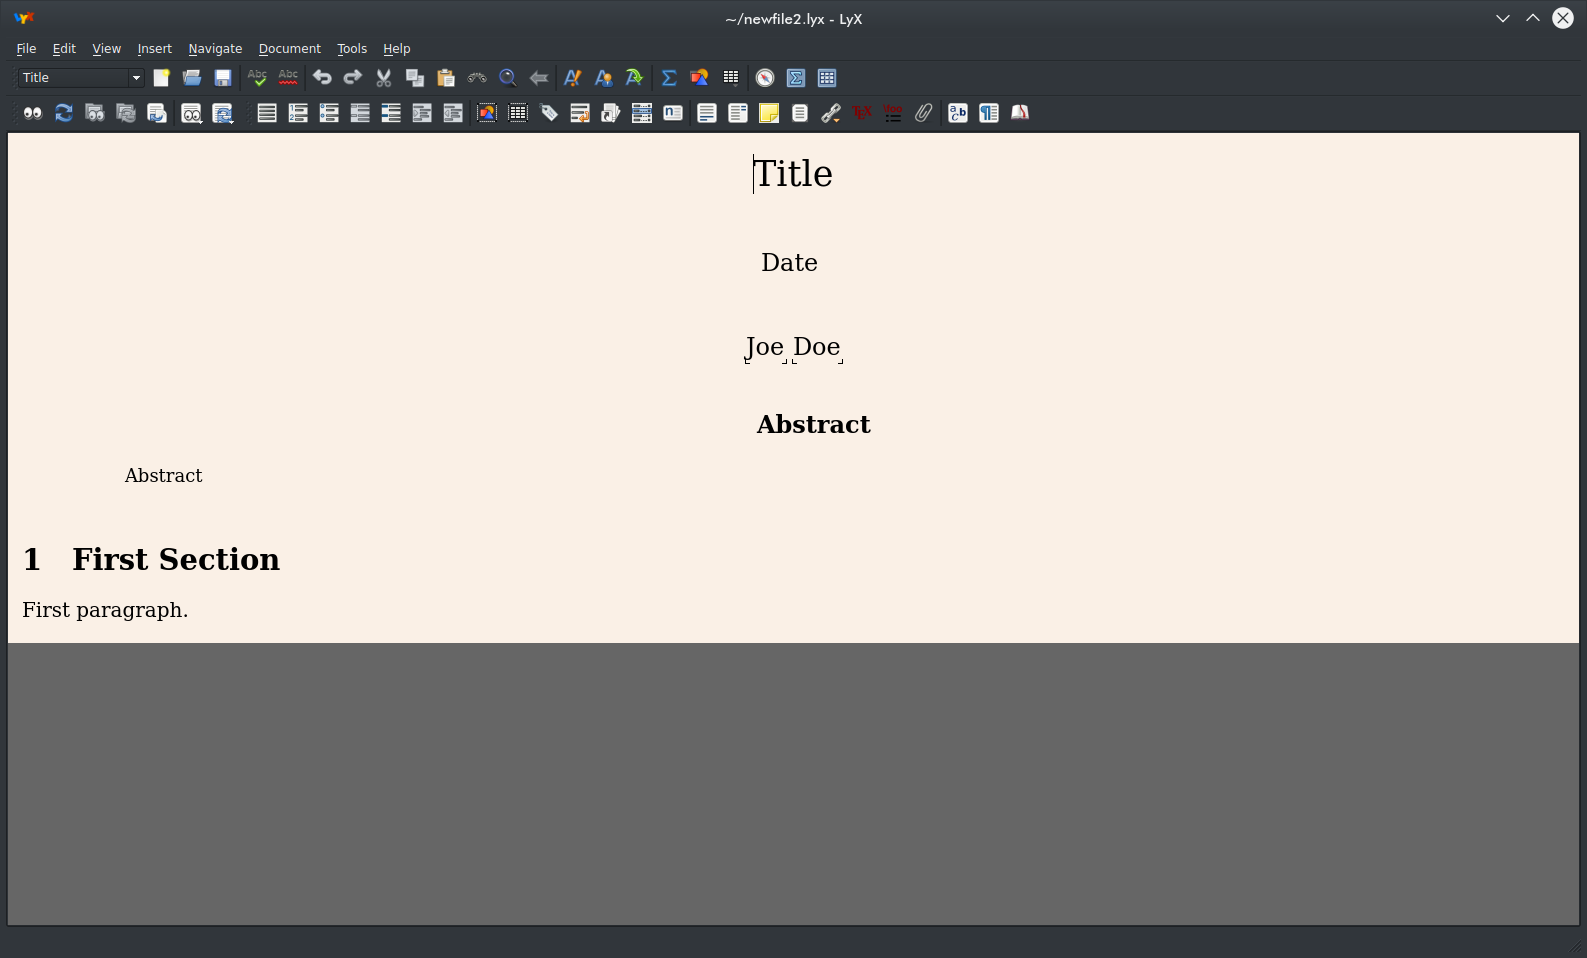 The template definitely looks like something used to format articles for publication. There are places to enter the title, date, and author as well as an abstract of what the article is about. Here is an example of the visual approach to typesetting. In LyX, you are using TeXlive to build the document, yet you do not have worry about TeX commands or statements. Those are kept internally within LyX. You simply focus on the content.
To use this template for your documents, you will need to give your document another name. To do this, select Save As... from the File menu, or hold down the Control and Shift keys and press S, then type in a new name for the document and click on OK. Then, within the document, replace Title with the title of your document, replace Date with the date of the document (usually today's date), and replace Joe Doe with the author's name (usually yours). The instance of Abstract just above where it says First Section is where you replace the word abstract with the actual abstract of the document you are about to type. The instance of Abstract just below the author's name should be kept as is as this is the header we use to tell the reader that the following is an abstract of what the document is about. File Types that can be imported to LyX In addition to creating a new blank file by typing Control-N, and creating a new file from a template by typing Control-Shift-N, LyX can import existing TeX/LaTeX documents, spreadsheets, and plain text files. 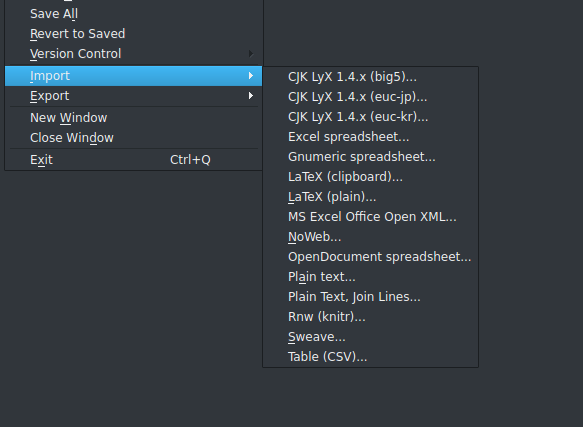 Select Import from the File menu to get this list of file formats supported by LyX for importing. The CJK LyX 1.4.x formats refer to documents written in Chinese, Japanese and Korean using LyX 1.4.x. LyX will import Excel, Gnumeric, and LibreOffice spreadsheets (with the OpenDocument spreadsheet) format as well as databases and tables saved in CSV format (for Comma Separated Values). Existing LaTeX documents can be imported by itself, or pasted from the clipboard (copied from the source document with another program). Plain text can be imported as well. The Join Lines... option allows for lines of text in the source file to be read as one line in LyX until a blank line is encountered, at which time, a new line in LyX will begin. Remember that TeX treats one whitespace element (such as a blank space or a return carriage character) the same as a thousand whitespace elements. Without the Join Lines... option, the plain text is read in verbatim, and the result could be a mess for you to clean up in LyX.
Let Us Use Last Month's Example In the last article, I brought in Mathematical Approach to Photography for a sample document. Since this is a LaTeX document, we can bring it into LyX with the File → Import command from the main menu. 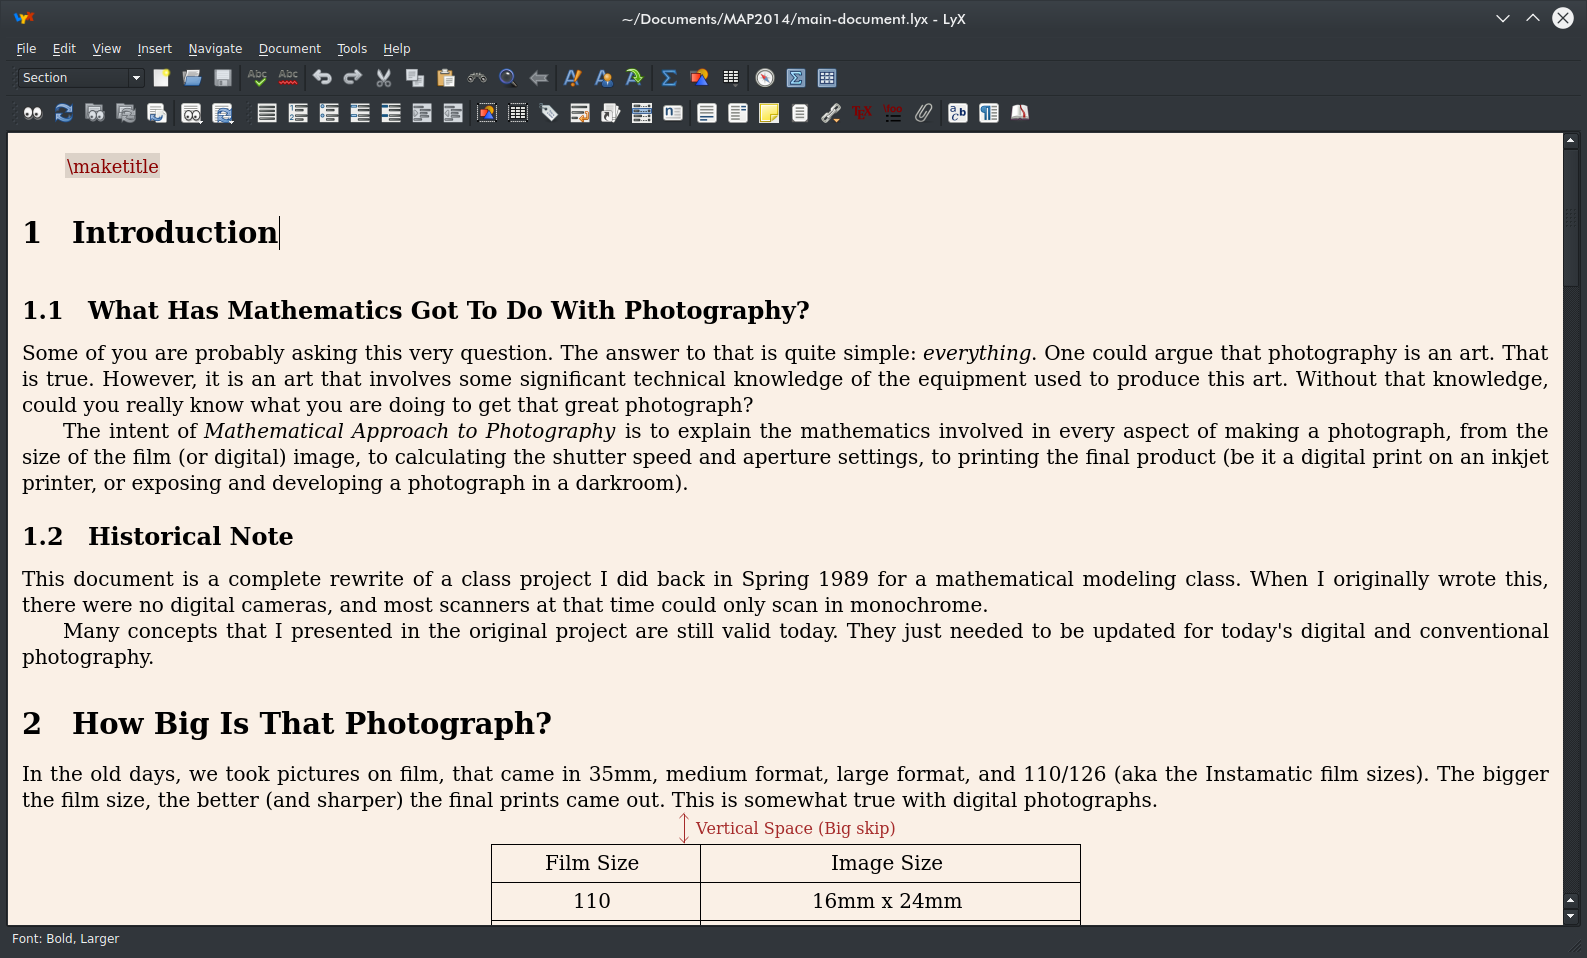 As we can see here, we are going to need to clean up this imported document as there are a few elements missing here that were in TeXmaker, such as the title that was in the original document. For starters, we need to replace the \maketitle command embedded here to the actual title of the document. Let us highlight \maketitle, delete it and then replace it with the actual title of the document. <-p> The toolbar has a pull down menu that allows you to quickly select document elements. Fortunately, this menu has a Title element we can use here (in addition to the Author and Date fields).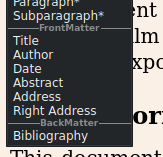 We simply make the appropriate replacements.  Looks better, doesn't it? We could place an abstract later if we wish. Now let us scroll down to the section called How Big is That Photograph? to find out what happened with the import. 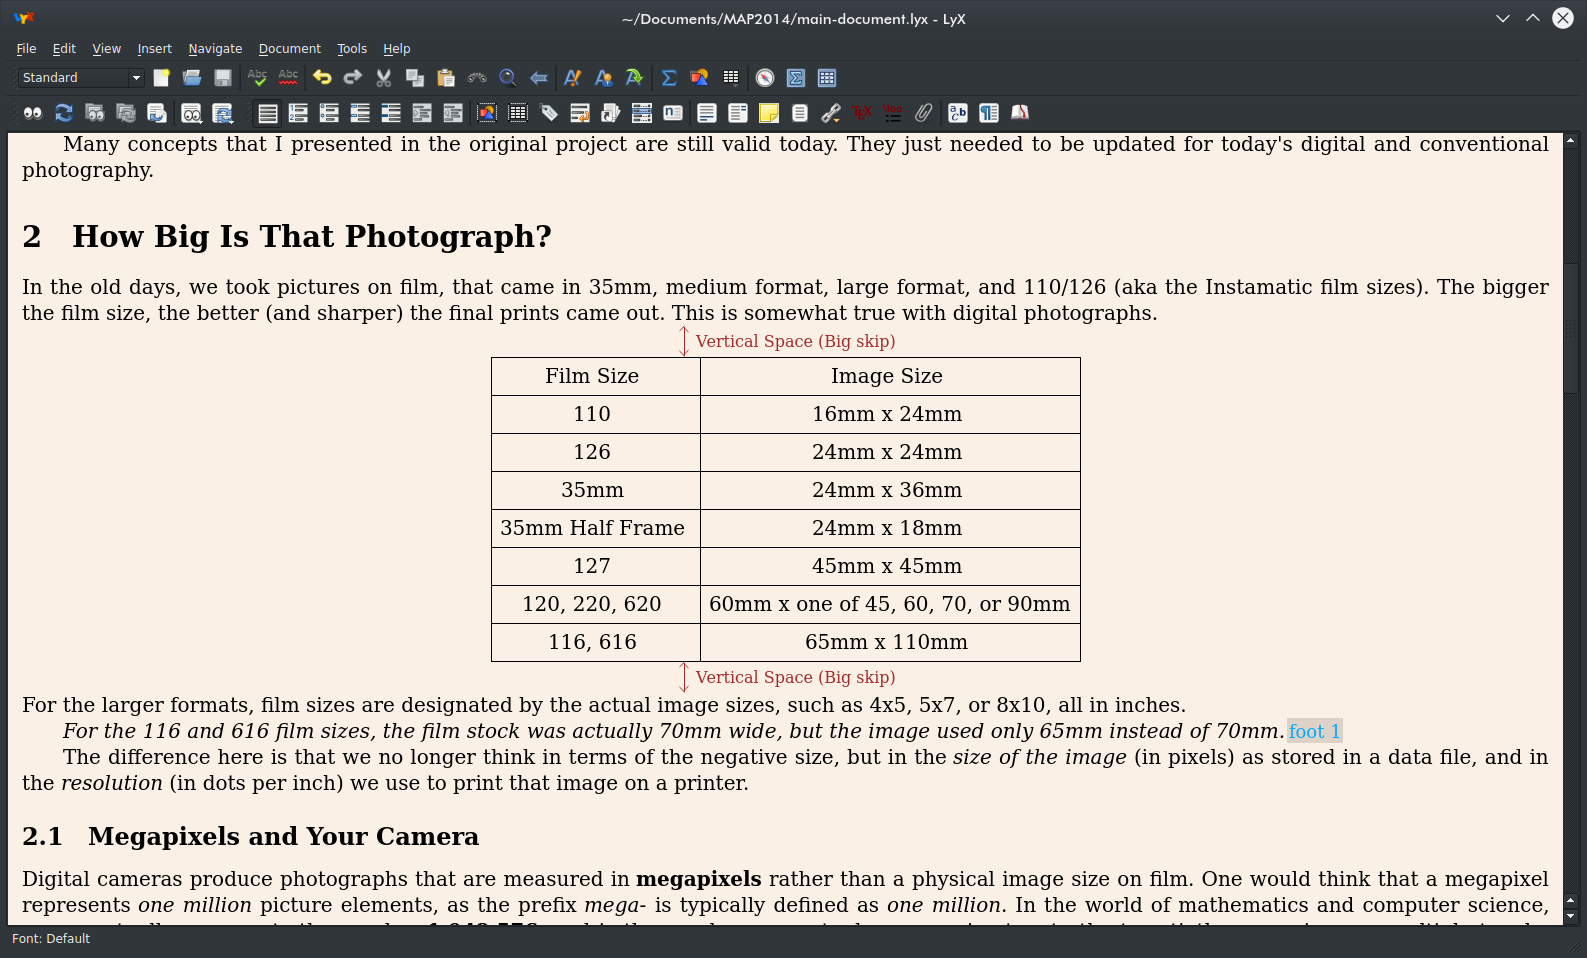 The lines around the table are still there, but there is a LyX notation indicating the amount of whitespace used between the text and the table. Hence, the import here was done correctly. The LyX notations will not appear in the printed version of this document. They are there to remind us of the formatting of this section. Also note the presence of a footnote. Click on that footnote to see the contents of that footnote. Now, let us scroll down to the Focal Length section. Remember the formula we typeset in the last article? Here it is in all its glory already typeset in LyX. 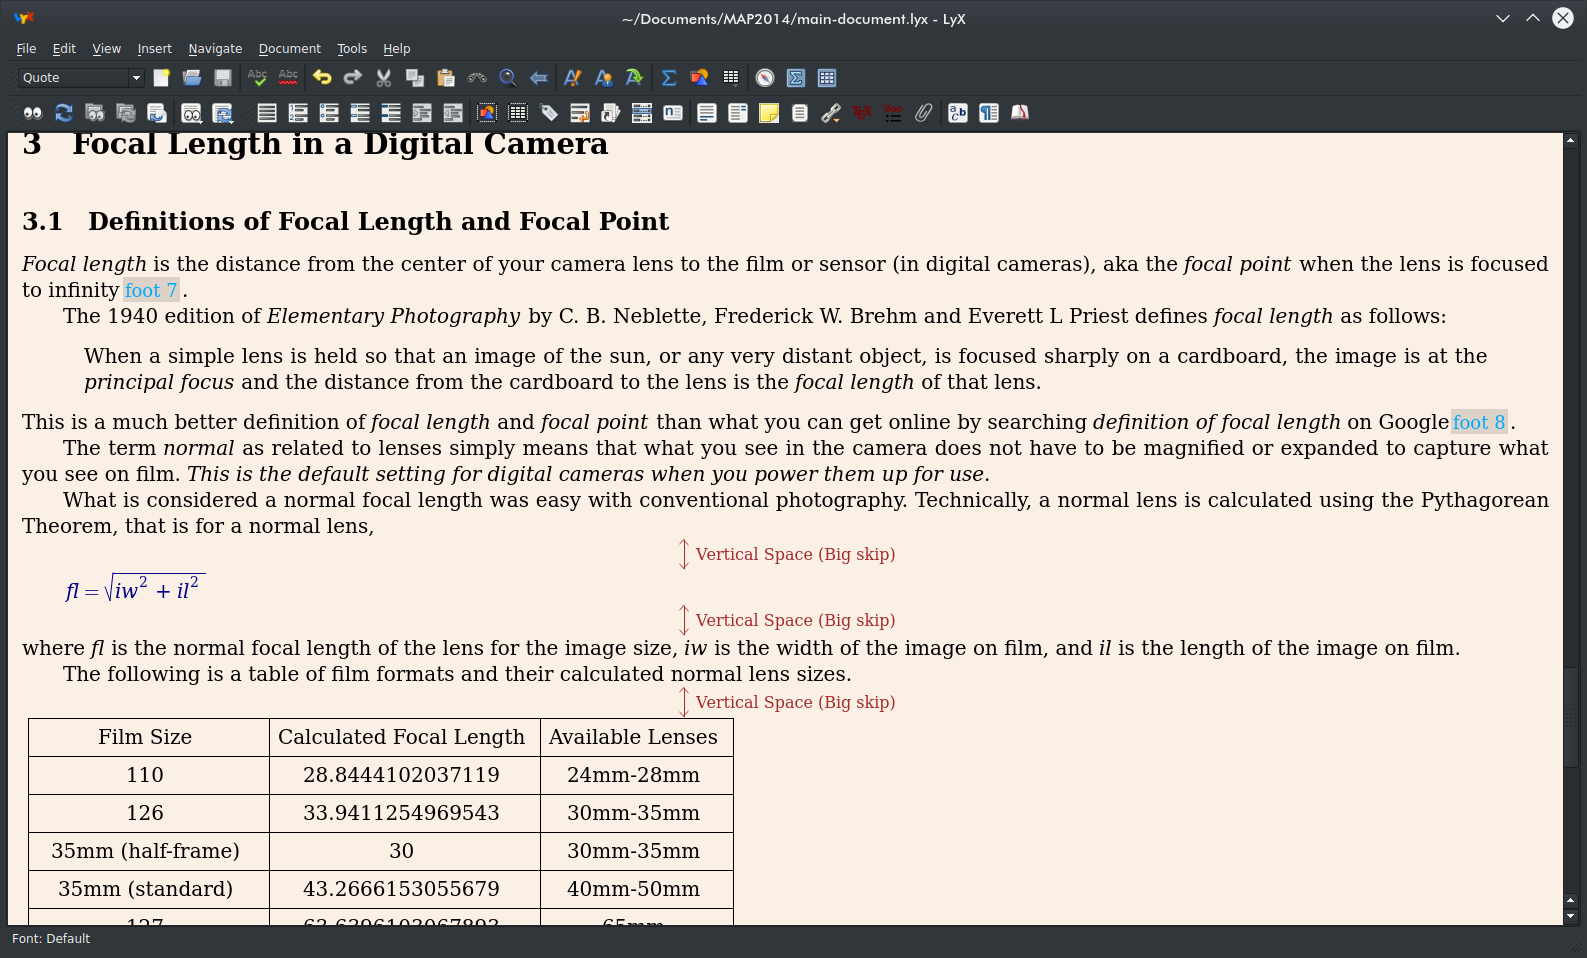 ...and here is the formula itself. 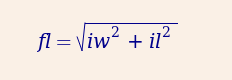 ...and finally, the graphic we used in the article appears in LyX as expected. 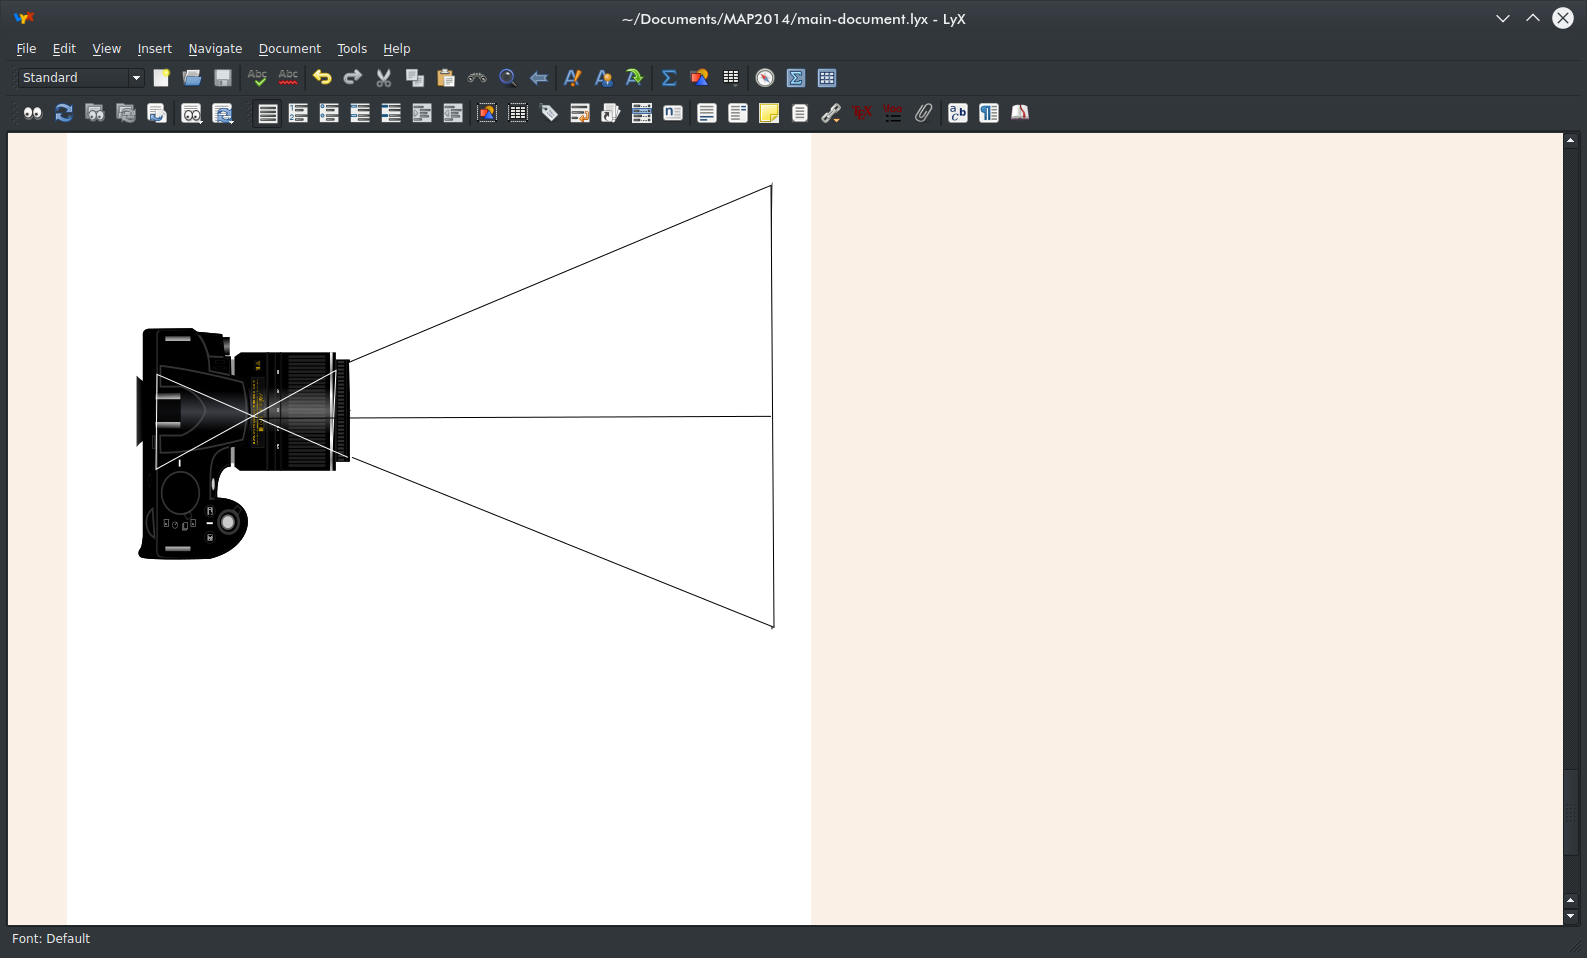 Now, we can just type Control-S to save the document as we have it here. The Toolbars LyX has some toolbars that are feature packed.  This toolbar is located directly below the main menu of LyX. The first item here is a popup menu to quickly select often used document elements such as sectioning, titles, dates, and chapters. Next, we have the customary New Document, Open Document and Save Document buttons, as well as the spell checker buttons, undo and redo buttons, cut, copy and paste buttons, and search document buttons as expected of any editor or word processing program.The A button with the accent toggles the emphasis attribute on highlighted text (usually italicized). The button next to that is called the Toggle Noun button (Why? I'll never know). The third A is called Apply Last and refers to styles of text (such as boldface, italics, and font change) that were previously applied to text in the document. The Sigma character next to that toggles the Math mode and Math Mode is needed to typeset mathematical formulas. The button next to that is used to insert graphics such as the one we used towards the end of the document. Next to that is the button to (visually) insert tables into the document. The last three buttons are used to show the outline, the math toolbar and the table toolbars, with the latter two appearing at the bottom of the application window.  This toolbar has some important functions that affect the document. The first is a document preview. LyX uses Okular for the document preview. The next button updates the resulting PDF without the preview. Larger TeX projects involve a master document. This document not only contains content local to that document as well as commands for TeXLive to include (and process) associated documents. The function here is similar to the function of the #include statements in C and C++. The next two buttons update the master document. Icons with the eyes on them launch Okular for the document preview, whereas the icons with the arrows simply update the master document. The next icon with the one arrow and a smaller document icon toggles between forward and reverse search in LyX for the current document being edited. The last two icons update are similar in function to the first two icons. The difference here is what command LyX uses to typeset the pages. The default for LyX is to use pdflatex, that is direct typesetting of the pages to a PDF file. The Update Other Formats and Preview Other Formats commands in LyX refer to the output format for the document. Besides PDF, LyX can output to DVI (using the latex command), PostScript, HTML (either through standard HTML or optimized so what appears in the web browser is similar to what appears in LyX itself), OpenDocument or Rich Text Format. PDF file is generated with the pdflatex command by default. LyX can, however, use the standard latex command to produce PostScript first, then use the ps2pdf to generate the PDF file. The main difference here is that pdflatex optimizes the TeX output for PDF rather than just translating PostScript to PDF, resulting in a better quality PDF document. It may not be apparent for simple TeX documents, but for more complex TeX documents, the difference will be clear.  This toolbar is for inclusion and formatting of lists in your document. From left to right, the first button reverts highlighted text in a list back to plain text (that is no formatting). Next, this button creates a numbered list with each line in the highlighted text being an item in the list. You can also start a numbered list with this button by placing the cursor where you want to start the list, then click on this button. The button next to that does the same thing, only the list is bulleted (with a round bullet) instead of a number for each item. The next button creates generic lists, that is items are simply listed without any type of bulleting. Then we have a button that creates lists intended for terms and their definitions. The last two buttons are used in creating multi-level lists. Items to be placed in sublists are highlighted and the buttons move the items into or out of the sublists.  Finally, this toolbar contains buttons that allow you to work with tables, graphics, footnotes, hyperlinks, cross references, labels, citations, indexes, and even attach other documents. The first two buttons insert floating graphics and tables into the document. Elements in LyX that float in the document can be shown or hidden within the LyX editor, and show up when the document is being typeset. The third button is for placing labels in the document. Labels here are nothing more than bookmarks that are kept internal to LyX and are referenced when necessary. The next button is for making cross references within the LyX project. Here is one application for labels in LyX documents and projects. Next to that is the button to include citations in your document. Citations are needed to include sources used in production of the document, (i.e. the sources from which you paraphrased or quoted the text in your document so that the said text is legal for use). The next button is used to insert an index entry so when the document is built, there will be a index page typeset within the document. The following button inserts a nomenclature entry in your document. The Merriam-Webster Dictionary defines nomenclature as follows:
To define a nomenclature entry, place the cursor on the word being defined and click on that nomenclature button. Type in a description of what that particular word means in the sentence and click on OK. Next to that is a button for insertion of footnotes in your LyX document. Footnotes appear as a symbol in your document, but are typeset when the document is typeset for publication. The button next to that does the same for margin notes. Margin notes appear in small type between the margin of the document and the edge of the paper closest to the margin. Here is another reason why TeX documents have a default two inch margin for printed pages. The button next to that is for general notes that are maintained within the LyX document. These are readable only in the editor and are similar to comments embedded in documents on Google Docs (except for the fact that they do not get e-mailed from within LyX).
The button next to that creates a box where you can enter text to be enclosed, not unlike the table style I use in these articles. Boxes can be enclosed within other boxes. The button with the abc on it allows you to change the style of text highlighted, or the style of what you will be typing in. 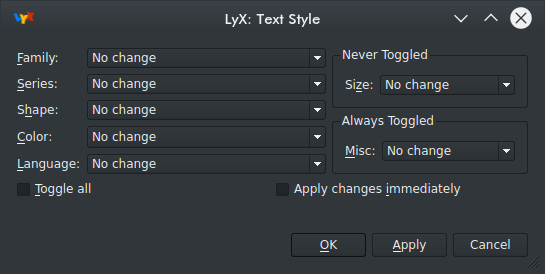 Here is one place where LyX has an advantage over TeXmaker. Text Style allows you to set parameters to text that you are going to insert, or have already highlighted. Clicking on Apply Changes Immediately and then clicking on Apply allows you to see your changes before making the commitment to those changes in your document. 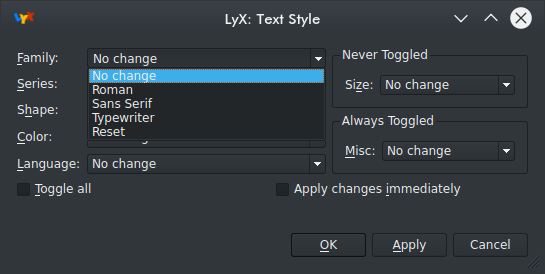 For fonts, you can choose between Roman, Sans Serif, or Typewriter (for monospace text), or you can reset the font in the text to plain (i.e. default font) text. 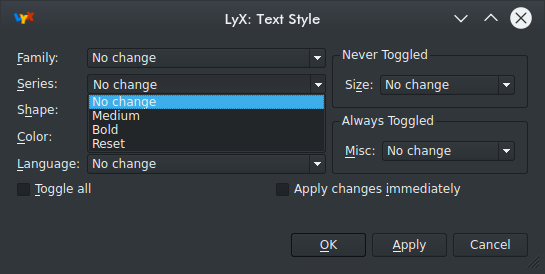 Series allows you to select between Medium (or normal for most of us) and Bold for boldface type. 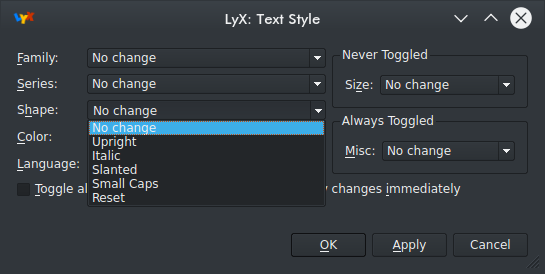 Shape allows you to select Upright, Italic, Slanted, or Small Caps. For some fonts, such as Times New Roman, there is a big difference between Slanted and Italics. Slanted simply slants normal text, whereas Italics provides the truly italicized version of Times New Roman. 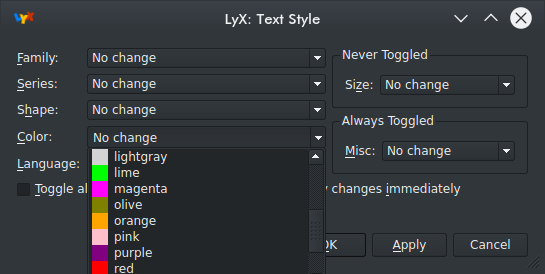 ...and as we can guess, Color and Language effect just that, Color and Language. For the Color, we get the standard set of sixteen colors in which to color text. Note: This cannot be easily done in TeXmaker unless we have the right LaTeX package that provides color support. Herein lies an advantage of LyX over TeXmaker. Let us go back to the toolbar. The button with the paragraph symbol allows you to set parameters for the affected paragraphs. 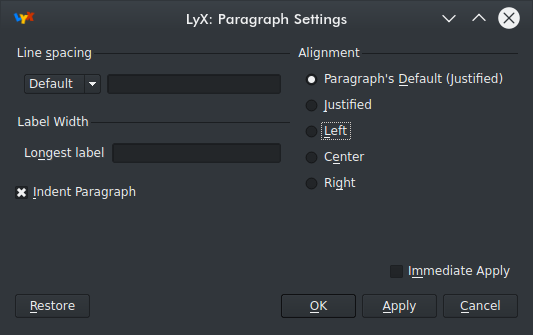 Here, we can choose the spacing between lines in the paragraph (Single, 1.5 lines, or Double), whether to indent the paragraph or not, and how the paragraph is justified. What I just showed you is the basics of LyX as a development environment for TeX/LaTeX documents without having to learn a line of TeX code. The real power of LyX comes when we actually use LyX to edit documents like last month's real world example. Feel free to explore the templates that come with LyX, and explore the documentation that comes with the LyX package. |