| Previous
Page |
PCLinuxOS
Magazine |
PCLinuxOS |
Article List |
Disclaimer |
Next Page |
GIMP Tutorial: Add Rain To A Photo |
|
by Meemaw GIMP does all sorts of special effects! You can take an ordinary photo and add or subtract almost anything using GIMP. This month we're going to make it rain in an otherwise clear photo. Choose the photo you would like to use. Create a new layer filled with black. This is the layer we'll use to make the rain. Go to Filters > Noise > RGB Noise and uncheck Independent RGB so that the three color sliders are linked. Click on any one of the sliders and drag it to the right so that the values of all the colors show a reading of about 0.70. The Alpha slider should be clear to the left. When you've selected your setting, click OK. The layer will now look kind of like it's snowing, but we have more to do. 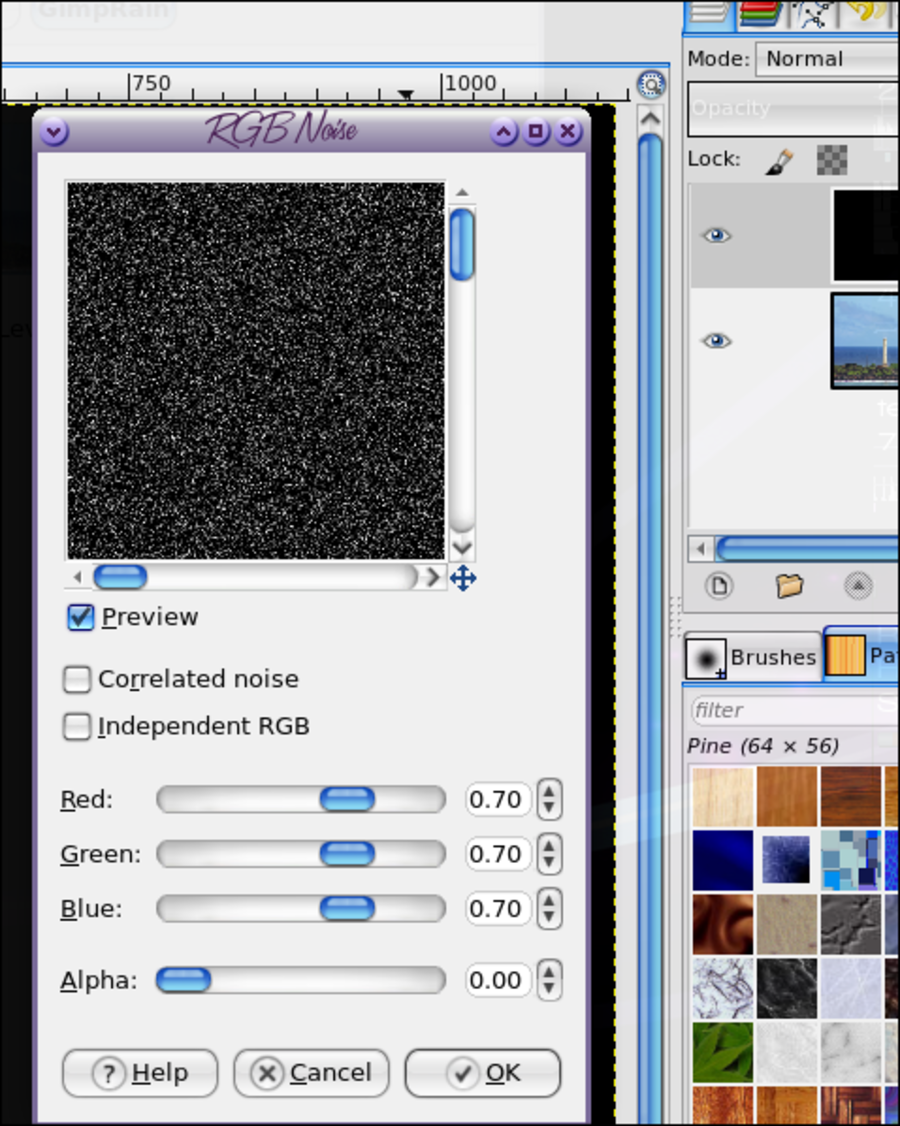 If you desire, you can use different settings for this step. Generally moving the sliders further to the right will make the rain appear heavier. Ensuring that the speckled layer is selected, go to Filters > Blur > Motion Blur to open the Motion Blur dialog. Ensure that the Blur Type is set to Linear. Then you can adjust the Length and Angle parameters. I set the Length to forty and the Angle to eighty, but you can experiment with these settings to produce the result that you think looks best. Higher Length values will make it look like harder rain and different Angle settings will make it look like the rain is coming from the other direction or driven harder by the wind. Click OK when you're happy with the effect.  With the rain layer still selected, click on the Mode dropdown menu in the Layers palette (at the top) and change the Mode to Screen. 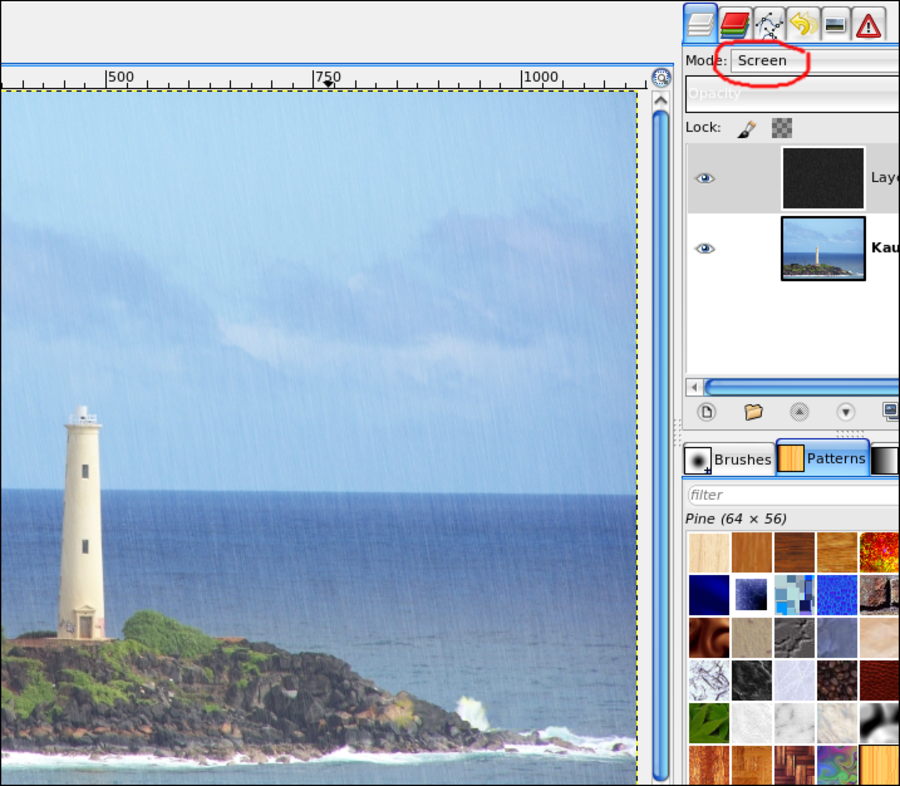 I know the rain is hard to see so far, but the next step will help considerably. Go to Colors > Levels and check that the Linear Histogram button is set (red circle at right) and that the Channel dropdown is set to Value (red oval at left). In the Input Levels section you will see that there is a black peak in the histogram and three triangular drag handles beneath. First, drag the white handle across to the left until it is aligned with the right hand edge of the black peak. Now, drag the black handle to the right and check the effect on the image as you're doing this (make sure that the Preview checkbox is activated). You can move these handles back & forth until you get what you want. I actually had to move the white handle back to the right a lot to get the effect I wanted.  When you're happy with the effect, you can drag the white handle on the Output Levels slider a little to the left. This reduces the intensity of the fake rain and softens the effect. Click OK when you're happy with your result. It may look the way you want it, but if not, there are a couple more things you can try. You might also go to Filters > Blur > Gaussian Blur and experiment with the Horizontal and Vertical values, and see if that makes any difference. It didn't seem to on mine. One last thing you can do is select the Eraser Tool from the Toolbox and select a large soft brush in the Tool Options, and reduce the Opacity to 30%-40%. Using the large brush, stroke a few areas of the rain layer make it look more varied and natural. 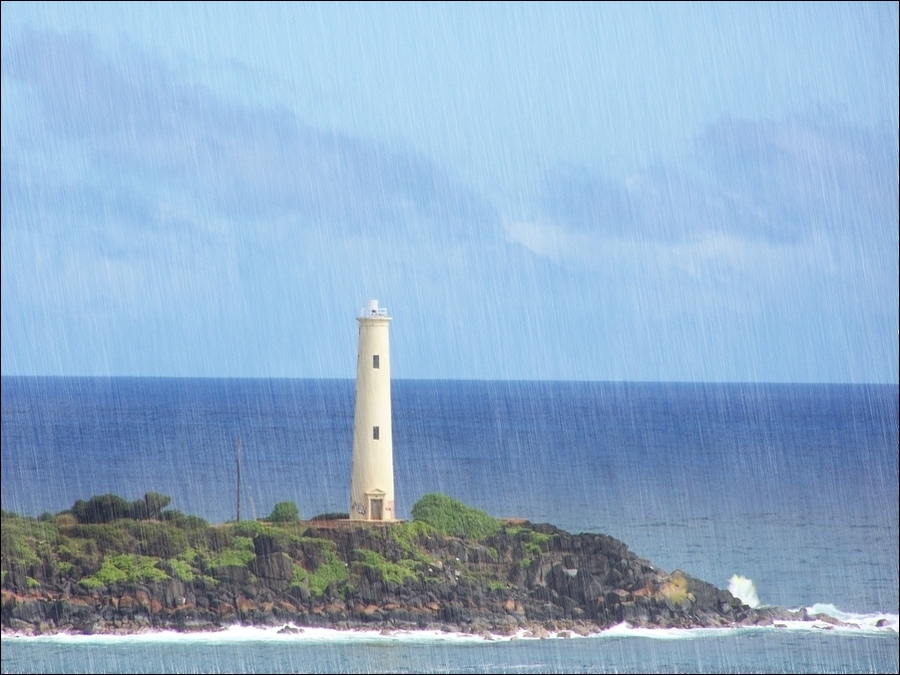 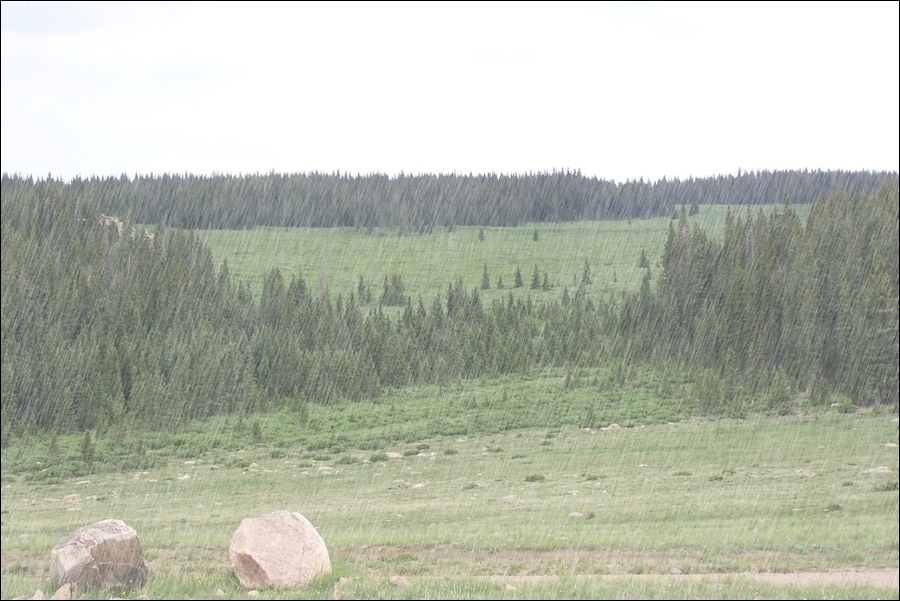 Also, if you feel like you have messed up thoroughly and just want to start over, you can always just delete that layer in the Layers dialog. You will be left with your original picture, free to have another try. If you like it, be sure to Export it with a new file name so you still have your original photo. This is the process to use if you want a lot of control over your creation. However, if you want rain quickly, you can use the GIMP filter Render Rain written by our friend dinasset over at GIMP Scripts. It is a one-step script that does the rain quickly. 
|