| Previous
Page |
PCLinuxOS
Magazine |
PCLinuxOS |
Article List |
Disclaimer |
Next Page |
Introduction To The Lumina Desktop |
|
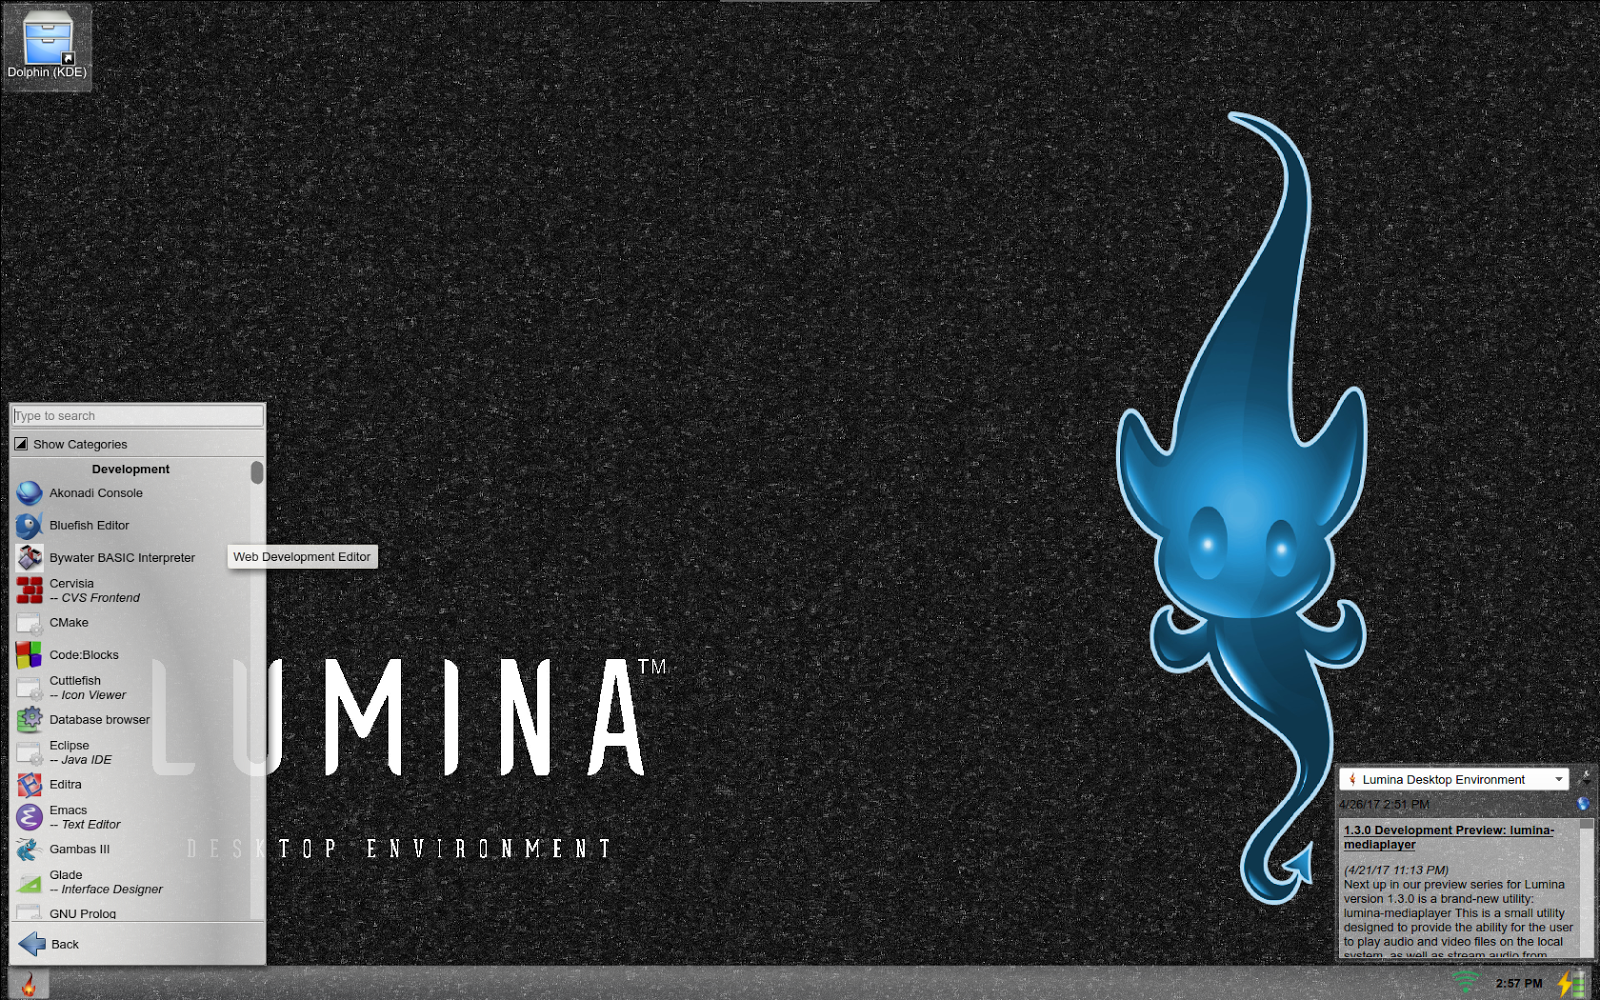
by phorneker PCLinuxOS comes with MATE and KDE Plasma desktops on official releases. But, did you know there is a new desktop environment that can outperform both MATE and KDE Plasma? The Lumina Desktop is a desktop that is fully featured and is focused on getting things done efficiently. Lumina Desktop is the default desktop for TrueOS (http://www.trueos.org), a user friendly variant of the FreeBSD distribution. (One could argue that TrueOS is to FreeBSD what PCLinuxOS is to Linux itself.) It has been ported to various Linux distributions (including PCLinuxOS), and was built on the QT5 toolkit and the Fluxbox window manager. Installing Lumina Lumina is installable from Synaptic. But once installed, you should reboot PCLinuxOS to ensure that Lumina will launch as intended, and that Lumina is selectable from the Session menu in the login screen. When you launch Lumina for the first time, Lumina will take time to locate applications already installed in PCLinuxOS. Each time you launch Lumina, a famous quote will appear on the center of the screen, followed by a startup sound (a series of chimes). Then the desktop will appear. 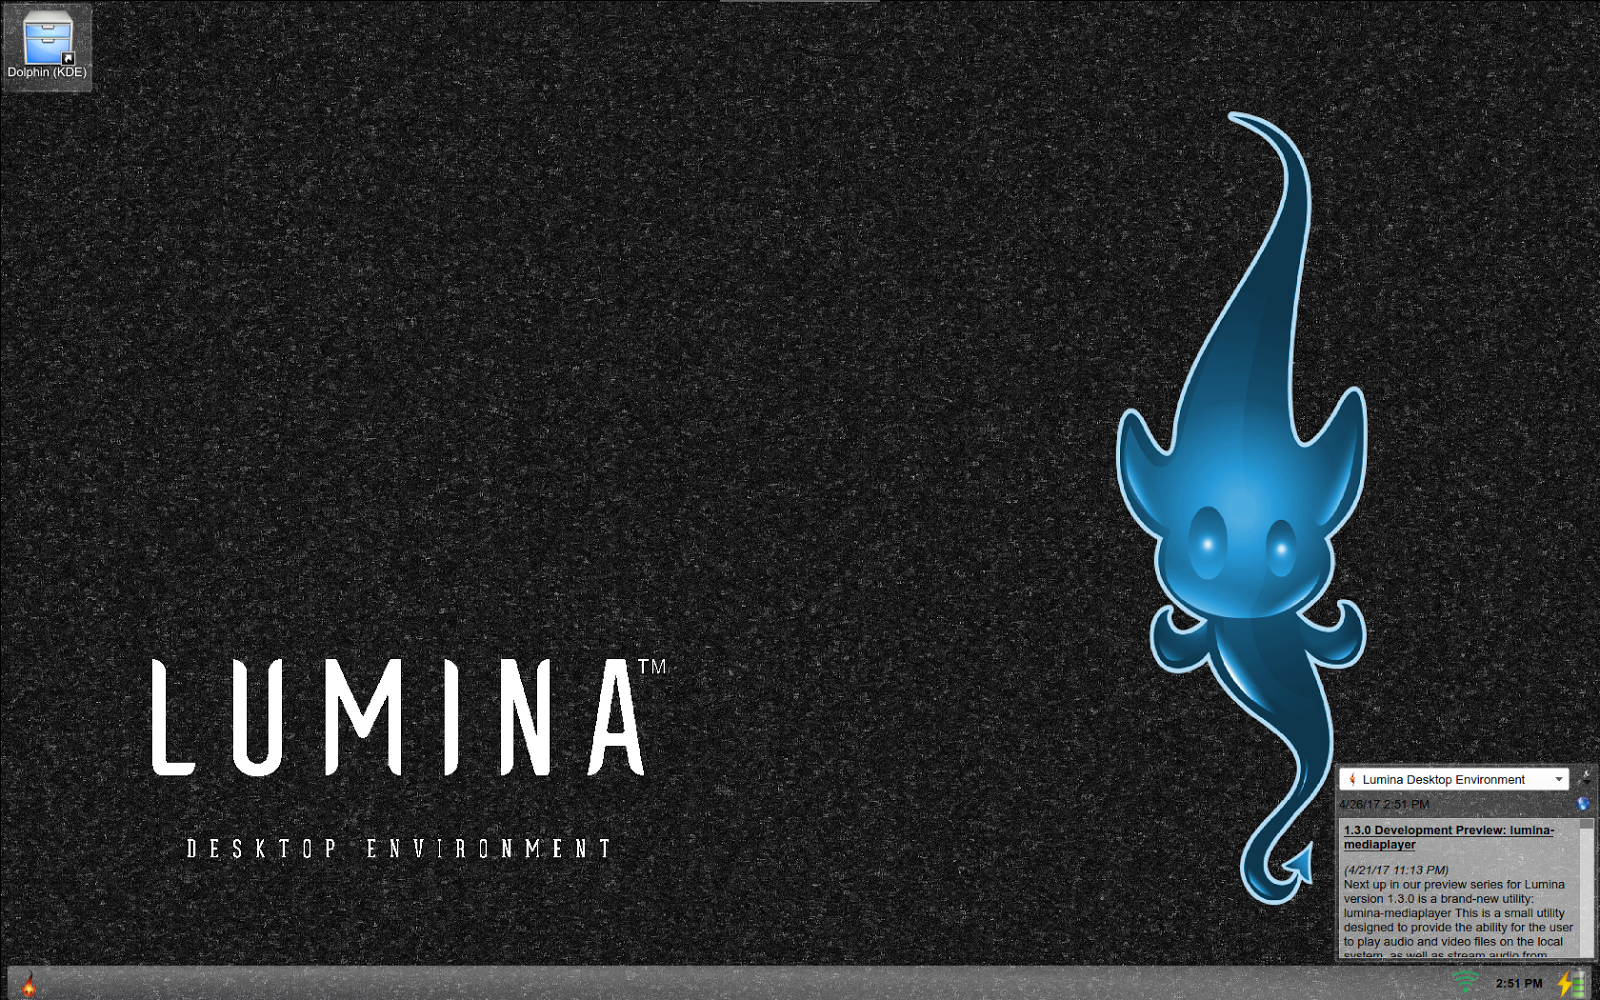 This is the desktop you see the first time you launch a Lumina session. It looks like there is not much to this desktop, but there is a lot you can do with it. I did mention that Lumina was intended for getting things done efficiently. It starts with an uncluttered desktop. The icon on the upper left hand of the screen was brought over from the KDE Plasma desktop. It is the Plasma desktop entry found in the Desktop folder in your home directory. Other icons will appear as Lumina searches the Desktop folder for new icons each time you launch Lumina. The other element is the RSS feed from lumina-desktop.org (the official website for the Lumina Desktop). Like KDE Plasma, just about everything here can be customized, including the layout of the desktop, not unlike the Full Monty desktop (recently discontinued), and the panel itself. Here, the main menu is on the lower left hand corner of the screen. (This can be changed later.) To the right is the network applet (for Wi-Fi or wired connection), a clock and a battery status monitor. At the top center of the screen is a pull down panel (not shown on the screen unless you look very closely at the top center of your physical display) where you can choose from favorite folders and applications. What appears here depends on what you use most often, or what folders and applications you declare to be your favorite. As Lumina runs on top of Fluxbox, window decorations from Fluxbox are used for display of windows in this desktop. 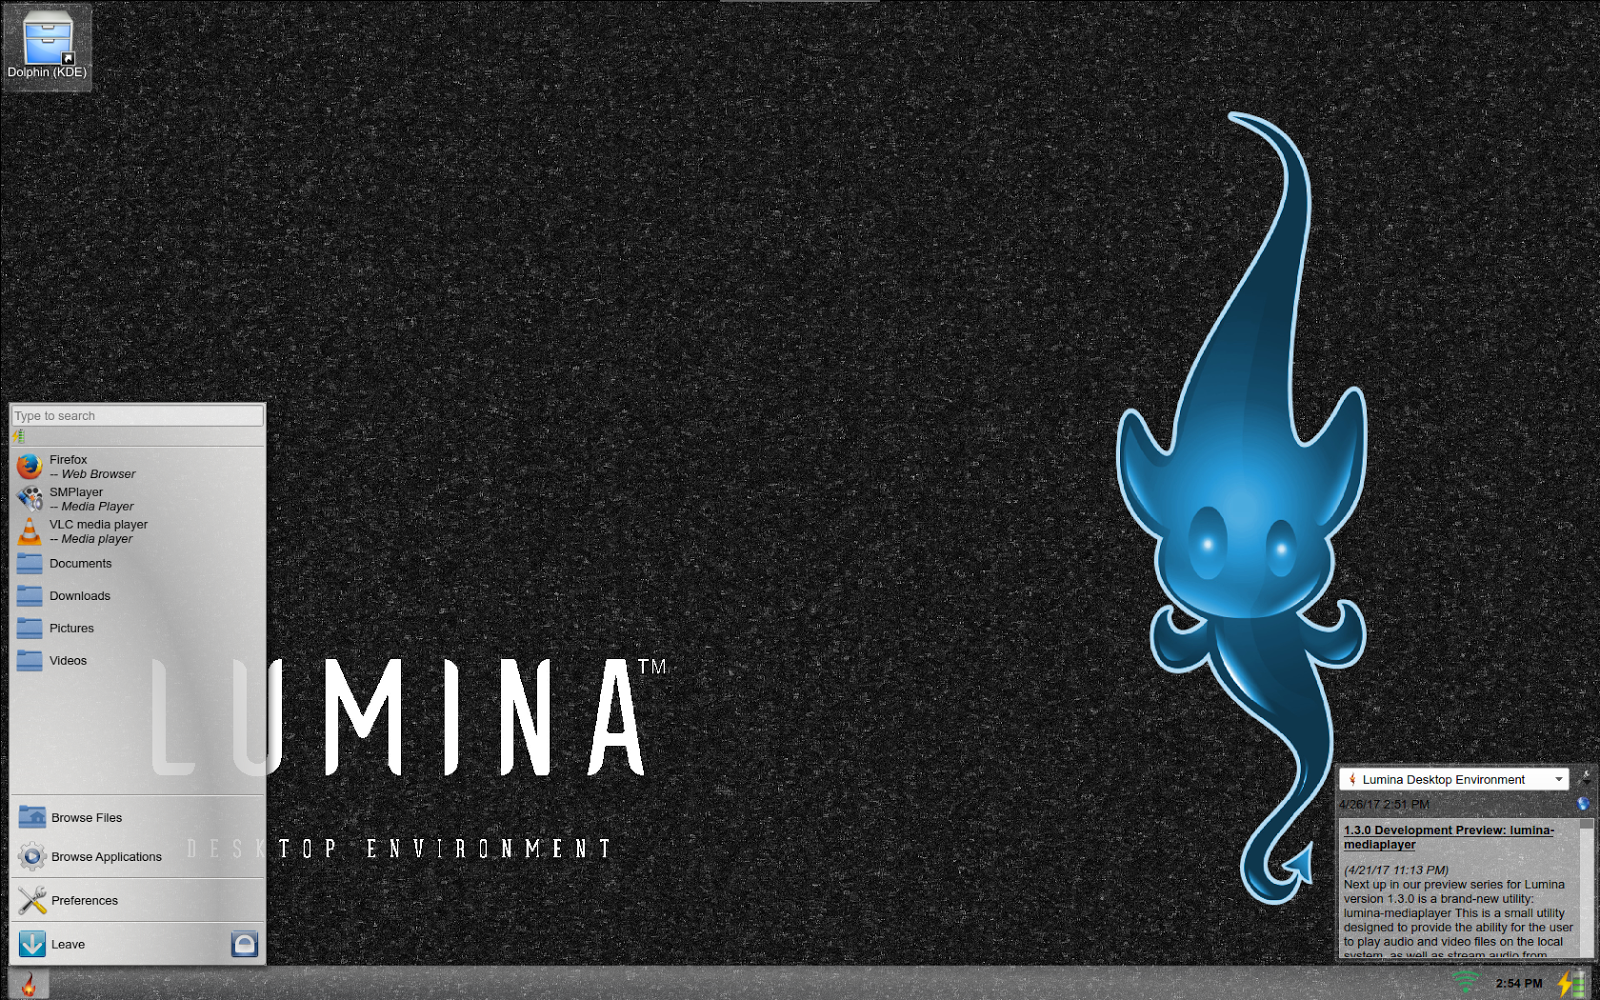 Clicking on the menu button (the lower left corner of the screen by default) pulls up a translucent menu with everything we can expect from a main menu (and then some). From the top down, we get a search box which works the same as the search box in KDE Plasma, underneath that is a battery status icon. Simply hover the mouse over that to get the battery status in a tooltip box. Below that we get the standard list of applications most users will run under Lumina, namely Firefox, SMPlayer and VLC (provided these applications are installed in PCLinuxOS in the first place), followed by links to Downloads, Documents, Pictures and Videos. These four folders open using Insight file manager. What you see here is only a portion of what is actually available in the menu. There are links that allow you to browse applications in the menu (for a more complete list), and browse files with the Insight file manager. Below that is a Preferences link that brings up ways to customize the Lumina session. Finally, there is a Leave button that allows you to exit the Lumina session. Clicking on the Lock button will activate a screensaver and lock the session. Simply move the mouse, then type your user password to resume the Lumina session. The Leave button has three options, one simply logs you out of Lumina to the PCLinuxOS login screen, one is for rebooting of PCLinuxOS, and the third shuts down the system.
Click on Browse Applications to get the applications menu. Here, we still have a search box for locating applications on our PCLinuxOS installation. Between the application list and the search box is a tri-state checkbox, a feature not found in KDE Plasma, MATE, or any other desktop downloadable from Synaptic. Clicking on this checkbox cycles between three states, namely off, partially on (indicated by the left half triangle displayed inside the checkbox) and on. Click on this checkbox to set it to on. Here, we get a list of categories which correspond to the menu categories found in the KDE Plasma and Mate desktops. Here the menu functionality corresponds to that of the KDE Plasma and MATE menus, that is, select the category, then select the application on the next menu that appears. Click again on this checkbox to set it to off, we get a alphabetically sorted listing of all applications available in our PCLinuxOS installation. This is useful only if you do not have many applications installed on PCLinuxOS. Now, click again to set this check box to partially on. Here, we get the list of applications, but each list is grouped according to the category the application is found in the KDE Plasma and MATE menus. This setting provides a unique view of your applications, as it includes an unsorted category for applications that are installed, but not found on the KDE Desktop and Mate menus. Finally, there is a Back button, that, as expected, takes you back to the main menu. 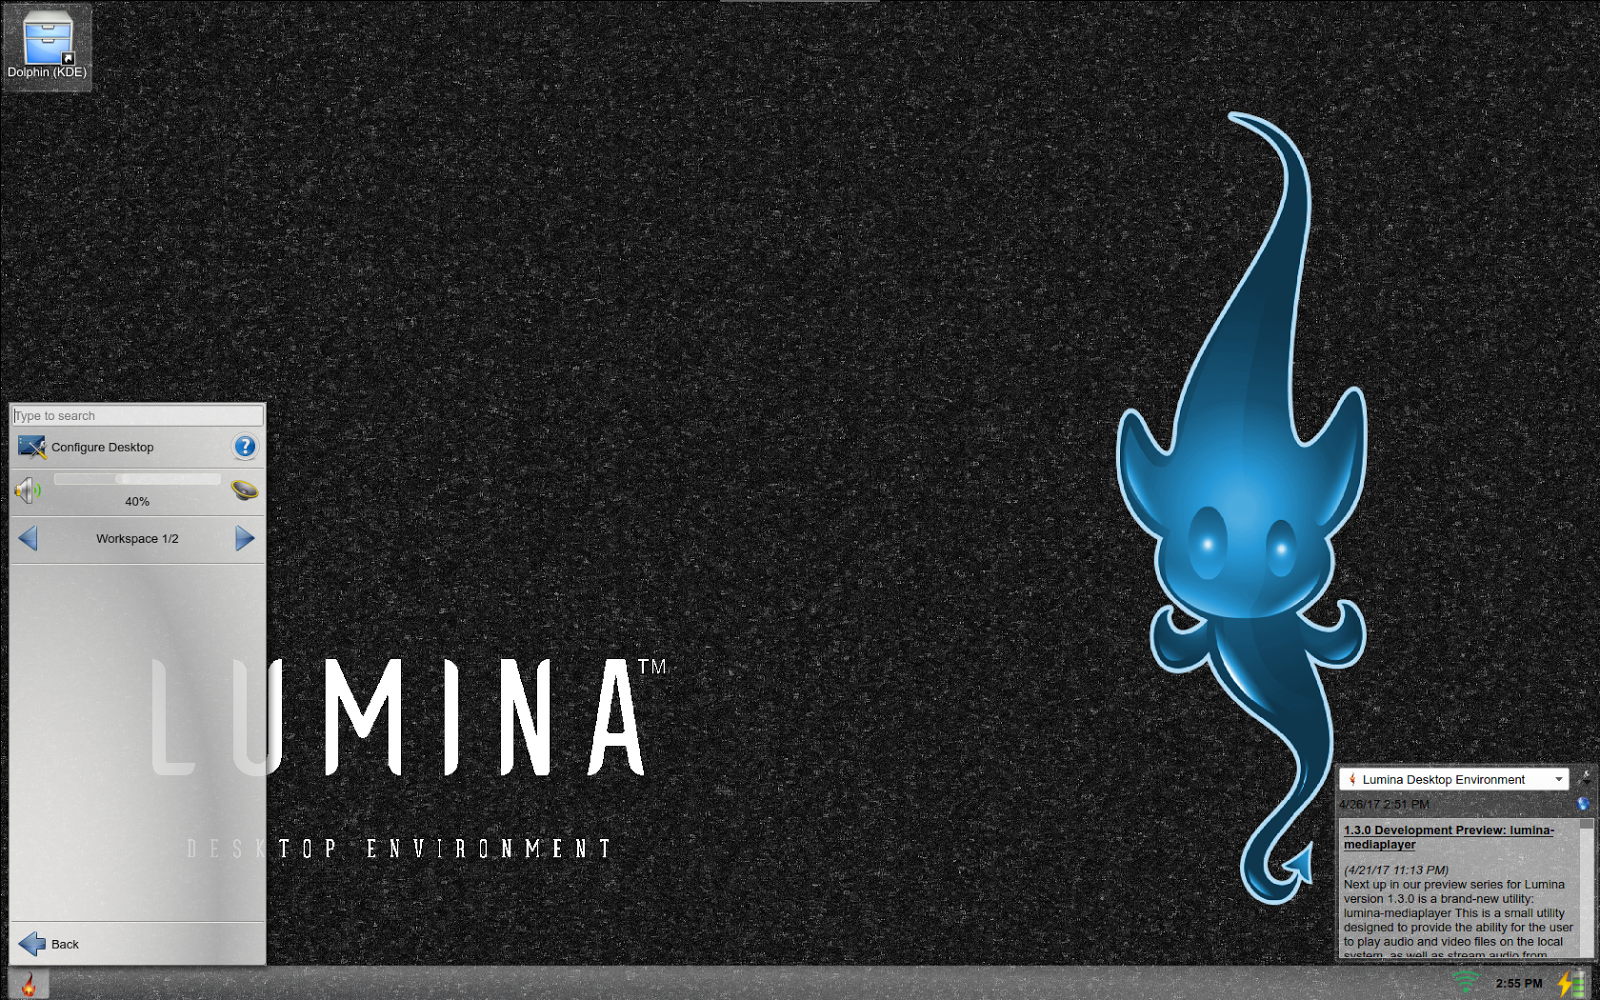 Clicking on Preferences gets you three options. The first option launches the Configure Desktop utility, which is where the customization of Lumina happens. The second item in this menu is a volume control. This works similar to volume control widgets on KDE Plasma, Mate and XFCE in the sense that you can hover the mouse over the control and either drag the volume control or use the mouse wheel to control the volume. (On my laptop, there is a touch bar with a volume control slider where I simply slide on the touch bar in the volume control area. This also works with the volume control applet.) The third item in the menu is used to switch between virtual desktops (called Workspaces, not unlike what is found in the WindowMaker window manager, of which I have written a series of articles on that desktop.) ...and of course, we have the Back button, which takes up back to the main menu. 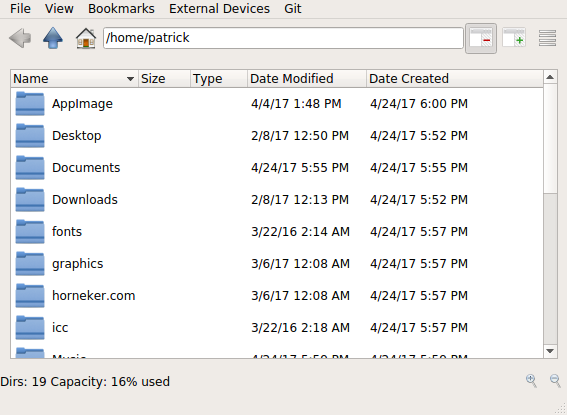 Clicking on Browse Files gets you into the Insight file manager. If you have an account with Git, you can connect a Git repository to this file manager and share files with other Git users. Right clicking on the desktop gets you a menu where you can open a command line terminal, open the Insight file manager, run applications, set preferences, and finally exit from the Lumina session. Among preferences you can set from this menu is the screensaver. Lumina uses the xscreensaver application, which is loaded with screensavers some of which were initially developed in the late 1980s and are still being maintained. If you have the fortune-mod package installed, you can configure the screensaver to display some great nostalgia from the early days of computing and the Internet, in addition to some famous quotes, song parodies, science fiction, movies, humor and other trivia. This is accomplished by selecting either the noseguy or phosphor screensavers. If you scroll the list of available screensavers here, you will find a selection of screensavers that cannot be found in KDE Plasma (or Windows or MacOS-X for that matter). For Lumina, the default screensaver displays a maze and then traverses that maze. If you have pictures you want to display in a screensaver, you can configure the screensaver to use those as well. What we have seen is just the introduction to what should be a new desktop experience. In the Preferences menu, there is a Desktop Settings utility we can launch to configure this desktop to do more. 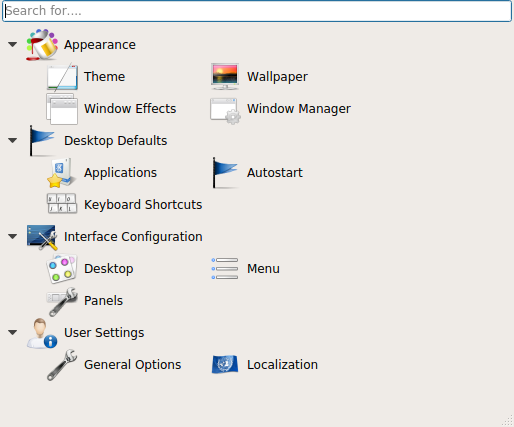 The Interface Configuration → Desktop button allows you to set the screen resolution(s) and display arrangement (if you have multiple displays) not unlike the similar utility in KDE Plasma. The Interface Configuration → Panels button allows you to select the overall layout for the Lumina display, or customize individual panels within the desktop. There are profiles containing presets that allow your Lumina display to emulate Windows (or KDE), Mac OS-X, MATE, or XFCE desktops. You can also start with a blank slate where you can create and configure panels. There are a lot more options that can be configured through Desktop Settings. I did say that Lumina was designed to get things done efficiently. You can select applications you use often to be placed on the desktop ready to run. Applications in the menu can be placed on the desktop by right clicking on the application item and selecting Pin to Desktop from the popup menu. That way, you simply double click on icons representing your often used applications to launch them. These icons can be rearranged on the desktop for efficiency. We have covered the basics of the Lumina desktop. As we use this desktop, we will be customizing the desktop environment to fulfill the promise the developers of Lumina intended, that is, to make work more efficient.
|