| Previous
Page |
PCLinuxOS
Magazine |
PCLinuxOS |
Article List |
Disclaimer |
Next Page |
Inkscape Tutorial: Create Tiled Clones, Part Two |
|
by Meemaw In part one, I introduced you to the Create Tiled Clones window and a few simple things you can do with it. Now I will show you a few things you may have already seen with this tool. Many of the settings I report can be changed to suit yourself. Also, if you have clones and decide that you want to clone the same object again, you can use any of them. However, if you decide to delete some and delete a clone that you have used to clone more, all if its clones will be deleted as well. To find the original, all you need to do is choose one (in the status bar, it will say “Clone of Image (size of image)”, then press <CTRL> + C and you will see a line extend from your choice to the original. OK, more examples: In the 100th issue of the PCLinuxOS Magazine, May 2015, our cover featured one of Georgetoon's awesome cartoon characters with a cake and confetti in the air. The confetti was made using the Create Tiled Clones tool.  First, I made some little confetti pieces... diamonds and squares, one of each in three different colors. Using each one alone, I opened the Tiled Clones window and changed the settings as shown below. All settings were entered in the Randomized columns. Shift 85% - Scale 25% - Rotation 50% - Blur 30% - Opacity 40% In part 1 of this article, I gave you rows and columns for the limits of the clones (bottom of the window) but on this, I used 7” x 5” width & height. This also worked for the stars on the cover of the October 2014 issue. However, the settings were different. The St. Patrick's Day, March 2015, magazine cover featured a mess of shamrocks. I started with a shamrock background (below, right), but I wanted more shamrocks, so I used a different, single shamrock and cloned it. 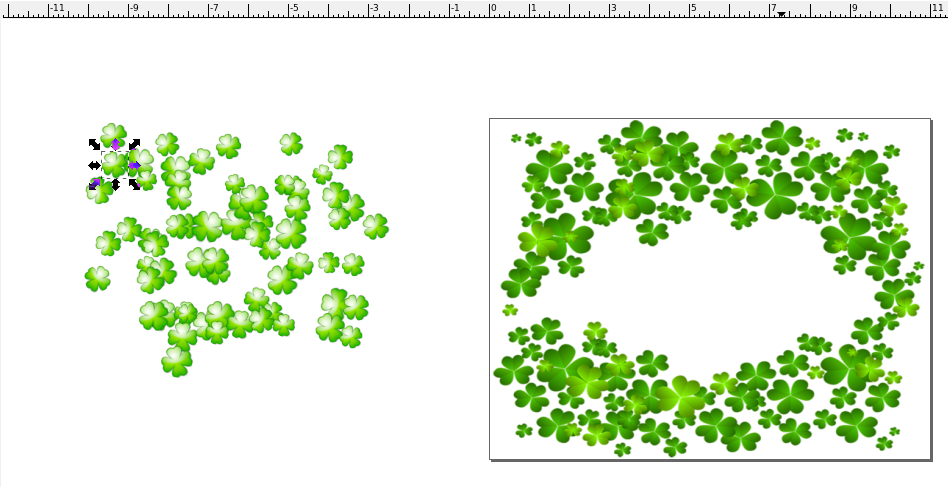 All Randomized ... Shift 85% - Scale 25% - Rotation 50% - Blur & Opacity 0% I selected all and moved the clones over the shamrock background and added Tux and his hat (parnote always adds the panels with the article titles).  Also, the checkerboard mentioned in part 1? Do it this way: Draw four squares, filling two with black and two with white, and all with a .25 black stroke. Depending on how you have your preferences, you can “snap” them together, or use align and distribute so that their edges are touching. Select all four squares and click Group. They should look as shown below.  Now, open the tiled clones window. The first thing you should probably do (if you've been experimenting) is reset all settings to zero by clicking the Reset button at bottom left. Now change the settings at the bottom of the window so you are making 4 rows and 4 columns. Leaving all other settings at zero, click the Create button. And, there you go.... 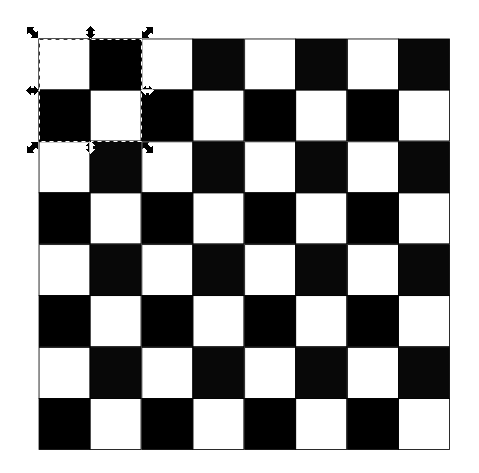 In the next tutorial, we will experiment with clones that may not necessarily result in rows and columns. |