| Previous
Page |
PCLinuxOS
Magazine |
PCLinuxOS |
Article List |
Disclaimer |
Next Page |
Using Kanban on PCLinuxOS: Installing Kanboard |
|
by horusfalcon DISCLAIMER: Kanboard is not a part of the official PCLinuxOS software repository. As such, you should not expect official support for it via the PCLinuxOS forums. If I see someone needing help, I'll do my best, but there are no guarantees expressed or implied with regard to its use. PART I: WHAT IS KANBAN? So what is Kanban, anyway? The word is Japanese for "billboard". The history of Kanban started with Toyota Motor Corporation. From there it has become an accepted part of lean manufacturing processes in businesses the world over. Briefly, Kanban is a simple inventory control/project management tool that uses objects (task or signal cards) to track parts status and critical processes of a project. Originally, Kanban used a tracking board (a corkboard, typically) on which signal cards were moved from one status lane to the next to indicate movement through the workflow. These, in turn, triggered the generation of Kanban cards that tell each supplier in the workflow when to have parts or subassemblies ready for their downstream customers. A typical Kanban board is shown below with a few simple tasks: (Figure 1: image courtesy of https://kanboard.net/) 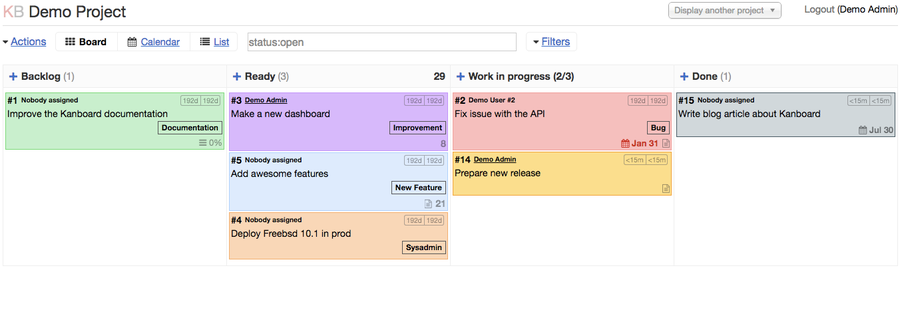 A much more technical (and more accurate) description of Kanban is given at https://en.wikipedia.org/wiki/Kanban for any who are interested. As the information age matured, physical cards were replaced with software triggers and email notifications, but the principles remain the same. Electronic kanban boards are also good graphical representations of project status. My tribulations in getting Kanboard to run are in this thread: Kanboard on PCLinuxOS . It's not necessary to read it unless you want to subject yourself to every step of my journey to install Kanboard on my PCLinuxOS-powered laptop. Fortunately, I have learned enough along the way that your journey to get Kanboard working should be much easier going than mine was. So ... what do I use Kanban for? I've adopted and adapted it as a focus tool to help me control the flow of writing projects on which I'm presently working. This has different working principles than more orthodox Kanban does as I'm the sole supplier and customer, but it helps me stay focused on what's next to be done, and (especially) where interdependencies exist in my work. It has helped me meet deadlines, and that's the most important thing. When I first learned there was an application for creating and maintaining an electronic Kanban board in Linux, I knew I had to get it working. If your business or even your personal projects could benefit from the type of tracking Kanban provides, the solution is at hand. Meet Kanboard.PART II: DOWNLOADING KANBOARD: Kanboard is a web-based Kanban board application written in PHP. It can be found at https://kanboard.net/downloads. Once on the Kanboard website, look around. There is a comprehensive set of documentation, plugins (which I've not tried yet) to enhance its functionality, news about Kanboard's development, and other great resources for Kanboard users. Download the latest stable version of Kanboard from the website, and save it somewhere you'll be able to find it for later use. PART III: MEETING THE SYSTEM REQUIREMENTS: Hardware-wise, any system that can run PCLinuxOS and has reasonably good display resolution should be able to run Kanboard. There are, however, some software prerequisites that must be installed prior to installing the Kanboard software. For PCLinuxOS, these have been made very simple. The system requirements for Kanboard are listed at https://kanboard.net/documentation/requirements. The Kanboard website lists several non-PCLinuxOS distributions of Linux as being compatible. I can personally vouch for the compatibility of PCLinuxOS as well. NOTE: Before adding any packages from the repository or installing software from an archive, it is always a good idea to ensure your PCLinuxOS system is fully updated. Instruction for how this is done may be found at http://pclinuxoshelp.com/index.php/Update_Your_PCLinuxOS PCLinuxOS has made meeting all the software requirements for Kanboard truly easy. Open Synaptic Package Manager, give the root password when prompted, and install task-lamp. This will install and configure a web server (Apache), a database (MySQL), and PHP5 all in the same operation. It will also set up the locations to which Kanboard should be unpacked. NOTE: It is best to install task-lamp on a freshly installed PCLinuxOS system, but so long as you have not previously re-configured PHP or MySQL, installing task-lamp will get you where you need to be in one step. PART IV: INSTALLING KANBOARD: Here's where we do something with that archive file downloaded in Part II. First, as root, copy the archive file to /var/www/html/. You will need to be root to be able to write to that folder. To do the copying using a shell session, do: NOTE: the placeholder "username" above will be replaced with your user name. The placeholder "/path-to/" will be replaced by the actual path where the archive file is stored. The actual file name used should be that of the latest stable version of Kanboard (which, as of this writing, is 1.0.32.) Once the archive is copied to /var/www/html/, give the following shell commands as root to unpack the archive:  This should unpack the archive to a new folder within /var/www/html, at /var/www/html/kanboard. At this point Kanboard is installed. To get it to run properly we must first do a little post-install configuration. PART V: CONFIGURING PERMISSIONS FOR KANBOARD To be able to edit projects in Kanboard, the user must have write permissions on the folder /var/www/html/kanboard/data. The best way to accomplish this is, as root, to add the user to the group apache, then assign ownership of the folder /var/www/html/kanboard/data to the apache group. Finally, assign write permission to the folder's owner and group. The group and user operations can be done from the PCLinuxOS Control Center very easily without recourse to a shell. Click the icon on the panel for Configure your Computer to start PCLinuxOS Control Center, enter the administrative (root) password when prompted, and then select System from the sidebar at left as shown. (Figure 2: PCLinuxOS Control Center System Menu) 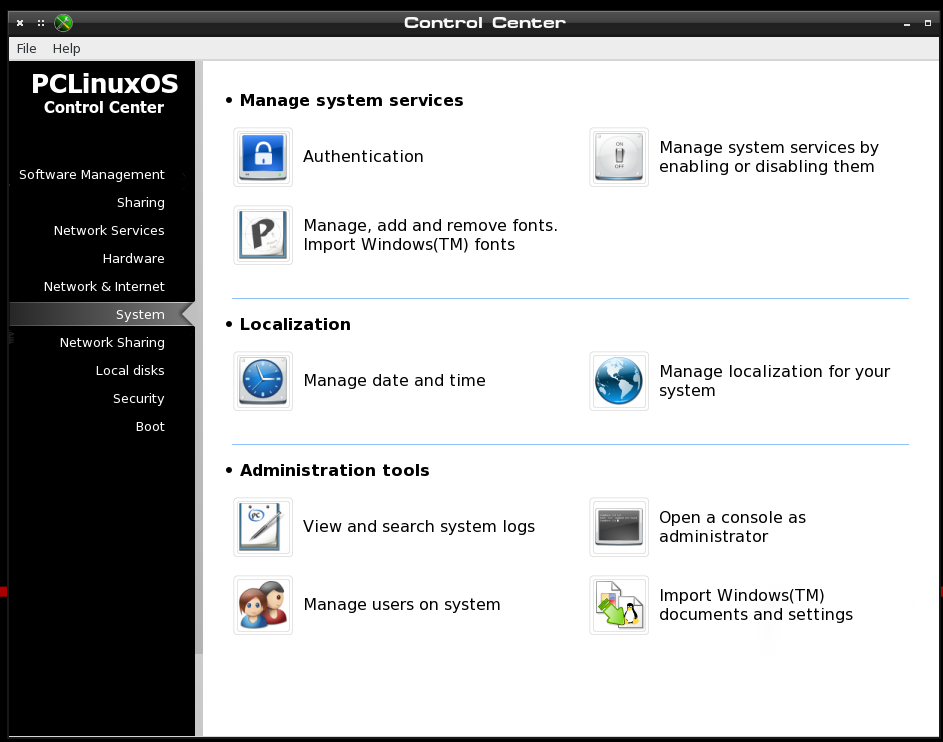 From the System Menu, click on Manage users on system. This brings up: (Figure 3: PCLinuxOS Control Center Users and Groups Dialog) 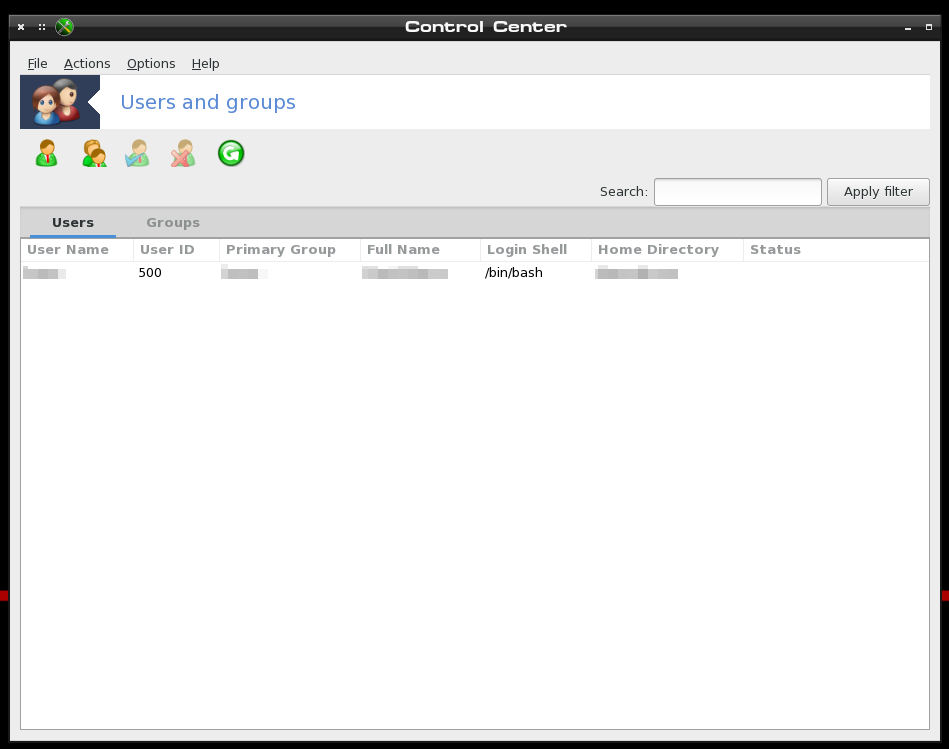 NOTE: my user details are obscured above for reasons of privacy and security. In the Users and groups dialog, click to highlight your username, then click Actions and select Edit from the drop-down menu. This will open the user's profile dialog: (Figure 4: Edit Groups/Users Dialog) 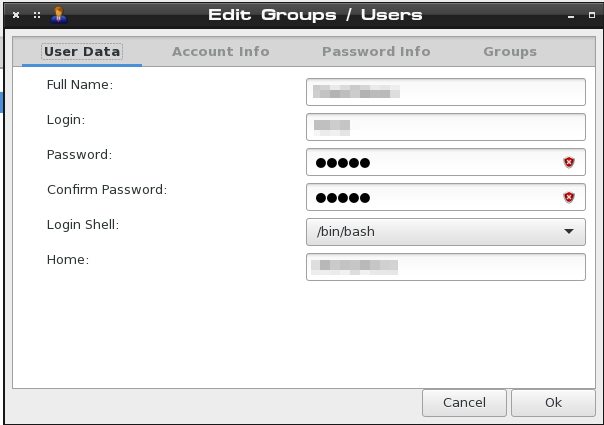 From here, click on Groups at the top right corner in the menu bar. This will open the group list for the selected user. (Figure 5: Edit Groups/Users, showing Groups Tab) 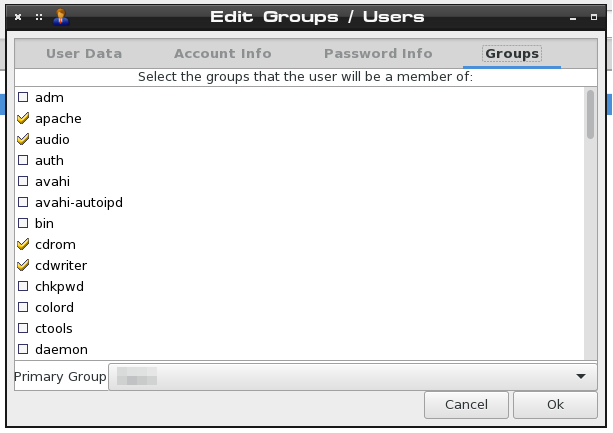 From here, click to select the group apache as shown above. The check mark in the picture above shows it is already selected for my user, and if this is already checked for you, no further action is needed as you are already a member of the group. If the box has no check, click it to put one there, then click Ok. This completes the user edits needed, for this user. Do the same for any other users who may need access to Kanboard, and close the Users and Groups window and the PCLinuxOS Control Center windows when done. The assigning of permissions to the folder /var/www/html/kanboard/data can be accomplished easily enough as root, by editing the properties of the folder from within any file manager (Dolphin, Caja, PCManFM, Nautilus, and others should be able to do this easily). I will show PCManFM in use in my examples to follow, since I am using LXDE for my desktop environment. Root PCManFM is available from the PCLinuxOS start menu under File Tools from LXDE. Click to start it, and a dialog box will open requesting the administrative (root) password. After this is entered correctly, the file manager window will open, showing root's home folder. (Figure 6: Root PCManFM) 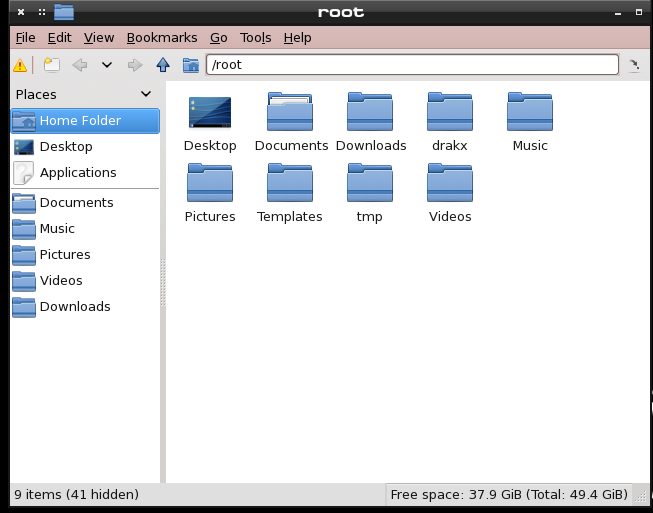 From here, click on the blue "up arrow" shown under Bookmarks in the picture above. Similar controls exist for most any file manager you might be using. The folder you wish to navigate to is /var/www/html/kanboard/, such that the folder /var/www/html/kanboard/data is displayed as an icon: (Figure 7: PCManFM showing the data folder highlighted) 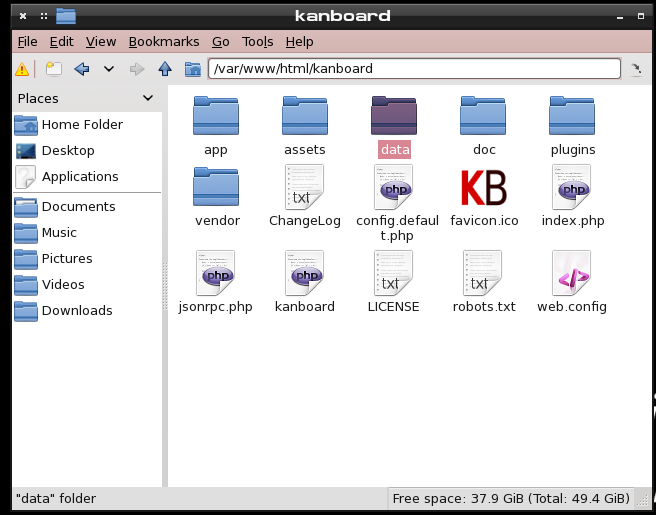 Right-click on the data folder icon and select Properties from the context menu. This will bring up the folder properties dialog: (Figure 8: PCManFM showing Properties Dialog for the data folder) 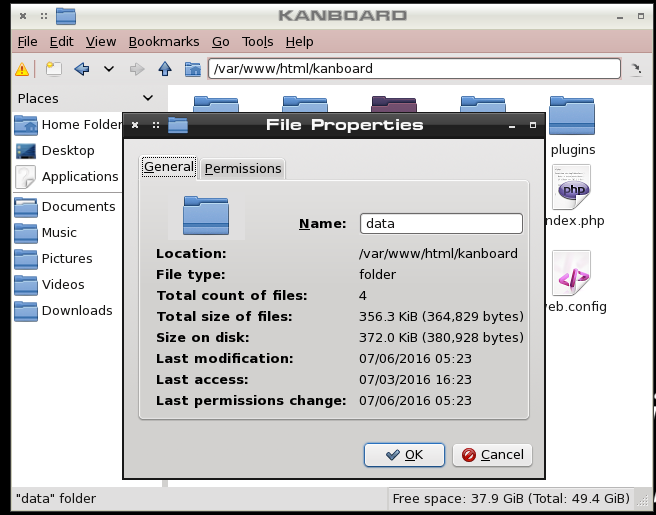 Click on the Permission tab of this dialog, and it will display: (Figure 9: Setting folder permissions) 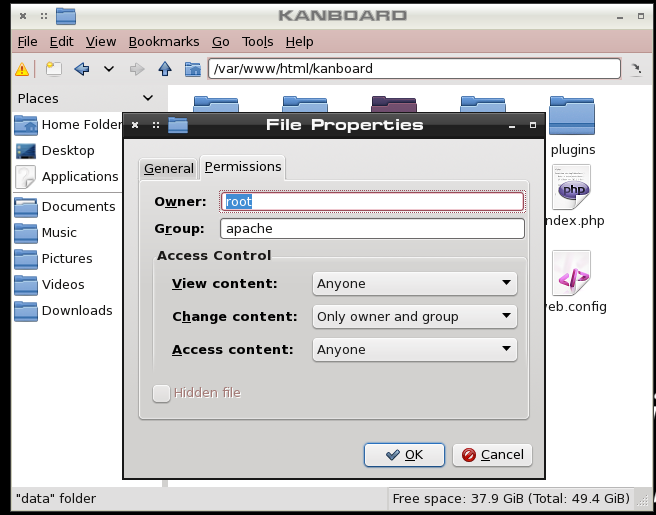 If the values in the dialog box do not appear as shown, click, type and/or select to change them as shown. This will assign the folder to the proper owner and group (in the top section), and will grant the owner and selected group (and hence any users in that group) the proper permissions. Click OK after all selections are made, the dialog will close and all changes to the folder's permissions will be saved. Close Root PCManFM at this time (unless other actions requiring root access remain to be done). PART VI: STARTING KANBOARD
The hard work is done. To start Kanboard, open a web browser (I use Pale Moon, but Firefox, Chrome, and others should also work fine) and point your browser to:
(Figure 10: Kanban Admin's Dashboard with Settings Menu open) 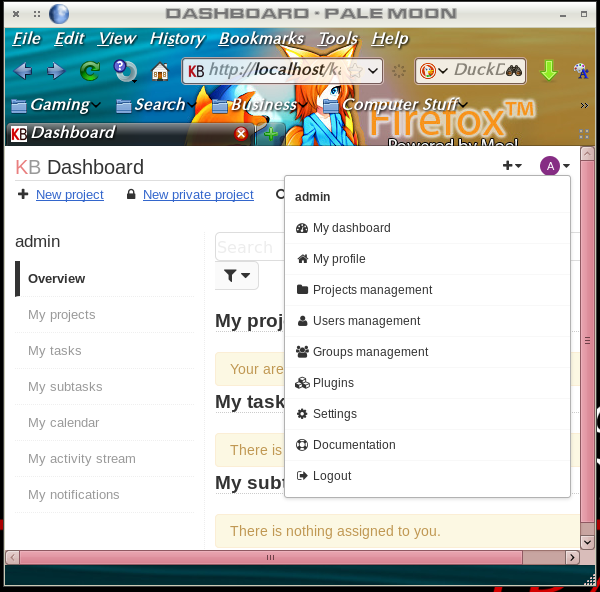 Click on My profile to open admin's profile. When the dashboard loads, look under Actions in the sidebar at left: (Figure 11: Admin's Profile showing Actions Menu at left) 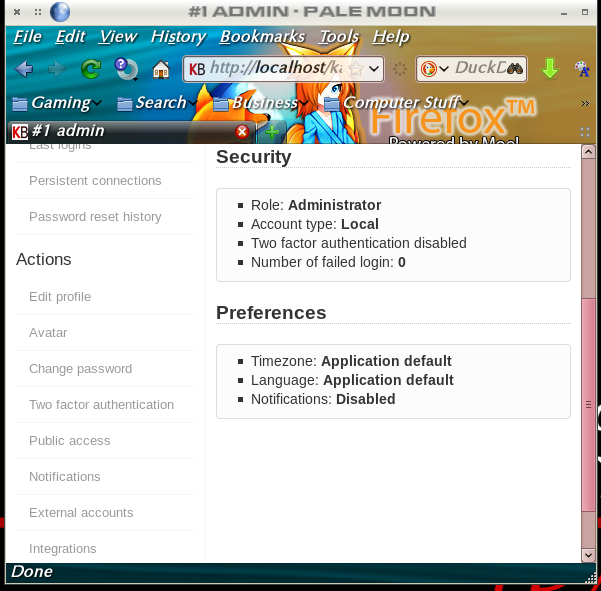 Click Change password and get to it. Please write your new password down in a notebook or otherwise ensure you can remember it. If you lose or forget it, you will be unable to login as admin. While you're in the dashboard, look up at the top left. A set of links there allow for group and user management. Click "New local user" to add a new user (like your normal local user) to Kanboard as a user. (Figure 12: Admin's Dashboard showing User/Group Management Links) 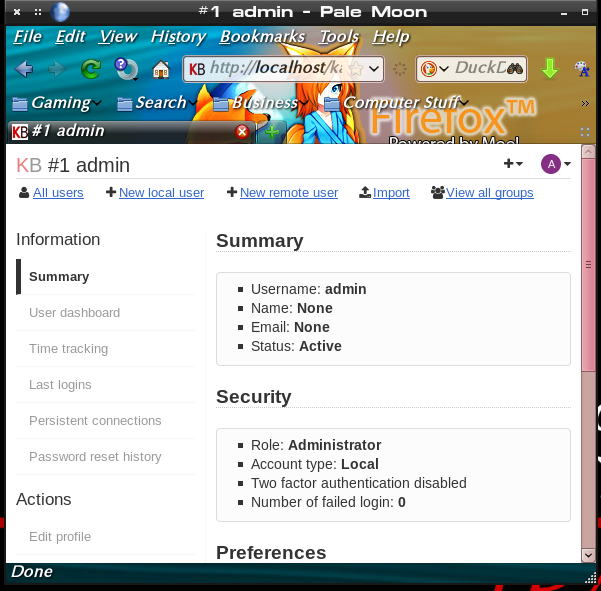 The shot below shows the dialog for adding a new local user. To be clear, the term local user means a Linux user local to the machine. All that is really required to be entered here is the username, password, and password confirmation. All the details at right can be added later on if other members need to be added to this user's projects. 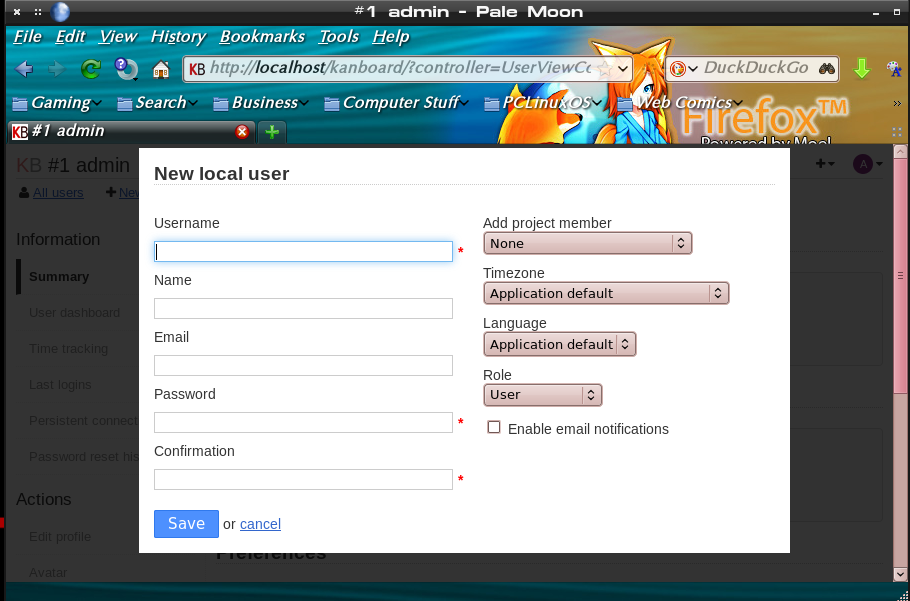 If, for example, we wished to add the local user johnboy to kanboard, we would enter johnboy for the Username, and a temporary password (e.g., temp1234) that the user could change on their first time logging in. Click save, and the local user is added. Admin (or johnboy) could edit johnboy's details later via the dashboard. PART VII: CONCLUSIONS That's as far as I will take you for now. Once you create a local user for yourself, knock around and play with Kanboard. If you want to do it the easy way, the documentation is accessible from the dashboard (see Figure 10, above), and more information for Kanboard can be found at https://kanboard.net/features and elsewhere on the Kanboard website. Such features as plugins, remote users and collaborative features others may find useful are beyond my present use case, so I leave them for you all to explore as you may need. Kanboard is really simple to use for something so packed with features, and should serve well for any Kanban needs most folks will have. Enjoy! |