| Previous
Page |
PCLinuxOS
Magazine |
PCLinuxOS |
Article List |
Disclaimer |
Next Page |
Inkscape Tutorial: How To Create Melted Text |
|
by Khadis 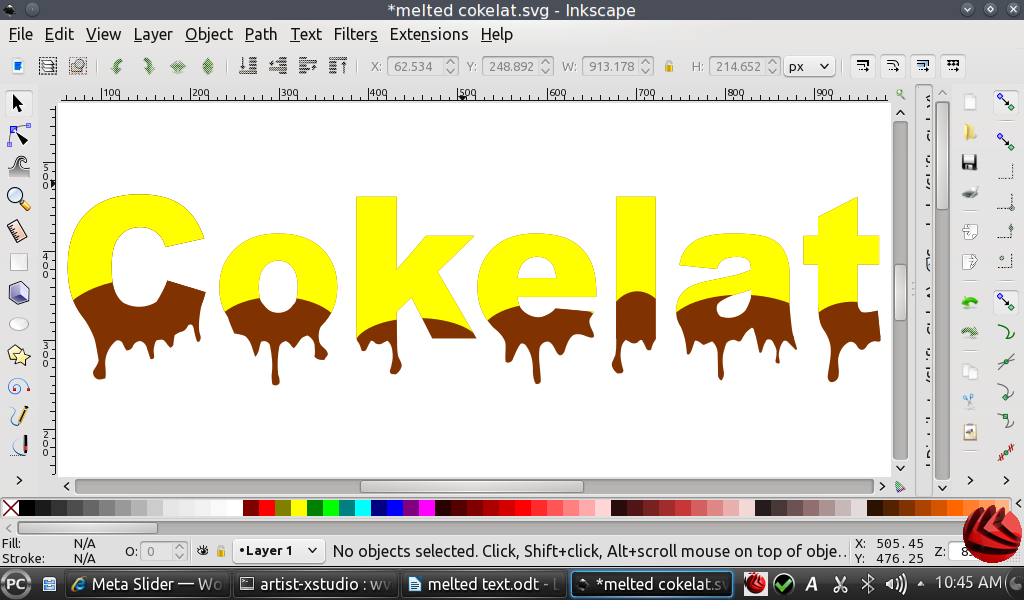 There are various nice text effects we can create manually in Inkscape. You can create scattered effect, bubble effect, 3D effect, etc. In this article, I want to show you a simple technique to create a melted text effect. It might be suitable to be put in a food package :) Here we go! Create some text. I choose to type "Cokelat" (that means "chocolate"), with yellow as the fill color. For this text, I simply use Arial Black 180 pt. 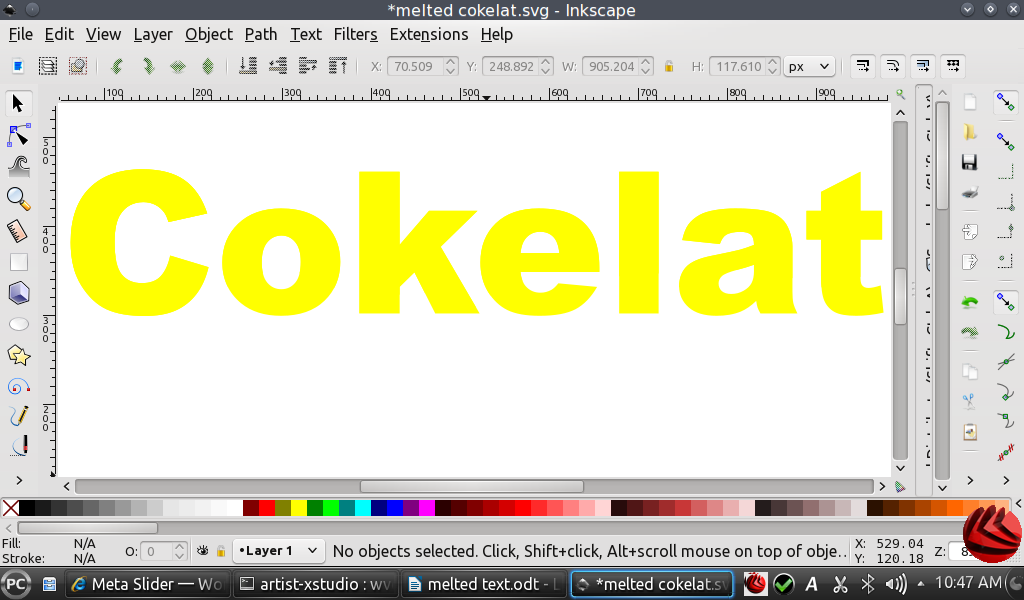 Duplicate the text (Ctrl + D) and convert it into a path from the Path -- Object to Path menu (Shift + Ctrl + C). Ungroup this duplicated text (Ctrl + Shift + G). This action will break the text into single letters. Create an ellipse above each letter, started from letter "C." 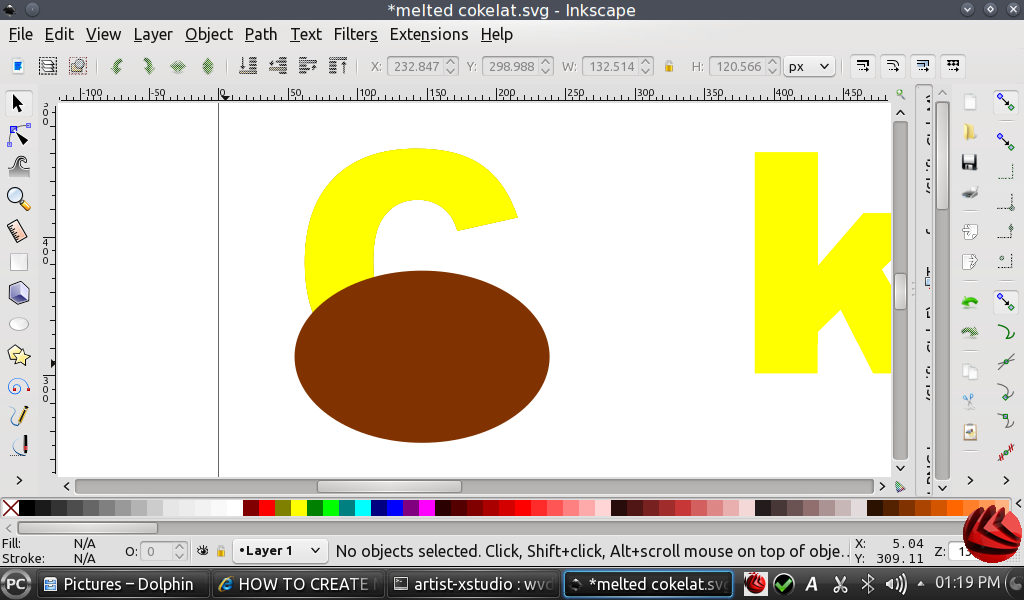 Do the division operation. Click the letter, hold your Shift button, then click the ellipse. Go to Path -- Division. Click outside your choices, then select the bottom part of the letter to see the division. Give it brown as the fill color. Modify the new modified ellipse using Tweaking tool (Shift + F2) by clicking and dragging the bottom part of the ellipse several times in different spots. 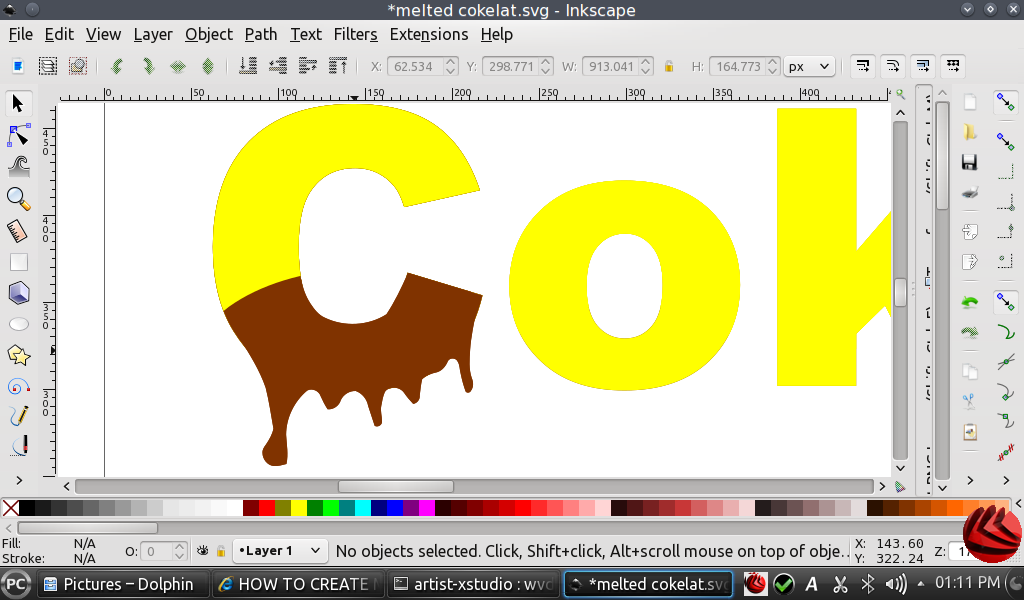 For the tweaking setting, I use Width = 7, Force = 20, and Fidelity = 28. The selected mode is "Push parts of paths in any direction". Your setting could be different, depending on the font size.  Repeat the same steps for the other letters. You can add a 3D effect to the text by grouping all objects, then duplicate the group and color it with black. Then, send it to back by pressing Page Down button. Place it little bit higher or lower than the main "Cokelat" text (depends on your preference). And also move it little bit to right or left. Your final result might be similar to this: 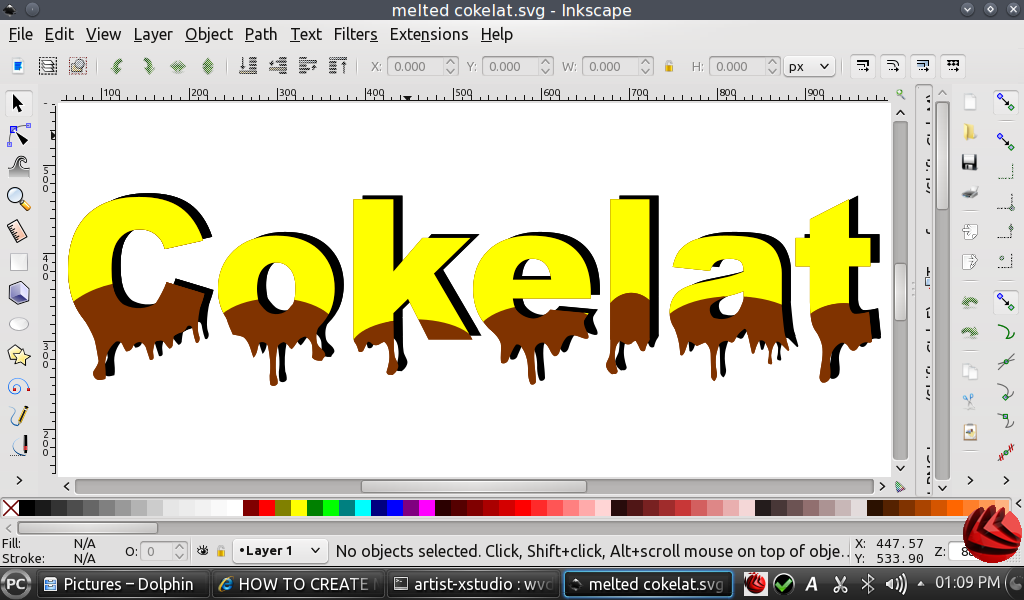 |