| Previous
Page |
PCLinuxOS
Magazine |
PCLinuxOS |
Article List |
Disclaimer |
Next Page |
GIMP Tutorial: Convert A Photo To A Sketch |
|
by Meemaw I found a tutorial that will allow you to change a photo to a sketch. While you wouldn't do this very often, it might be fun for a child to color a picture that means something to him. Pick out a photo and open it in GIMP. Make it a simple photo, rather than one with loads of detail. I am using a photo of a parade I attended last year. 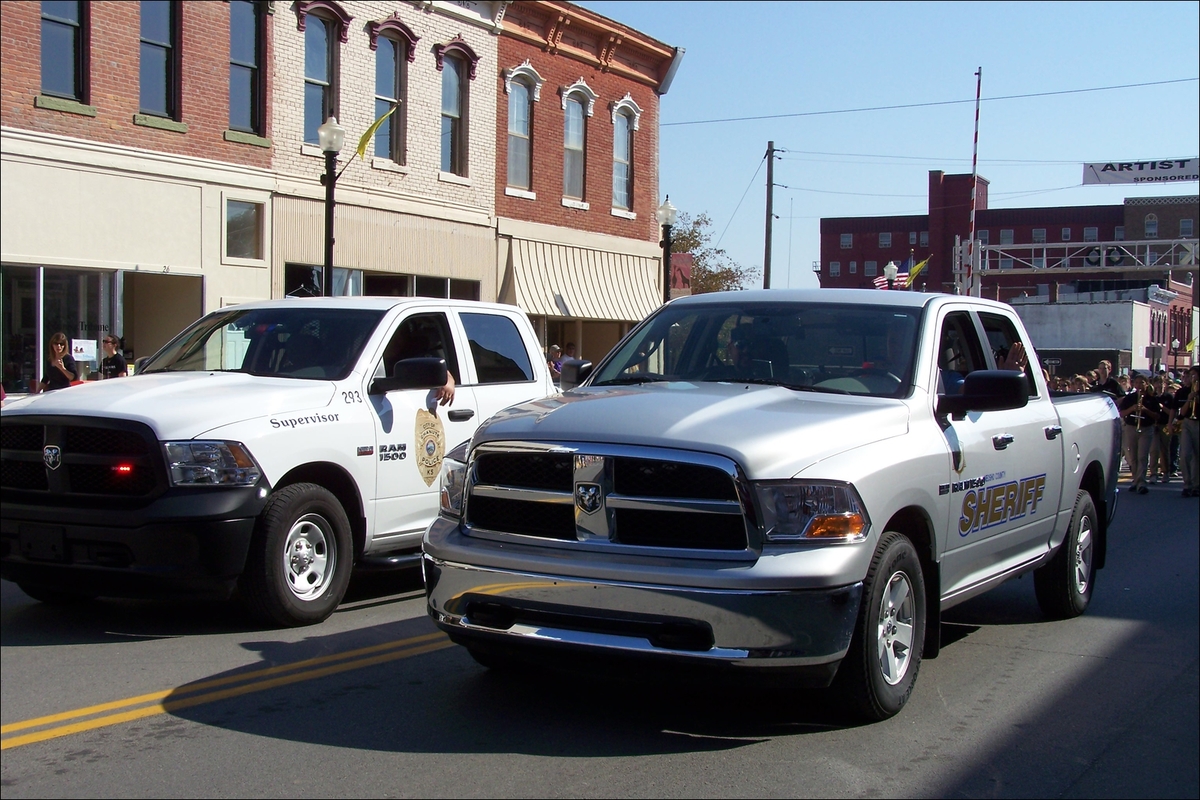 Navigate to Filters > Edge-Detect > Sobel. Make sure all the checkboxes are selected and hit OK. It looks dreadful, but we have a few more steps. 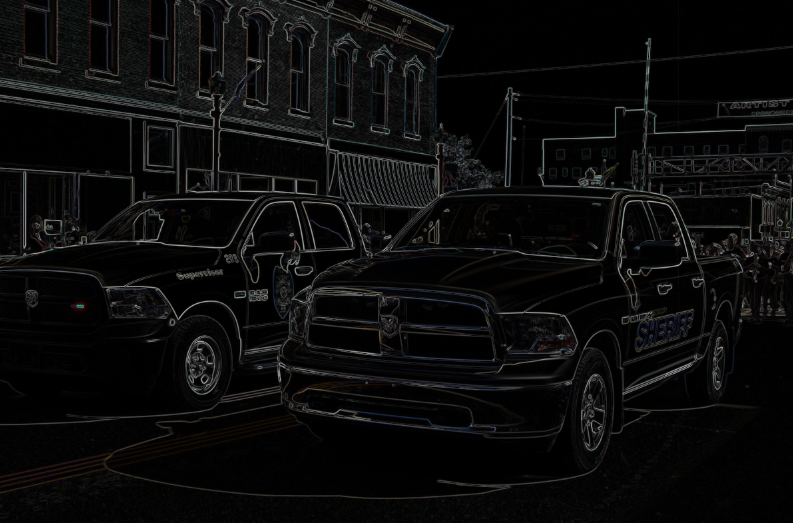 To highlight the details, go to Colors > Auto > Equalize. 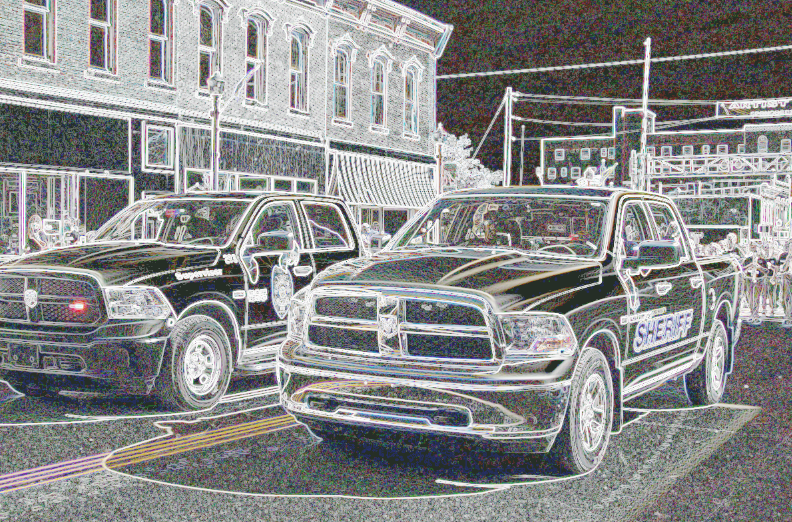 We want a black & white sketch, so we need to get rid of the colors that are left in the photo and convert them to grey. Click on Colors > Desaturate and hit OK. 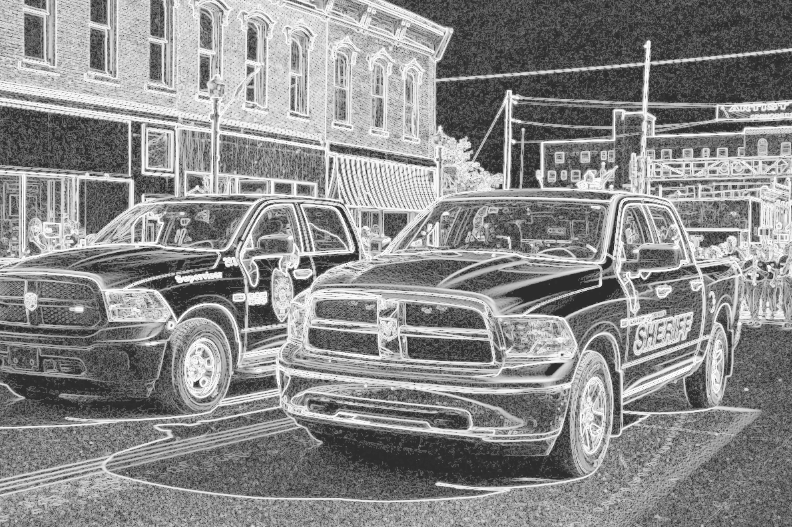 We are going to create a duplicate layer (Layer > Duplicate Layer, or press Shift+CTRL+D). Let's also name each layer so we don't get confused. Double-click the original layer (the one that doesn't say Copy in the Layers panel) and rename it 'Equalized'. Now double-click the layer you just created (the copy) and rename it 'Adjusted'. We need to bring out the details of our sketch. This means we will darken the blacks and lighten the whites, so we are going to use the Levels tool that we used in November. Go to Colors > Levels and adjust the Input Level sliders until you're happy with the results. This is one of those times you need to use your own judgement about how it looks, because every photo will need something different. The finished product should look sort of like this: 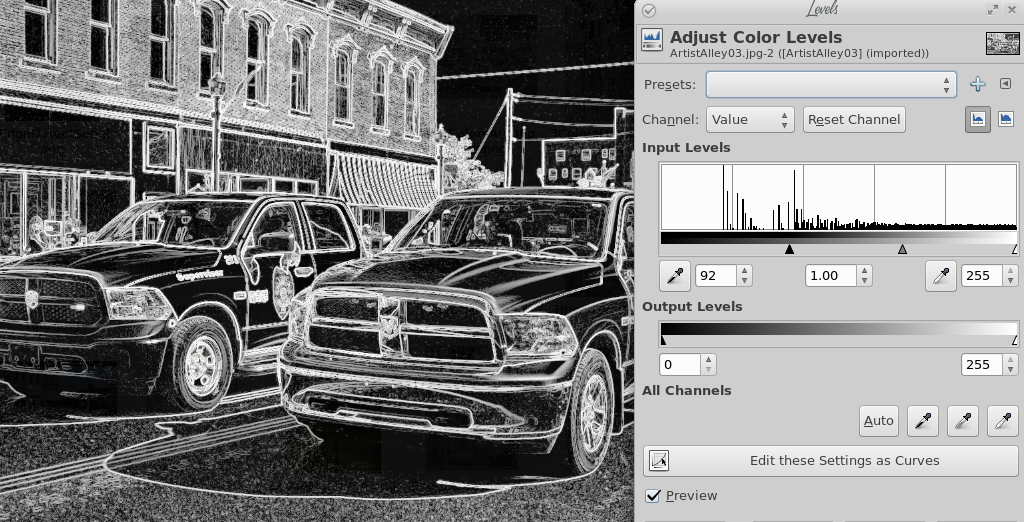 Another method is to click on Colors > Curves and adjust the curve until it looks the way you want. We're also going to use a layer mask on this. Make a duplicate of the Equalized layer by selecting it and clicking Layer > Duplicate Layer. Move this layer to the top (with the layer chosen, click the up arrow in the Layers dialog), double-click, and rename it 'Masked'.  We will invert the colors on this new layer. Click on the newly created layer (which should be on top), and select Colors > Invert. 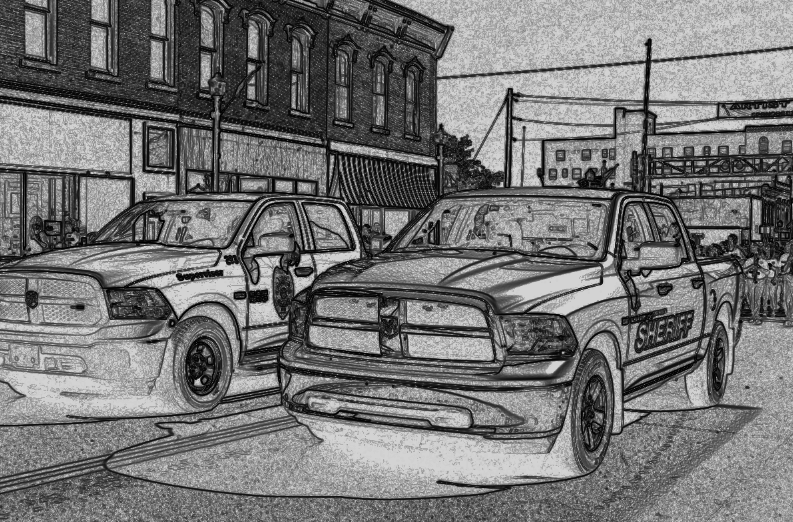 It is starting to look a bit like a sketch! However, it looks a little grey when we want it to be brighter. We're going to apply the adjusted layer as a mask. Highlight the Adjusted layer and select Edit > Copy. Now highlight the Masked Layer, right-click, and select Add Layer Mask. In the dialog box that pops up, check the Selection radio button, then press Add. Now, select the Masked Layer you just created and click Edit > Paste. Right-click the 'Floating Selection' layer that appears in the Layer box and click Anchor Layer. It looks kinda weird again, but we'll fix it.  Now, create a new, white layer (Layer > New Layer or click on the New Layer button in the Layers dialog), and place it underneath the Masked Layer. Your sketch should now look similar to the one below. 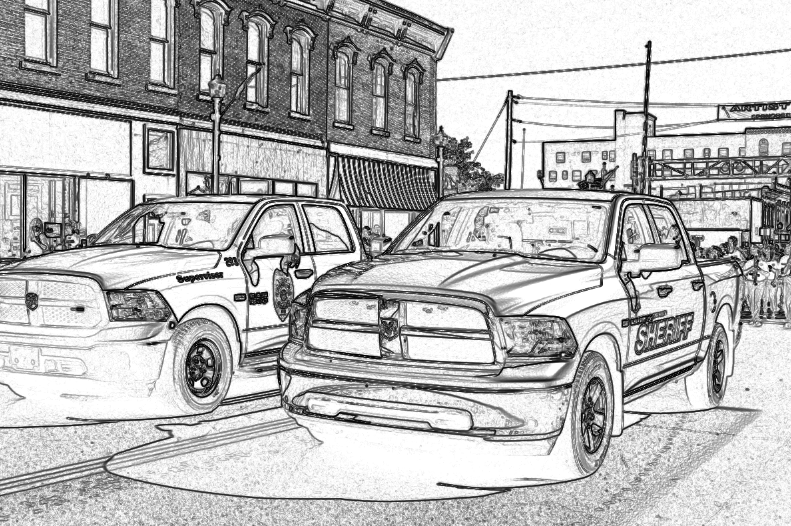 While the shadows under each truck didn't come out exactly the way I hoped, the trucks themselves look good. I'm sure your project will look great! |