| Previous
Page |
PCLinuxOS
Magazine |
PCLinuxOS |
Article List |
Disclaimer |
Next Page |
GIMP Tutorial: Using Levels to Correct Photo Colors |
|
by Meemaw How many of us have older photos of family? We want to put them in a family album, but the photo has darkened or changed over the years, and the color looks off. We may even have some more recent photos that are off because of the light in the location they were taken. Let's try to fix them with levels in GIMP. I am using a photo of a local 4-H club. The photo that was taken shows a bit too much yellow. 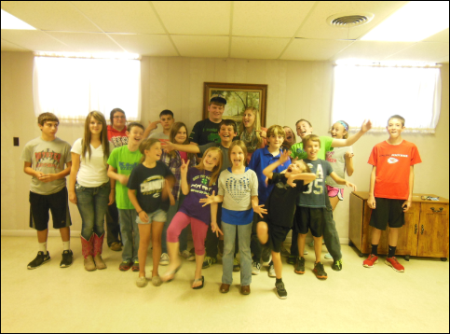 Open a copy (always work on a COPY of your image, rather than your original) of your photo in GIMP, then click Colors > Levels and the Levels window will open. Some of your photos can be edited using the settings that are already there, which is using all colors at once. You can try it, but you may have better results if you choose one color at a time from the dropdown. Choose the red first, and you will see the histogram (that graph in the center of the window) change to show the red levels. Look for a gap in the curve, usually on the right side, where there is no curve except the line at the bottom. It will most likely be at one of the ends. Using the arrow there, click on it and drag it toward the graph where the gap ends and the curve starts, and stop there. You should already see an improvement in your photo, depending on the color balance of the photo you are using. Choose the green, and do the same thing, then the blue. As with all photo work, this is a process that you have to "fine-tune" according to your own photo and histogram. Truthfully, I didn't see much change with the red or the green, but when I chose the blue, my photo was changed as shown: 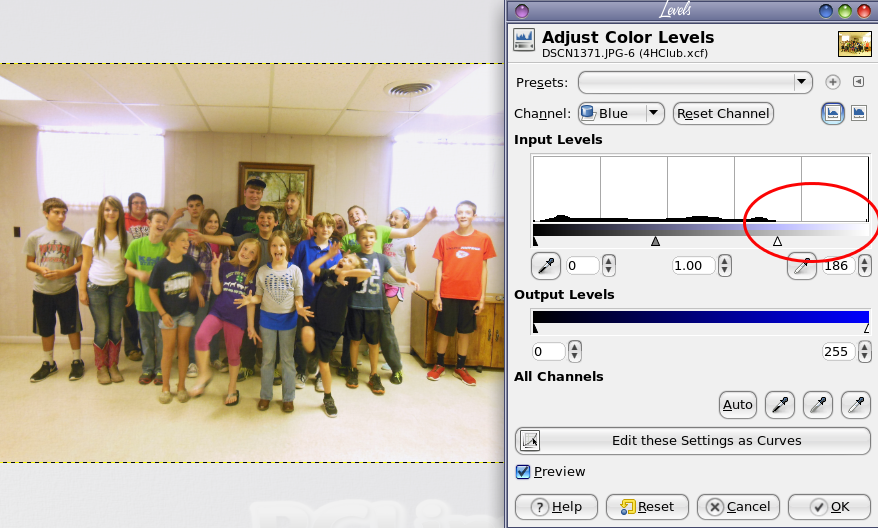 These colors look much more realistic. Here's another older photo: 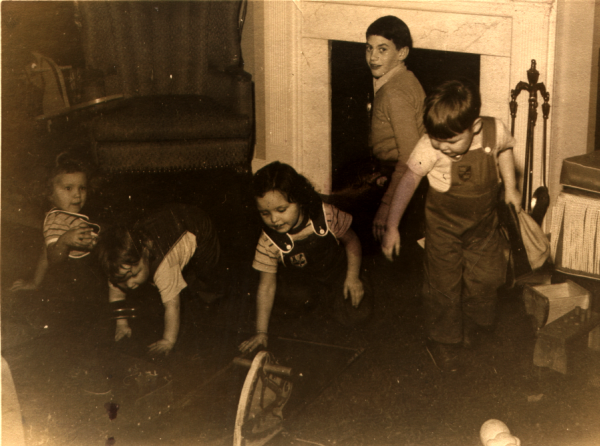 I tried red, but there was not much change. However, I then tried green: 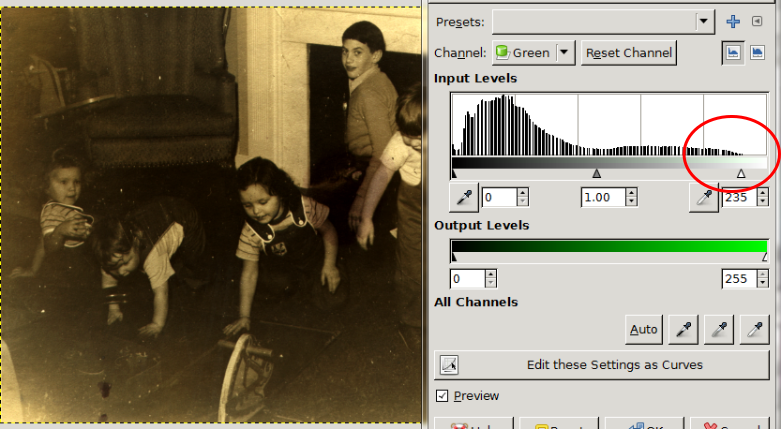 (still not much yet), and then blue: 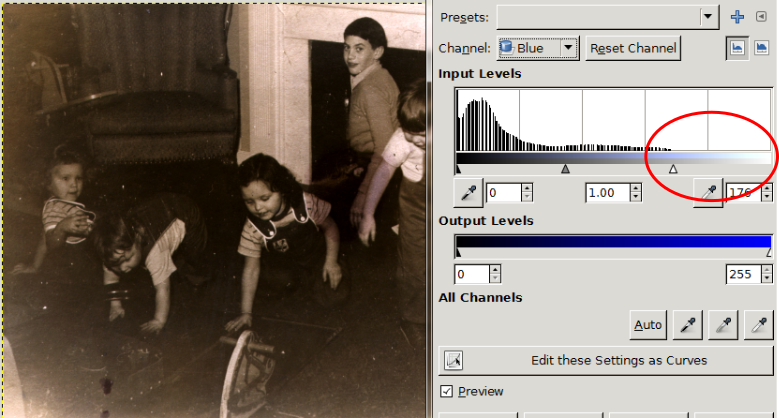 While it isn't perfect, it's a bit more clear than it was, and will now only need to be lightened a bit (if desired) and possibly repaired a little, with the dark spots towards the bottom left of the photo removed. Most photos may not need this degree of editing, but you might find that some of your photos will benefit from using the levels editor. You can always try some of the other color editing features in GIMP. This photo might have been edited simply by using Desaturate, leaving a plain black & white photo, but I wanted to preserve the "old photo" flavor (since it was likely taken in 1945). It is fun to experiment with these old photos to keep them for coming generations! As always, each photo is different, and you will need to experiment using small changes, but adding Color Levels to your group of editing tricks should help you with those hard-to-edit older photos. |