| Previous Page |
PCLinuxOS
Magazine |
PCLinuxOS |
Article List |
Disclaimer |
Next Page |
Inkscape Tutorial: Six Helpful Inkscape Tricks |
|
by Meemaw Inkscape has a great deal to offer any artist. One can find tutorial after tutorial on the internet to help learn to use it, and I have tried to share some really excellent tutorials to help you make some really great creations. Many of the features of Inkscape can be plainly seen, but some of them aren't so evident. Let's look at six items that might help a bit. Sometimes you need to manipulate nodes in an object you have drawn in order to make it into what you really need. (Not all objects are regular objects!) Draw the object you want, and click on Path > Object to Path to get the nodes you need. Select at least 2 nodes. In the Nodes toolbar directly above your workspace, click on the Show Transformation Handles button (see button above red arrow below). You will get handles around your nodes and can resize or rotate them just as you would a regular object. You may have to experiment a bit, but you will have more choices in your object manipulations. While making star shapes, pay attention to the nodes. Moving the outer node towards or away from center will let you change the size of your star or the angle sizes, but if you move it left to right, all it will do is rotate your star. The inner node, however, will let you change the angles differently and even make a new type of figure. In the top illustration, I changed from the right figure to the left simply by moving the outer node toward the center of the star. In the bottom illustration, I changed the star by moving the inner node. The left star was made by moving the inner node to the left just a little. The right object was made by moving the inner node clear across to the opposite side of the star  I know we always use the Fill & Stroke window when we are creating. As there is always more than one way to do anything, coloring an object is just as easy with the color palette at the bottom of your Inkscape window. Draw your object, then Click on your desired color for the fill, and <CTRL> + Click for the stroke. There are many colors so the palette has its own scroll bar.  If you have another object and you want the two the same, use the color dropper (left side toolbar near the bottom). Click on the object you want to color, choose the dropper, then click on the object color you are trying to match. 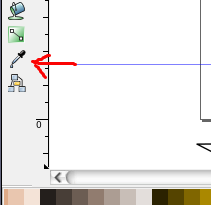 Rulers can be used to give you guide lines. Make sure your rulers are enabled, then click and drag - vertical and horizontal lines will move to the desired position on your page. You can now align objects using the guide lines. If you enable your snapping toolbar (in View > Show/Hide, you can show the Snap Controls bar), items can snap to the intersection or along the guide lines, or even to each other. Experiment! 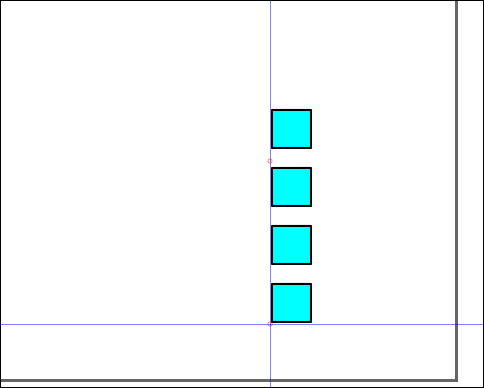 Sometimes when I am making a tapered line, Inkscape acts a little squirrelly, and it doesn't turn out exactly the way I want it. Another way to do it is to make a diamond shape, then choose the top and bottom nodes. Click on Make selected nodes symmetric (to round the diamond shape) in your nodes bar (See blue object below.) Copy it to the clipboard (<CTRL> + C), then use it as model for your Freehand or Bezier lines (Shape from Clipboard). 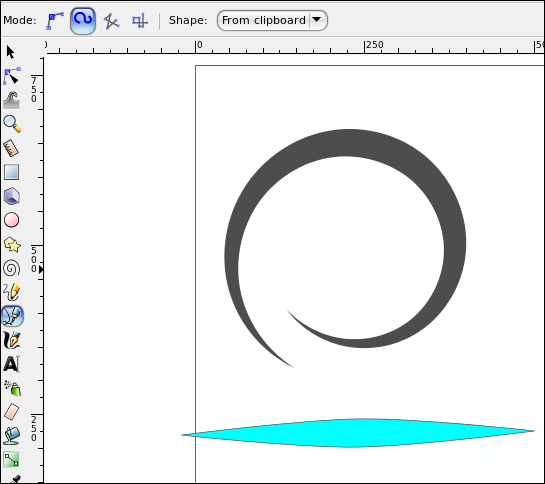
I think I have covered the status bar before, but it bears repeating. Pay attention to the information in the status bar, as it can tell you what's happening in your drawing. You can see loads of information in the bar below (left to right): 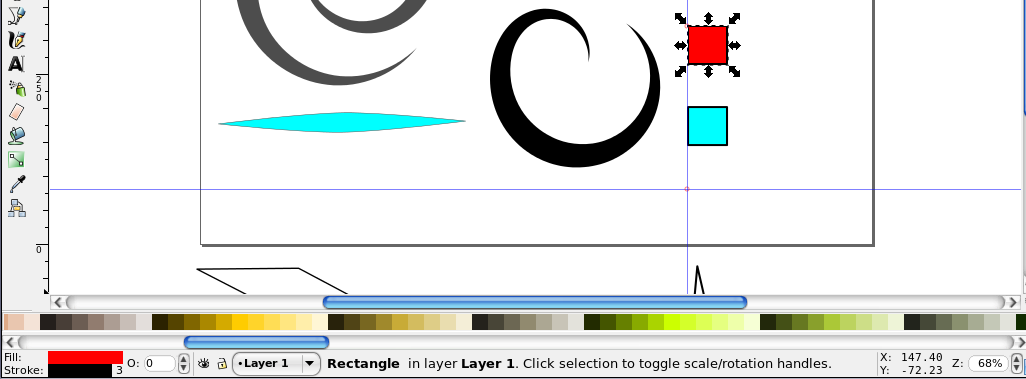 One of the things that is really great is where it shows the type of object selected. If you have more than one object selected, the status bar will tell you how many objects. I use this when I do the word search puzzle solution every month. I put the puzzle on one layer, and the lines showing the answers on a higher layer. I make sure I have them all when I can select everything on that layer and it will tell me the correct number of objects (if I have 30 words, the status bar will report 30 lines). I hope I've provided a few tips to help you use Inkscape. I'm sure there are tons more! |