| Previous
Page |
PCLinuxOS
Magazine |
PCLinuxOS |
Article List |
Disclaimer |
Next Page |
Inkscape Tutorial: Abstract Wallpaper 2 |
|
by Meemaw  We have already done a wallpaper using tiled clones. Now, let's just use lines, shapes and gradients. This project is actually pretty easy. Open Inkscape and edit your document properties to reflect your desired wallpaper size. My desktop monitor is 1024x768, so I chose that size. You can make it any size you wish. Draw a rectangle the same size as your document. I am partial to blue backgrounds so I used a dark blue, but you can use any color you wish as well. We will probably change it later, anyway. Now for the gradients. Let's use the bezier tool first. Draw any figure, making sure you close the curve so it will fill. In your Fill & Stroke window, make the Fill white, and the Stroke a 3 px white line. 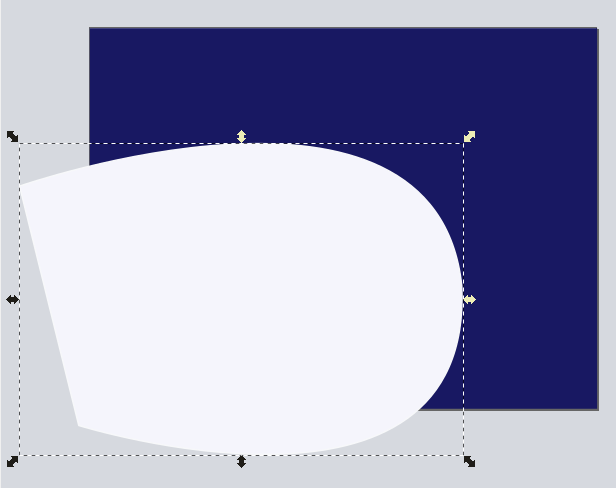 Go back to Fill and choose a radial gradient, then to Stroke and choose radial gradient there as well. Clicking your Gradient tool, you should see two gradient handles, one for the fill and one for the stroke. Grab the one for the fill first and move it where the figure you made looks like a highlight, then move the stroke handle so it emphasizes just a part of your stroke. You can also set the Opacity down on your color. I set mine down to about 60%. 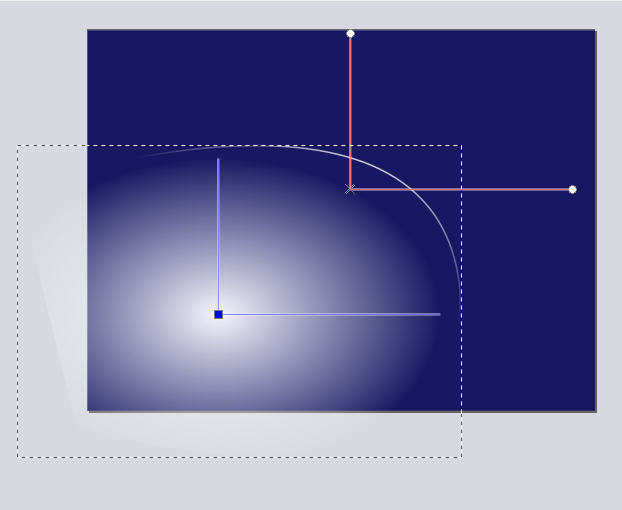 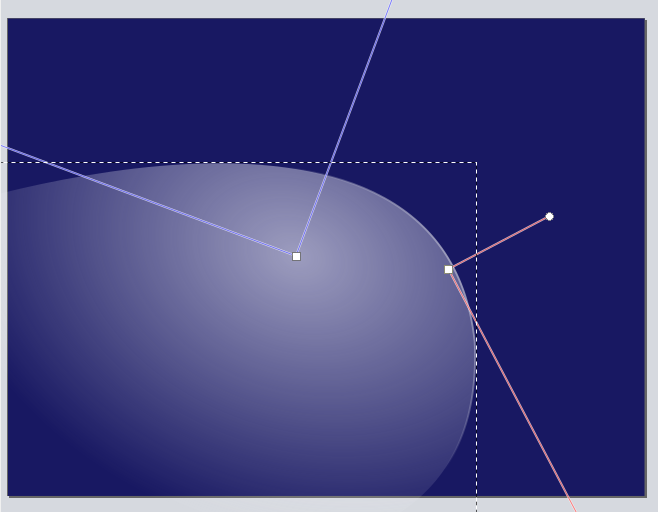 One thing that perplexed me was that the gradient handles seemed to jump together so when you wanted to move one, both of them moved. The way to remedy that is to hold down your Shift key while moving one of them. It will move away from the other one and then you can manipulate them one at a time. To keep from having so much of your artwork "off the page", you can also duplicate your background and then, holding the Shift key, choose your object. Click on Path > Intersection and the only part of your gradient you will see is that part on the page. You will still be able to move and resize it. We can also use the Ellipse tool to do this. The procedure is the same. Simply draw an ellipse, change it to white, and configure the gradients the same way. You can use a linear gradient as well, depending on how you want your drawing to look. 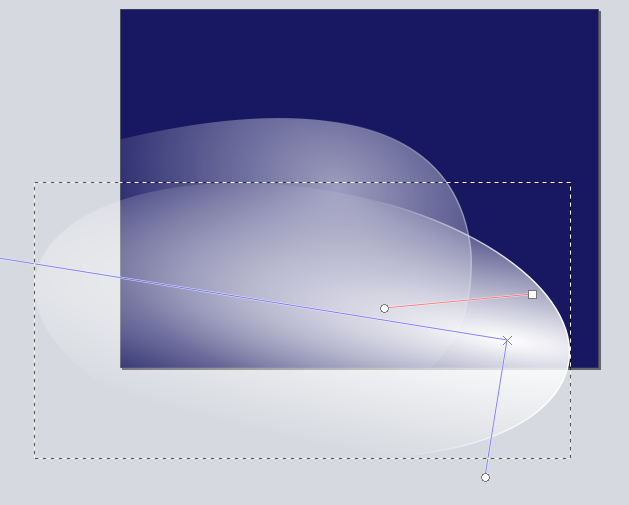 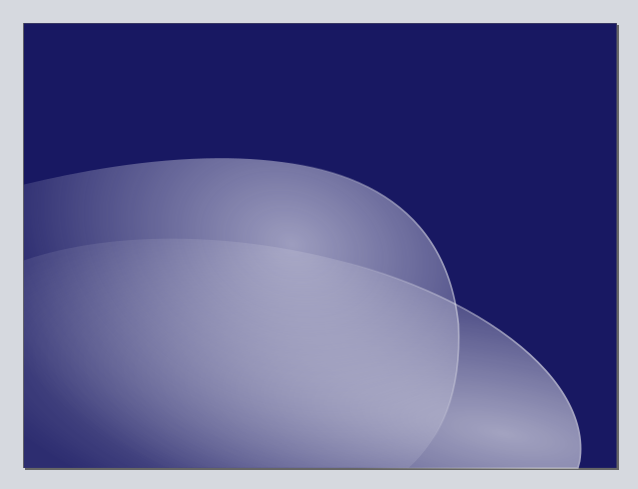 You can put in as many of these figures as you want, arranging them any way that looks pleasing to you. You can also use your bezier tool to put in more varied objects with different curves…. whatever looks good to you. After all, it IS your creation. I put a little purple in one of my gradients for a bit of variety.  Did you decide you wanted a different color background? Choose the background, change the color, and export it again. Easy! 
|