| Previous
Page |
PCLinuxOS
Magazine |
PCLinuxOS |
Article List |
Disclaimer |
Next Page |
Inkscape Tutorial: Creating A Glass Of Juice |
|
By Khadis We can find a lot of clip art about foods and beverages out there on the internet. Do you ever imagine creating your very own clip art? If you do, let's create a piece of clip art using Inkscape. The clip art image we are going to create is a glass filled with orange juice. Step One: Open up your Inkscape and create a rectangle with your own preferred size. I used 3.5 cm x 7.5 cm. If necessary, use Zoom (Z) tool to get a better view. I used a 20% gray color fill and used 50% gray color for the stroke. I also set the stroke width to 4.5 px. 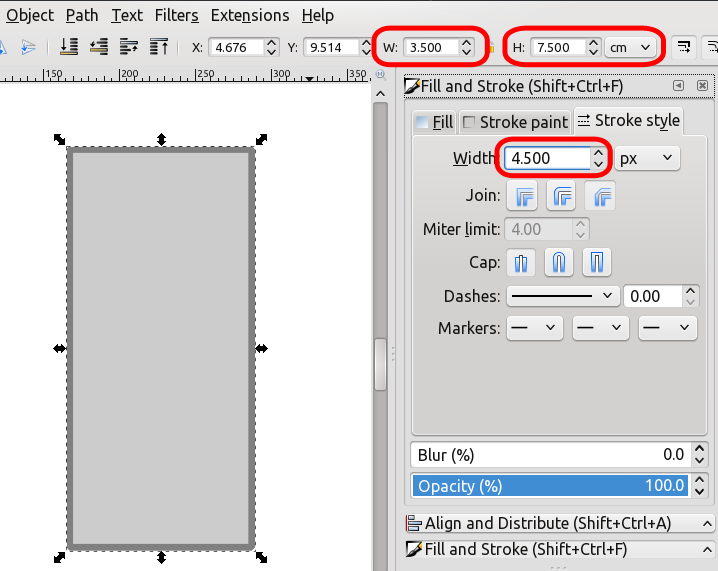 Step Two: Convert the rectangle into a path using the Path -- Object to Path menu or by using the Shift + Ctrl + C shortcut. Modify the rectangle using the Edit paths by nodes (F2) tool. Add a node on the left side of the rectangle. Look at the picture below: 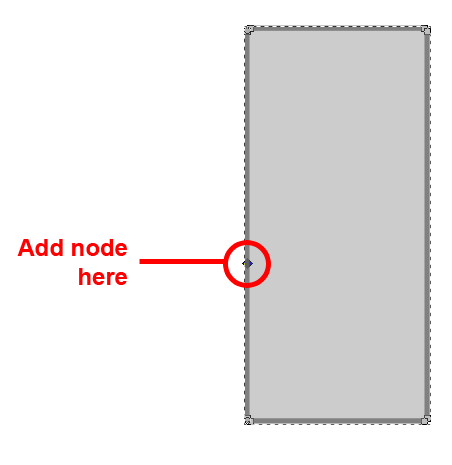 Step Three: Click the new node, then click the upper handle and drag it to the right to bend the left side of your rectangle. You can repeat this step until you get your most perfect shape. You can also move the other handles to make more adjustments. 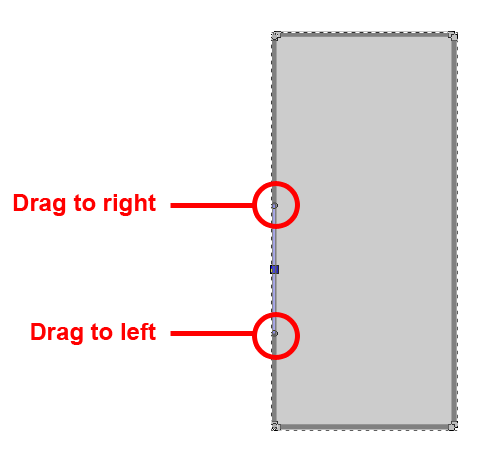 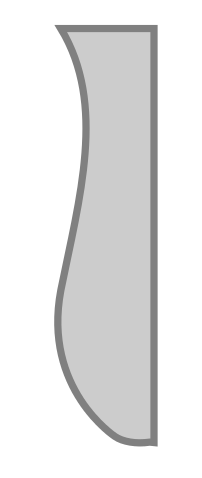 Step Four: After you get the shape you want, you can do the same steps above to be applied to the right side of the (ex-) rectangle. Or, you can duplicate this shape (Ctrl + D), then flip it horizontally. Adjust the position to get the following image. 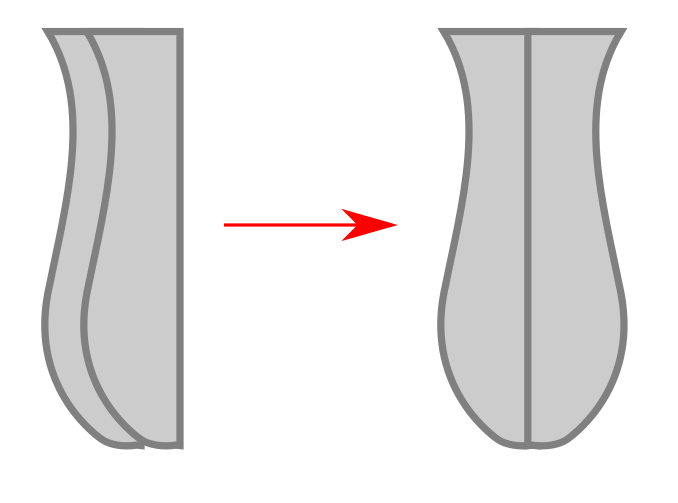 Step Five: Press Ctrl + + to combine the shapes so your new shape will be like this: 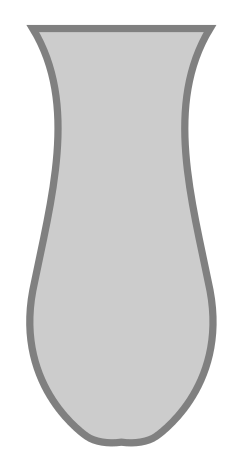 Step Six: Now, to create the juice inside of the glass, you just need to copy the glass shape, remove the stroke, and resize it. Fill it with a linear gradient, from yellow to orange. First, you need to choose the Gradient (Ctrl + F1) tool, then drag it from top to bottom. Click the first node (top) and choose a yellow color. 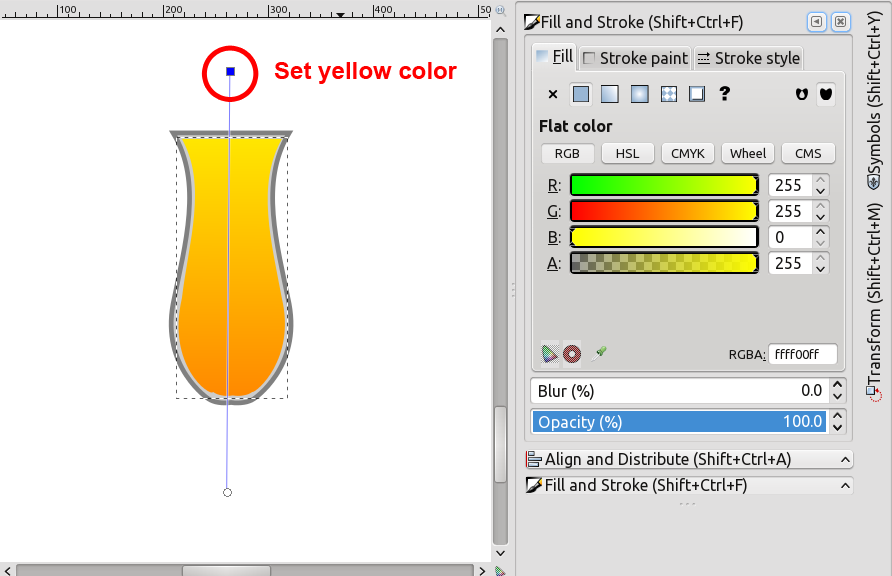 Click the second node (bottom) and choose an orange color. Look at the following color parameter through Fill and Stroke (Shift + Ctrl + F) panel. 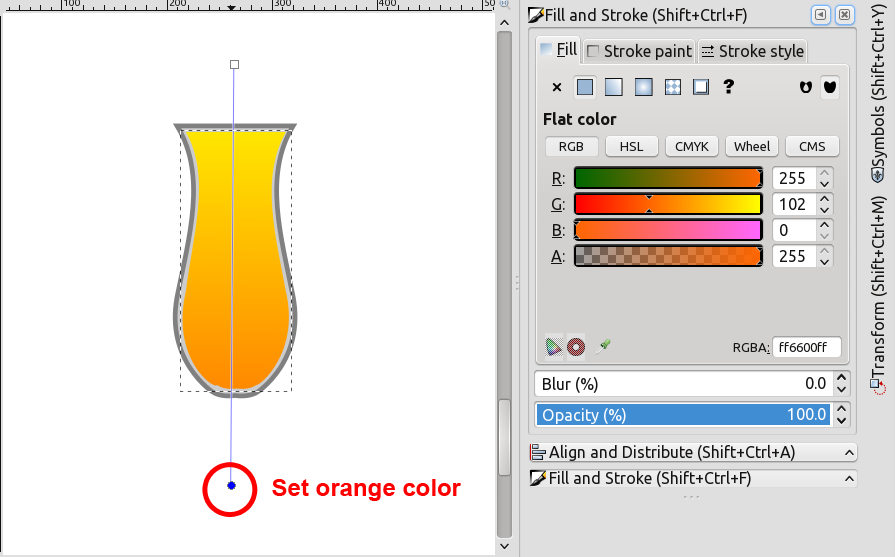 Step Seven: Is the color combination satisfying for you? Now, let's create "accessories" on the glass. Grab your Bezier (Shift + F6) tool. Choose Spiro-path mode and Ellipse on the Shape drop down menu. 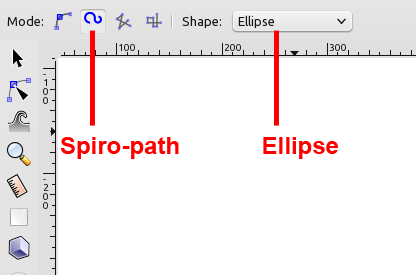 Step Eight: Draw a free curve by clicking the tool until you get the shape like this: 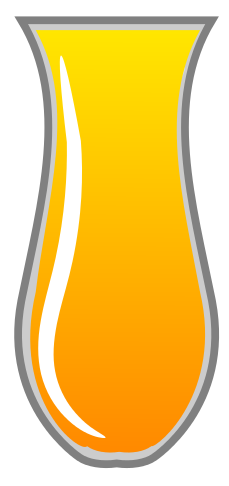 Step Nine: Now, fill this shape using a gradient color. So, access the Gradient (Ctrl + F1) tool again. Click the first node (top) and choose a white color. Click the second node (bottom) and choose a yellow color. You can always change the nodes (top or bottom) to get a better gradient. You can draw another shape using the Bezier (Shift + F6) tool so that it will look like this: 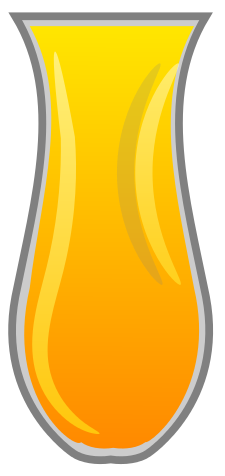 Step Ten: Now, create a circle and put it under the all shapes above. Give it a 50% gray as the color. Look at the illustration below. 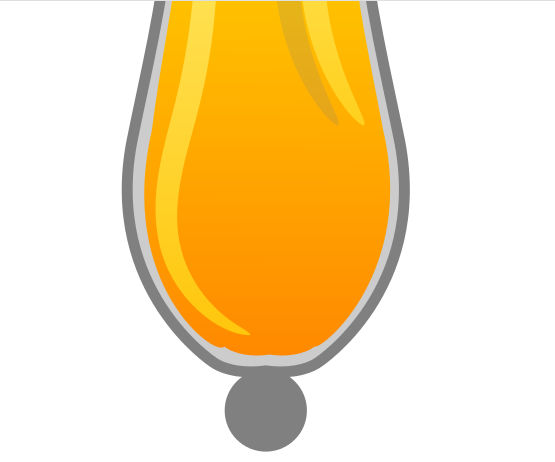 Step 11: You can also create another circle or duplicate and resize the current circle, then give it a 20% gray color. Place the second circle like this: 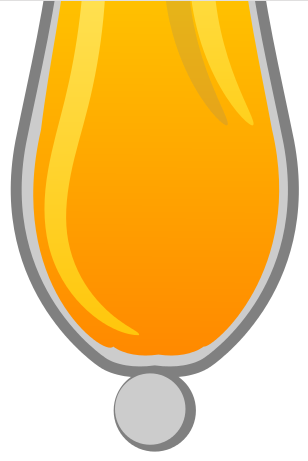 Step Twelve: Create an ellipse and put at the bottom of all the objects. You can use any proportional size. For the color, I used 30% gray color and no outline/stroke. 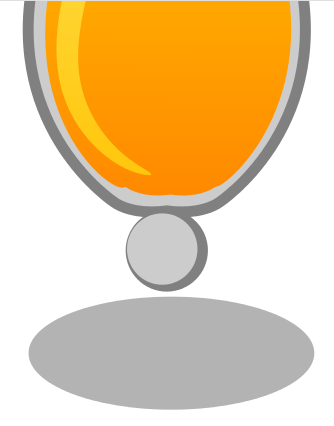 Step Thirteen: Duplicate (Ctrl + D) the ellipse and fill it with 60% gray color. Then, move it a little bit lower and move it a bit to right to create a shadow effect. After that, press the Page Down button on your keyboard to send the shadow ellipse to the back of all objects. 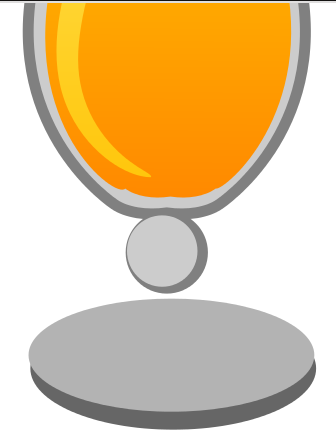 Step Fourteen: At last, you can create a "connector" between the circle and the ellipse as shown in the illustration below. The "connector" can be made of a small rectangle with a 30% gray color without stroke. On the picture below, I modified the rectangle a bit and gave it a red color so that you can spot my "connector". 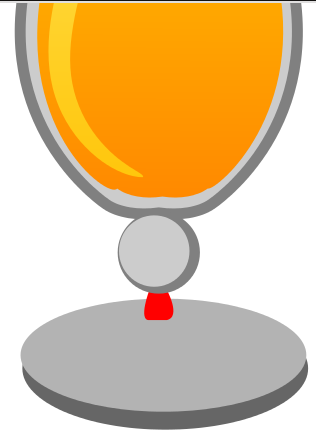 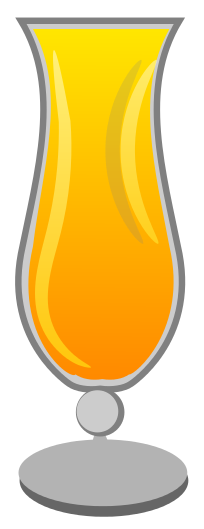 Other possible results: 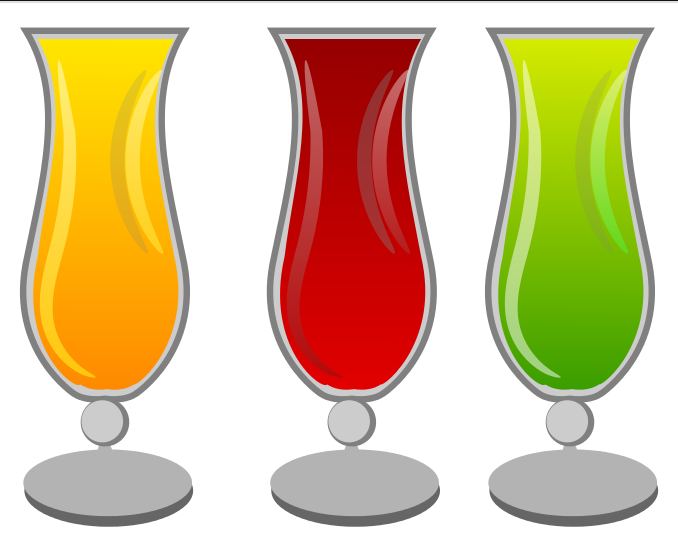 |