
| Previous
Page |
PCLinuxOS
Magazine |
PCLinuxOS |
Article List |
Disclaimer |
Next Page |
HTPC: Using Kodi To Display Picture Slideshows |
|
by Paul Arnote (parnote) I know that I mentioned that Kodi seems to run on plugins, but in the case of displaying photos/images in a slideshow, nothing could be easier. Plus, it doesn't require any plugins -- unless you're trying to display online content in a slideshow. We'll start with how to display images that are stored locally on your computer's hard drive. Displaying local images 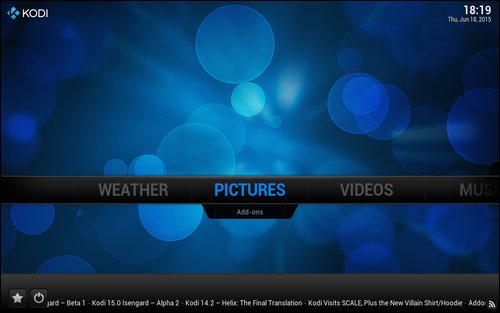 First, you'll need to go to the "Pictures" category. Just click your mouse on the "Pictures" label. 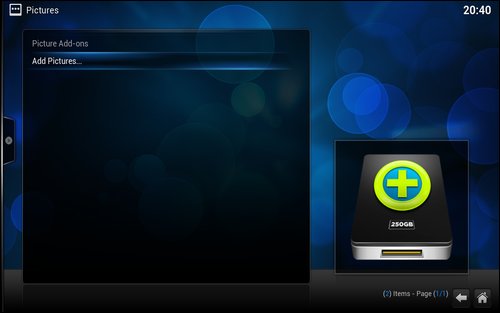 Your screen should look like the image above. Click your mouse on the "Add Pictures..." item. 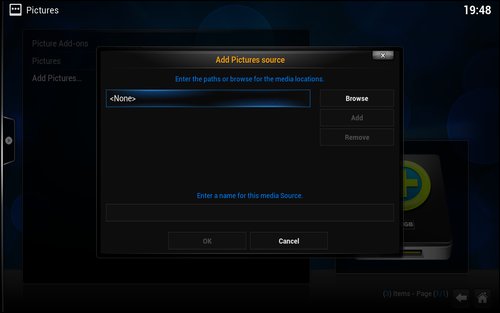 You will then see the "Add Pictures source" window, as in the image above. You can type in the full path to the directory containing your images, or you can use the "Browse" button on the right side of the window. The latter is the easiest way, and helps to insure that you avoid typing errors in the path statement. 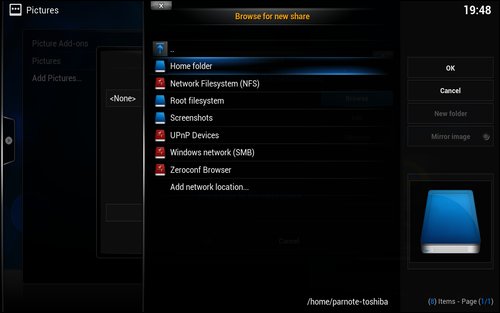 When you select the "Browse" button, you should see the image above on your screen. Select the "Home folder," then navigate to the directory where you have your images stored that you want to display in the slideshow. 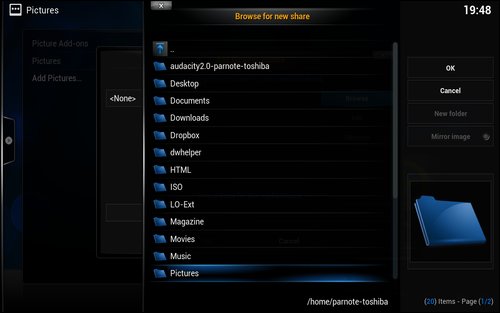 Then, click on the "OK" button. 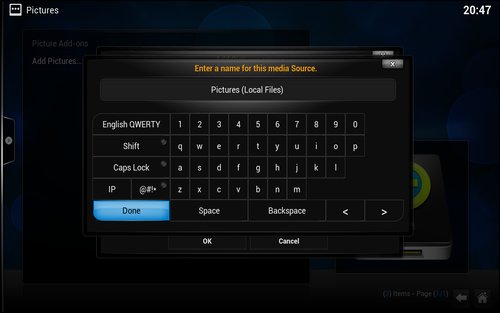 Now, click your mouse in the lower text entry box, and give the media source a name. I chose "Pictures (Local Files)" as the media source name so that it is immediately apparent that these files are stored locally on my computer's hard drive. Click on the "Done" button on the on-screen keyboard (lower left in the image). 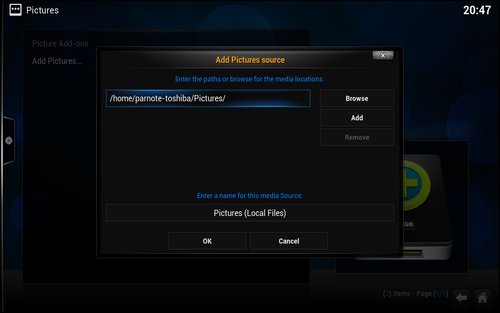 When you are finished, you should see something like the image above. Click on the "OK" button, and your local directory will be added to your list of media sources for the "Pictures" category. 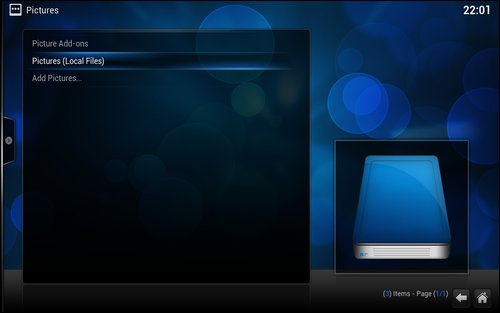 You should see something like the image above, with your image source listed. 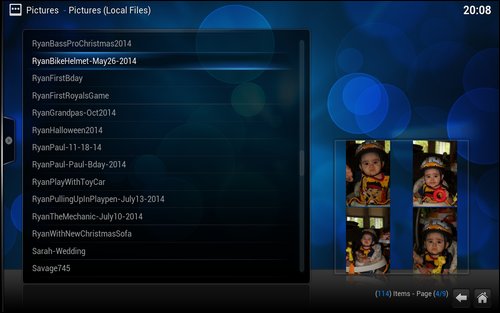 On my computer, I have a LOT of images, most of them sorted and stored in 64 different directories. Clicking on "Pictures (Local Files)" in the previous screen will display all of the subdirectories under my /home/parnote-toshiba/Pictures directory. It will also display all of the images that aren't sorted, and just dumped in that directory. Highlighting the directory you want to display will cause Kodi to display thumbnail images (lower right of image) of the first four images in the directory. As an added bonus, Kodi can read archive files, such as .tar.gz and .zip files, and display any images that are contained in them -- without you having to first decompress the archive. 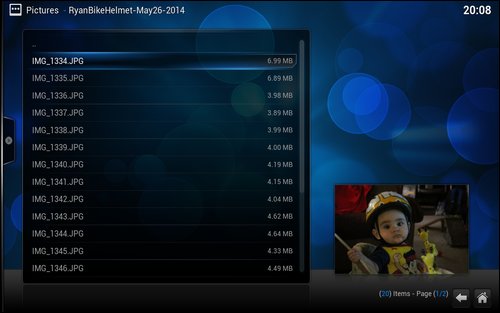 Double clicking on the directory (or archive file) will display a list of all of the available images. 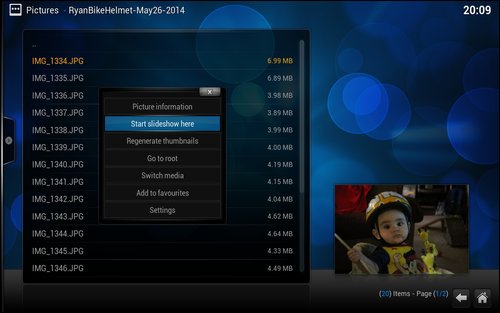 Right clicking your mouse on the first image will bring up a context menu window, similar to the one depicted above. Select "Start slideshow here" from the menu.  The slideshow will proceed with the settings from the "System > Settings > Pictures" section -- which we review in last month's "Getting Started" article. Displaying images from online resources Of course, you're not restricted to displaying images that are stored locally on your computer's hard drive. For example, I store all of our images (mostly of our son Ryan, but also photos of other family members) on Google's Picasa website, to facilitate sharing them with friends and family members. Fortunately, Kodi makes it easy to create slideshows from images that you have stored in the cloud. Click on the "Picture Add-ons" item. 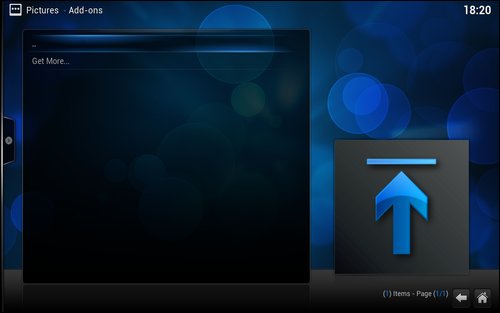 Next, click on the "Get more..." item. 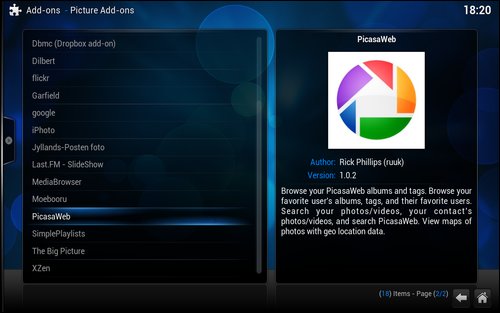 Now, select the online resource you want to use to display images. In my case, I chose "PicasaWeb" from the list. 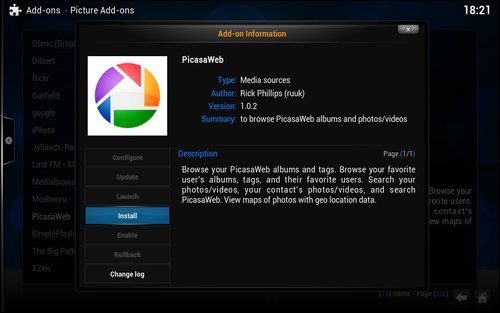 Clicking on the "PicasaWeb" add-on brings up the image above. Select the "Install" button. 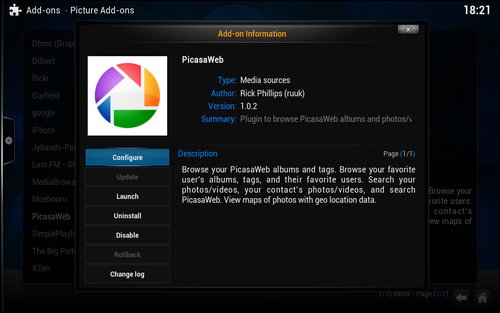 Once it's installed, you will want to double click on the PicasaWeb add-on and select the "Configure" button. 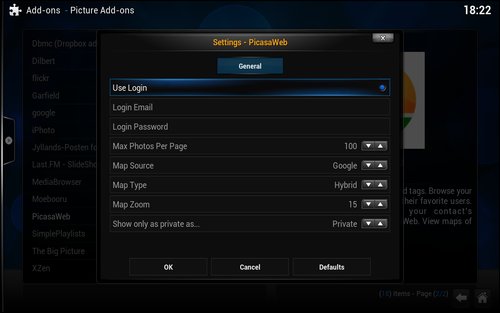 Enable the "Use Login" option, then enter your Login Email and Login Password (click on each field to display the on-screen keyboard). Make adjustments to any of the other settings (self explanatory ... default values shown) you might like, then click on the "OK" button. 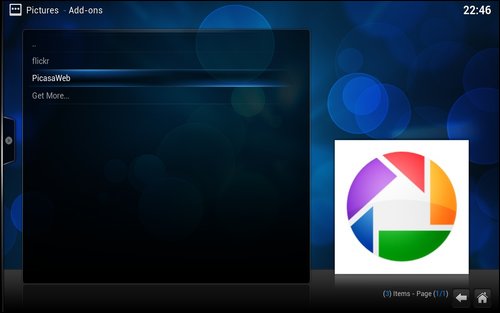 Clicking on "Picture Add-ons," you should see something like the image above on your screen. I selected "PicasaWeb" from the installed add-ons. 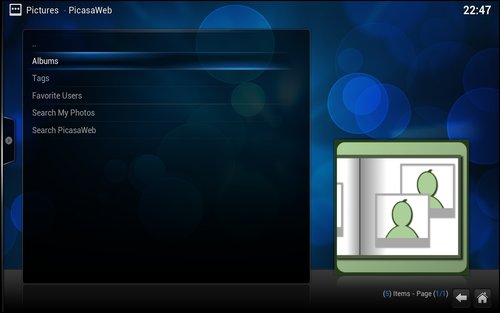 Select what you want to display from your online resource. Here, I selected "Albums" from the list. You can also select by tags, view the albums from "favorite users," search your photos, or search PicasaWeb for specific images.  In just a few seconds, your album list should appear. Select the album you want to display, and your album's "cover photo" will be displayed as a thumbnail in the lower right corner of the screen. Click your mouse on the album you want to display, and a list of images in that album will be displayed. From this point on, you can display the slideshow in nearly the same way as you do with locally stored images, with one slight difference. With the PicasaWeb add-on, I've not been able to get Kodi to playback a slideshow by right clicking an image in an album and selecting "Start slideshow here...." Instead, go back one screen (so you're not viewing the image list of the album), right click on the album itself, and select "Recursive slideshow" from the context menu. You can also choose to stream images from Flickr, Google, or any of the other listed online resources. Even though I have a seldom used Flickr account, I installed/enabled the "flickr" add-on. Then, selecting the "flickr" add-on, I selected the "Interesting Today" category. The images then loaded, and I started a slideshow with the first listed image -- all without logging in to my Flickr account. Correcting image orientation Sometimes, when browsing images -- either locally stored images or those stored in the cloud -- you may (most likely will) come across images that are not displayed with the proper image orientation. Thankfully, Kodi makes it simple to correct the image orientation. Simply press the "R" key on the keyboard to rotate the currently displayed image 90 degrees clockwise (to the right). Refer to the HTPC: Kodi Keyboard Shortcuts article, elsewhere in this issue of The PCLinuxOS Magazine, for additional keyboard controls. There's a whole set of keyboard shortcuts specifically for use by Kodi during the display of picture slideshows. Playing music with your slideshow Kodi uses a rather "low tech" way to allow you to to play background music with your slideshow. The only thing that would be lower tech would be to use another device (MP3 player, cassette tape, radio, etc.). To play music with your slideshow, you will need to start your music source (song, playlist, CD), then start your slideshow. The music will play in the background while your slideshow plays. We'll talk about using Kodi to play music in a future article. Summary Kodi provides a very entertaining and easy way to view your images. You will end up with very "professional" looking results, very easily. The only thing that could make this better is if someone would come out with a plugin that allows you to save the slideshow as a video file, complete with background music. If it has been created (and who knows ... maybe it has), I haven't been able to find it among the thousands of Kodi plugins that are out there in the wild. That would allow me to save the slideshow to a DVD, for posterity and provide another avenue by which I can share with others. If you do discover such an add-on, please let me know. |

