| Previous
Page |
PCLinuxOS
Magazine |
PCLinuxOS |
Article List |
Disclaimer |
Next Page |
GIMP Tutorial: Creating A Swirl Effect |
|
by Meemaw We've done backgrounds before, but we will use GIMP this time to create a swirled background. This was a fun tutorial to do, as well. Open a new image (File > New) in the size you want. I used 1600 x 1200, but you can use bigger if you need it. Decide on a color and then choose two shades of that color so we can put in a bit of a gradient. My favorite wallpaper color is blue so I used two different shades of blue. Click on the Blend tool in the Toolbox and verify that the Gradient is set to FG to BG and the Shape set to Linear. With the Blend tool, draw a line from the top to bottom, bottom to top, or from corner to corner. I drew mine from top left to bottom right, and as you can see, the top left corner is darker. 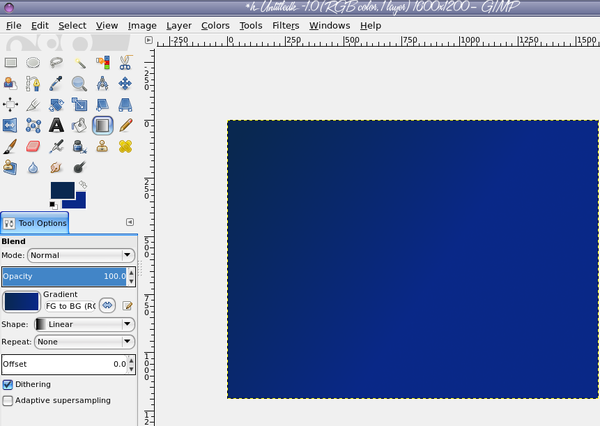 Change the foreground to white, then draw a swirl in the middle of your image using the brush tool. The the swirl won't be perfectly uniform, unless you draw much better than I do!  Click on Filters > Blur > Gaussian Blur and set both values to 40, then click OK. You should have an image that looks sort of like this:  Now, click on Filters > Distorts > Whirl and Pinch. Move the Whirl angle slider all the way to the right (the number will be 720), the Pinch amount slider about three-quarters to the left (around -0.5) and leave the radius at 1.00. 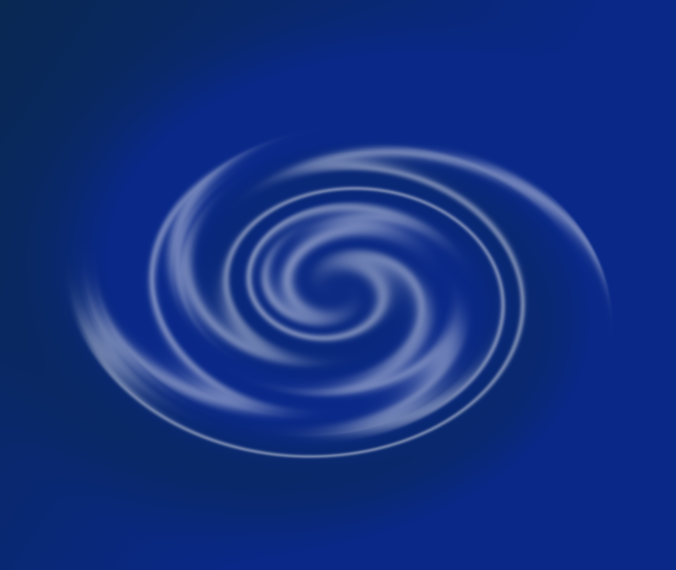 Let's adjust. Click Filters > Distorts > Waves. Make sure that the Smear radio button is selected. Play around with the amplitude, phase, and wavelength sliders until you're happy with the result (as you can see below, I set the amplitude to 70, phase to 145, and wavelength to 45). 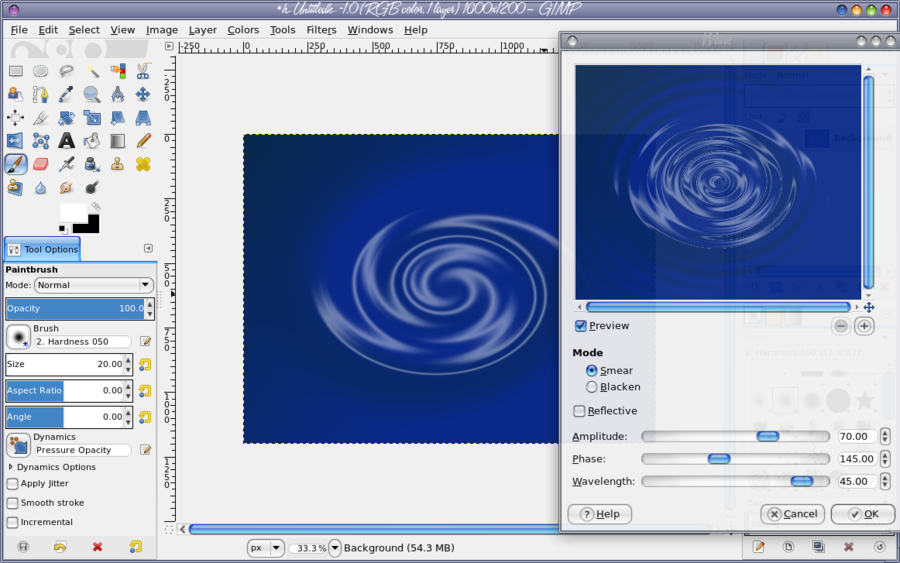 Before we finish, we want to make the ripple effect stand out a bit more. Go to Filters > Artistic > Softglow and adjust the sliders to your liking. I set the Glow radius to 1.00 (all the way to the left), Brightness to 0.25, and Sharpness to 1.00 (all the way to the right). 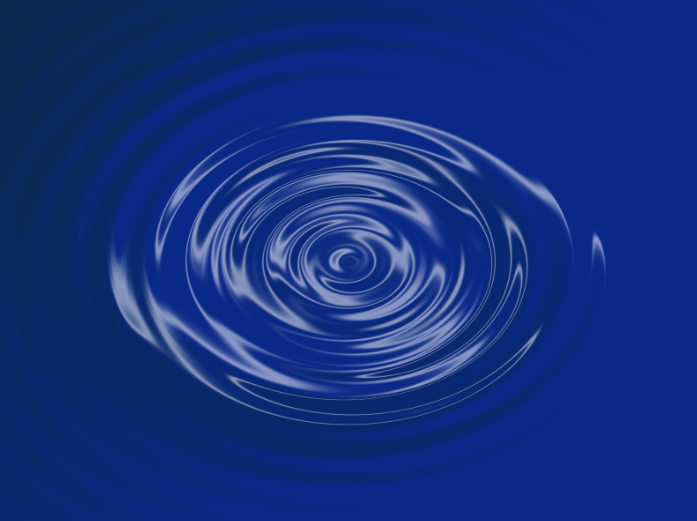 We are finished, unless you want to go back and adjust something else. You can always go back into any of the Filters items and change settings. If you decide the color is wrong, instead of starting over, click on Colors > Hue-Saturation and adjust the Hue slider. 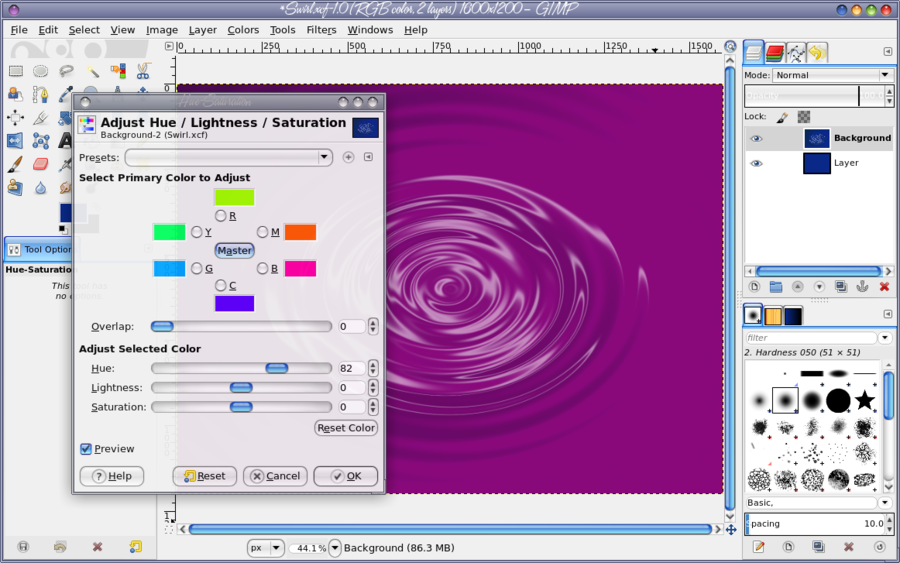 You can always play around with the other filters and see what different effects you can come up with. One option is Filters > Render > Clouds > Difference-Clouds. I changed the color of my original to a shade of green (in Colors > Hue-Saturation), then did the Difference-Clouds filter with the X and Y sizes set to 1. Experiment all you want! 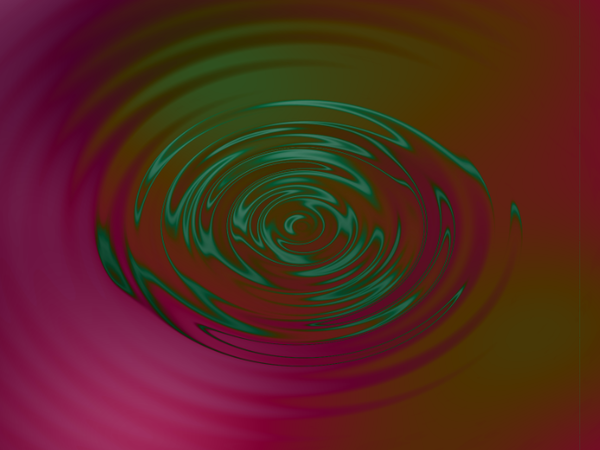
|