|
By: Khadis
Creating a water (or blood) drop or splash in Inkscape is radically easy and simple. If you are going to create it, you just need one tool to do it. Let's go!
- Open up your Inkscape and create an oval of any size and any color using Circle tool (F5).
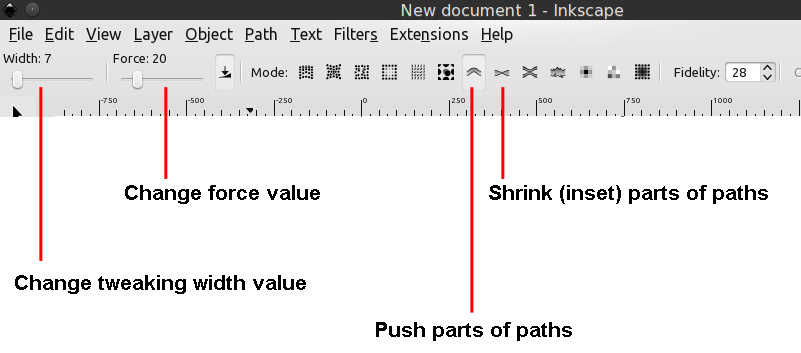
- Grab your Tweak tool (Shift + F2) and activate Push parts of paths in any direction option. Here are some of other parameters that you can set:
- Click and hold any side/part of your oval, then drag it out. On my example, I dragged out the upper part. Your first result on the edge might be like this:
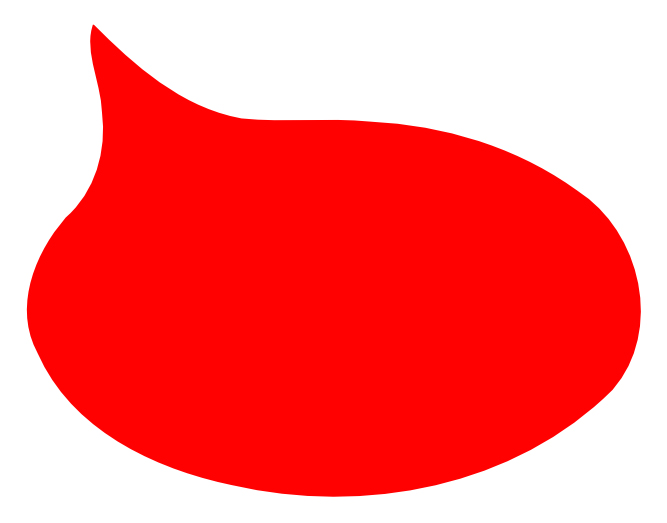
- Still using Tweak tool, click and drag several times on the edge (including "undoing" if you get bad result) so the result will be like this (yours may be better):

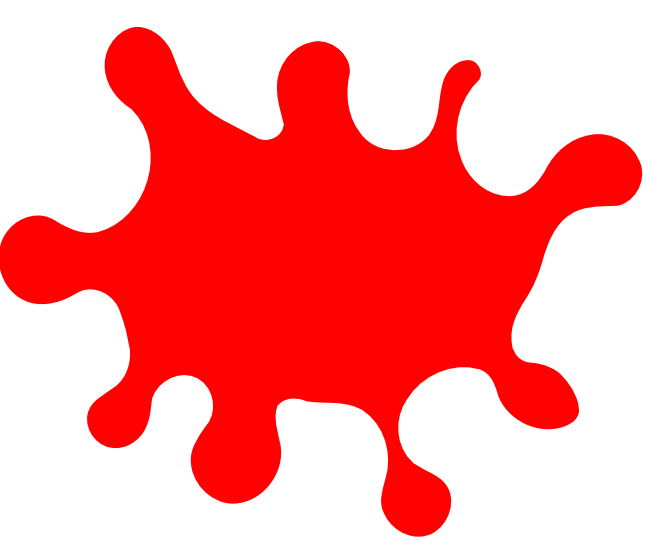
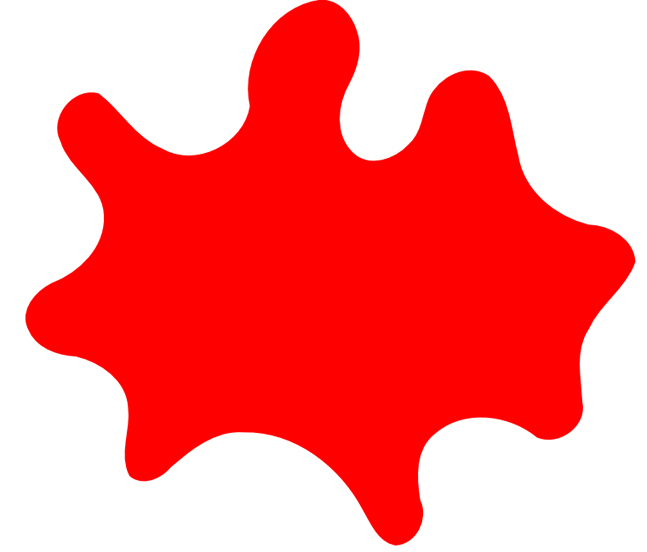
- Do tweaking again for other parts. You might need to do a circular movement or drag calmly and gently.
- Here are some of my creations. Not so good, but I am sure that you'll be inspired to create the better and realistic one:

- To get different effect, you can always change the width of tweak area and the force value. You can also switch from Push parts of paths in any direction to Shrink (inset) parts of paths option.
- For the next touch, you can duplicate (Ctrl + D) the object, give it a different color (I chose the darker color), add a stroke, send it to back, and move it some millimeters to create a shadow effect.

- You can also put text above the objects like this:

- I used the Impact font, while you can choose your favorite font. Resize it to fit your main object.
- Then, I rotated the text, duplicated it and picked a darker color for the duplicated one, and also moved the duplicate to higher position. It will give a shadow effect too.
- If you think that the text isn't good yet, you can modify it by giving it a "shattered" effect. Here is how:
- Type your text. Then, by using the Bezier tool (Shift + F6) create some objects (example: triangle or any random shape), and put them above the text, similar to the picture below:
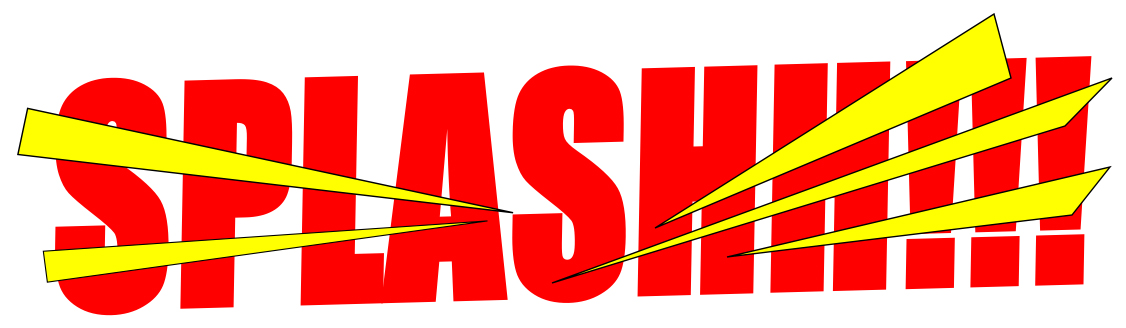
- Then, do Difference (Ctrl + -) operation by clicking on the Bezier object, then hold your Shift button, click on your text, and press Ctrl + -.
- Apply the text to your water drop object.

|