| Previous
Page |
PCLinuxOS
Magazine |
PCLinuxOS |
Article List |
Disclaimer |
Next Page |
Inkscape Tutorial: Creating A Personal Calendar |
|
by Khadis Hurray! The new year is here and there must be a lot of wishes, right? How was your party to welcome this new and “fresh” year? I do hope that the party was awesome and cheerful. In this edition, I would like to show you a little trick to improve your creativity in using Inkscape. As we know, Inkscape has some superiorities compared to the similar graphic design software. The extensions module is one of the superiorities that its competitors don’t (always) have. One of the modules collection I’d like to use is “Calendar,” which will help us to create an instant personal calendar. Now, let’s go! 1. Start your Inkscape engine and then create a landscape document with your own preferred size (File -- Document Properties or Ctrl + Shift + D). Mine is A4 landscape. 2. Create a rectangle with the same size as the document size (29.7 cm x 21 cm). Color it with purple (or any color you like). 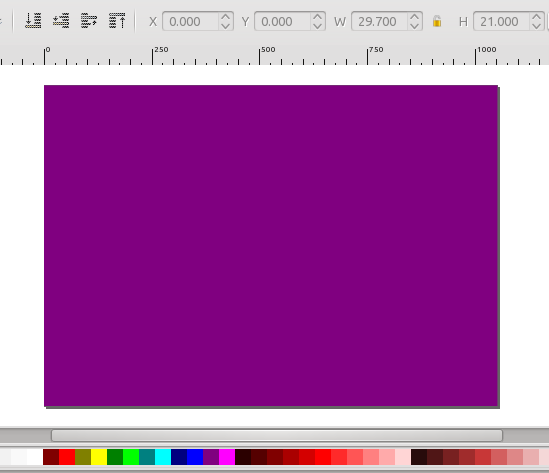 3. Import an image (Ctrl + I) to be used as a background. I picked a random image collection in my computer. Of course, you can find better image(s) over the Internet. Set the image as large as (or bigger than) your rectangle. Put it in front of the rectangle, select all (Ctrl + A), and then go to Object -- Mask -- Set. The image should now be inside of the purple rectangle. You can set the opacity lower than 100% to get better color (Ctrl + Shift + F). 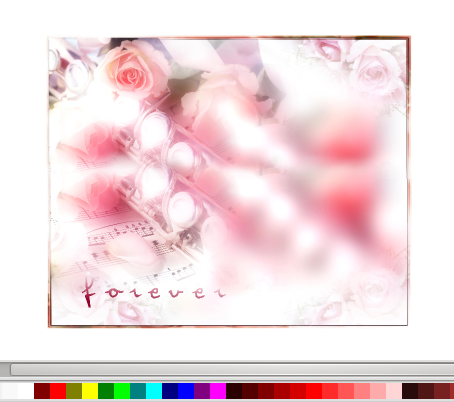 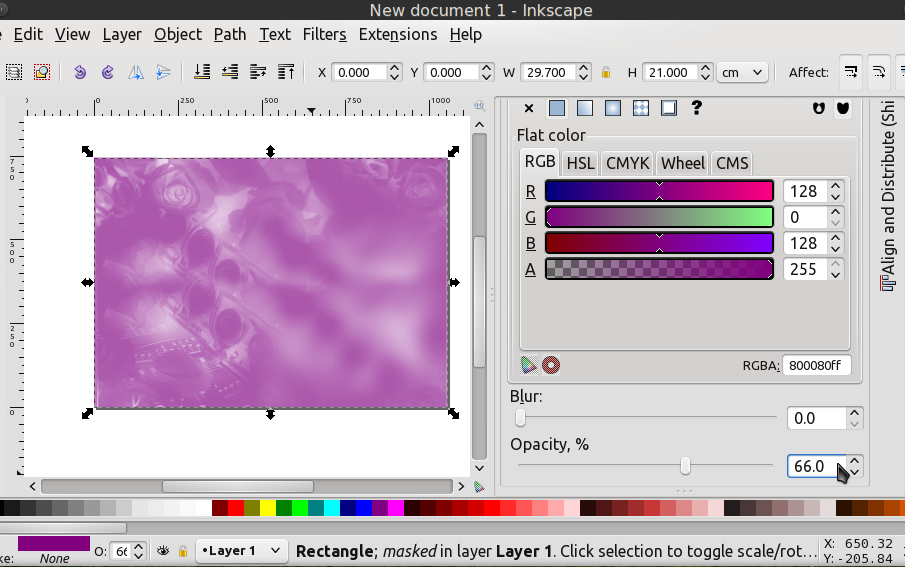 4. Go to Extension -- Render -- Calendar menu. The Calendar window will appear in your screen. It has some parameters that you can adjust, such as the year number, number of month in each page (e.g. 12 months per page for 1 page calendar, 6 months per page for 2 pages calendar, etc.), the starting weekday and weekend, the months and days name in your local language, etc. You can activate Live Preview to get the preview before you apply your settings. 5. I set the parameters as follow (Indonesian style, especially the starting week day and the name of the days): 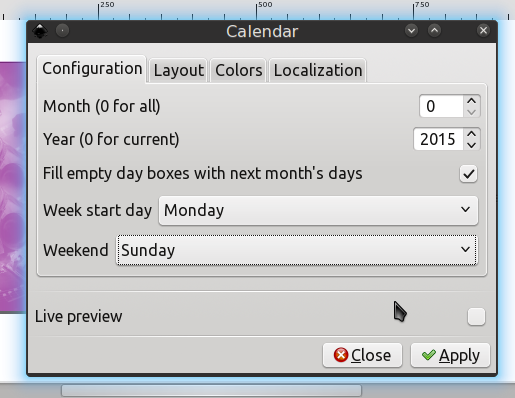  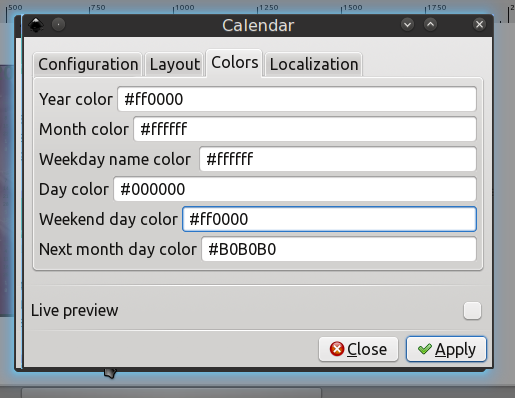 Note: In this part, you can set the color by seeing in the color bar. There, you will see the name of the color and the pattern (e.g. green = #008000, red = #FF0000, etc.). 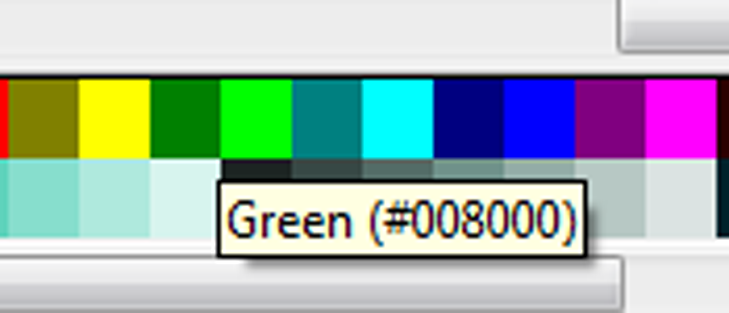 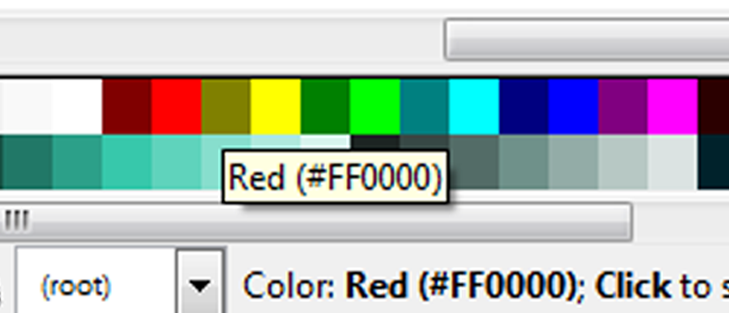 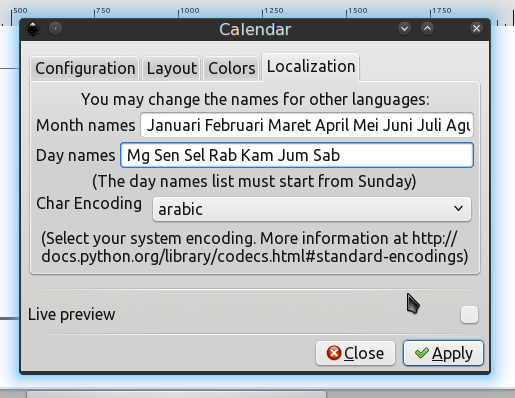 6. Click Apply and Close. Resize to fit the page and make it center on horizontal axis (Ctrl + Shift + A). 7. If you want to change the font type or edit a single object inside of the calendar, e.g. to edit the year number’s font, just double click your calendar, then double click the year number, then change the font type/color/size. Each double click will “temporarily” ungroup your calendar into single editable object. 8. Create another rectangle as a background of each month. I chose white color with 66% of opacity. Duplicate it (Ctrl + D) and resize it (see the picture below) and give different color. In this case, I chose green. 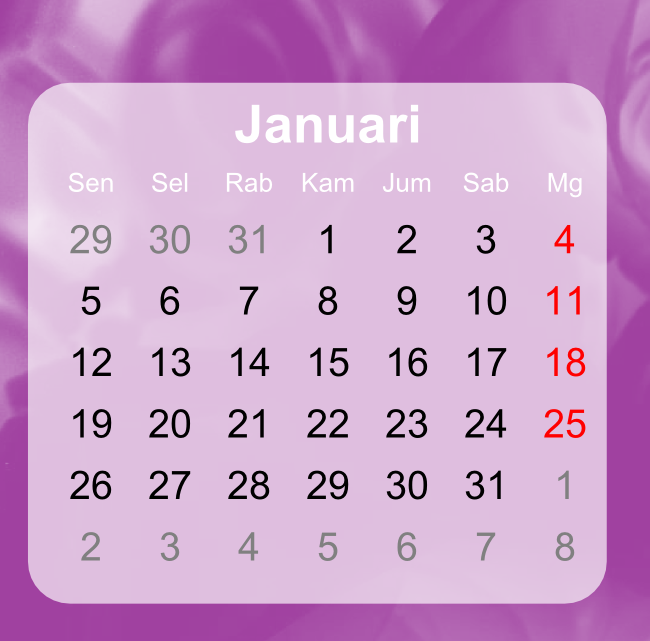 9. Make these two rectangles’ corners rounded by using Edit paths by nodes tool (F2). After that you may group them first, or just select them, then move them lower (behind the calendar item) using Page Down button on your keyboard. You may need to hit the button twice or three times. Or you can select the calendar item then hit Home button so it will directly on top of all the objects. 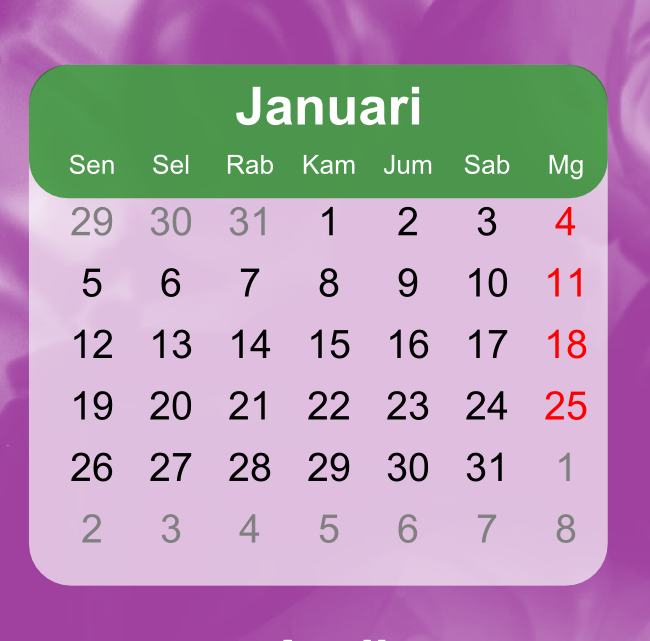 10. Duplicate these rectangles and put them behind the other months.  11. You can then put photos, create decorations (by combining circles, rectangles, stars, hexagons, etc.), or place texts. 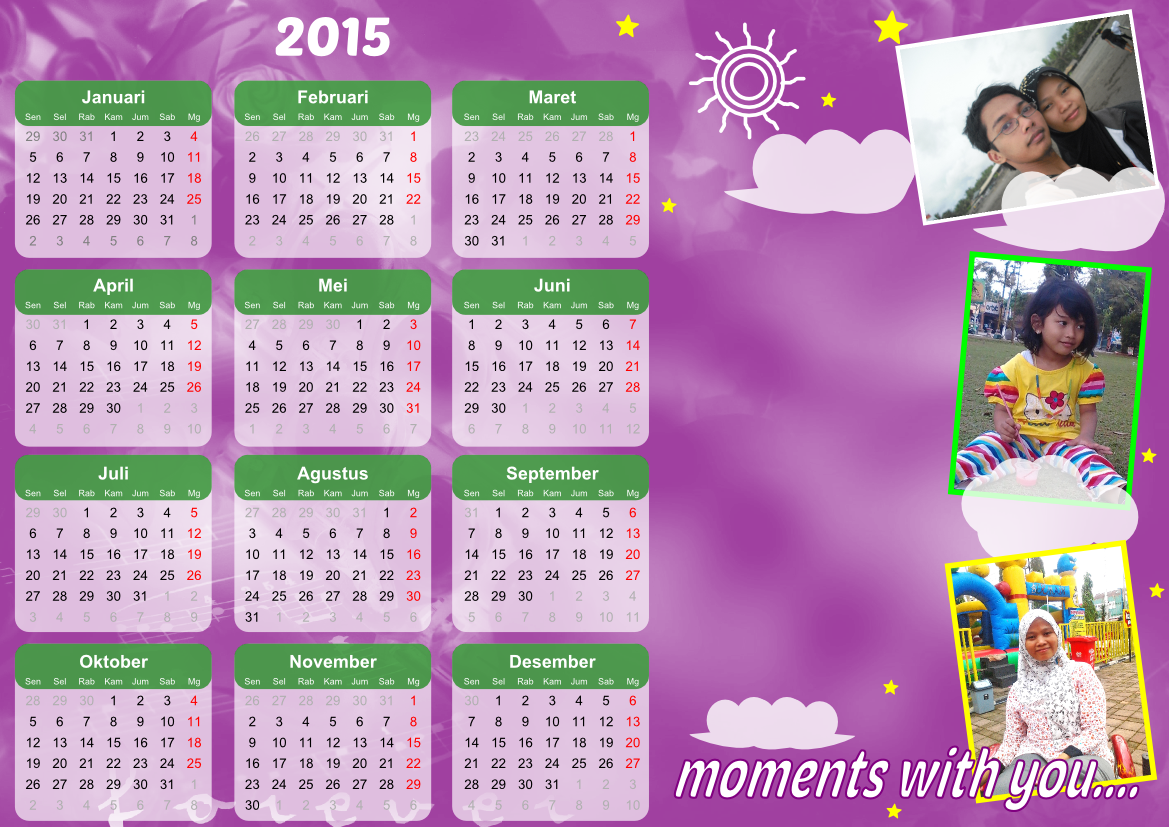
|