| Previous
Page |
PCLinuxOS
Magazine |
PCLinuxOS |
Article List |
Disclaimer |
Next Page |
Inkscape Tutorial: Taped Note |
|
by Meemaw This one is pretty easy. It resembles a note taped to a surface with clear tape. 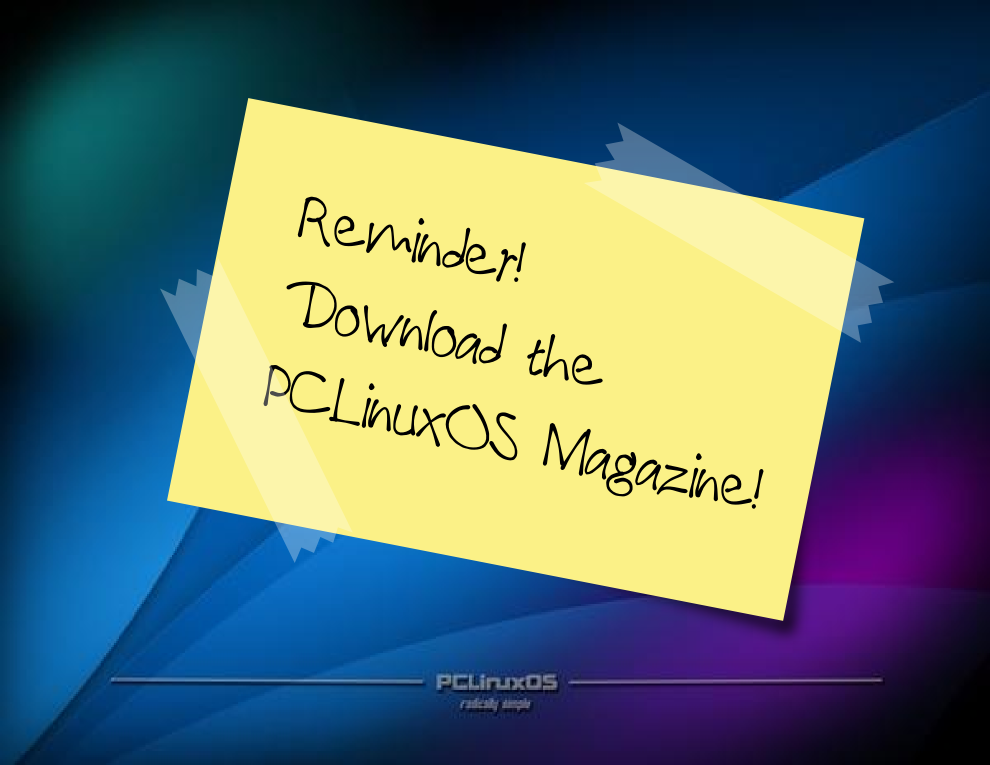 Open Inkscape and set your document properties. I used a letter sized page, in landscape orientation. It seems to be easier if you change your background from white to something a bit darker so you can see what you're doing. In Document Properties, one of the choices is background color. From the Document Properties window, click on the colored line behind the word Background, and the small window will appear: 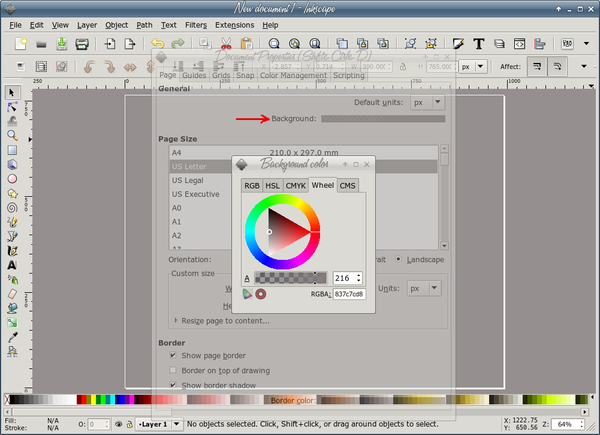 I changed mine to a medium grey. It will be easier to see what I'm doing. Next, draw a rectangle, white fill and no stroke. In the Path menu, click Object to Path while your rectangle is selected. Change to the Paths tool (second from the top at left). On each end of your rectangle add five nodes by double-clicking on the end line five different times. Grab alternating nodes and move them inward to create a "cut tape" effect at each end. Don't worry, it doesn't have to be perfect, and you can add more if you wish. 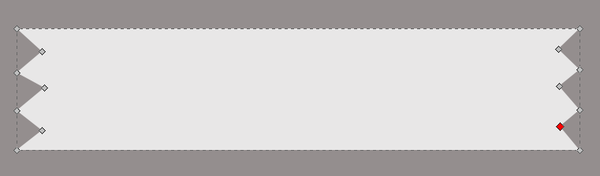 When you get your "tape" the way you want it, go to Properties and set the opacity down to 30 or 35, or whatever looks good to you. Resize it (depending on how big you made it when you started), then duplicate it and separate the two. 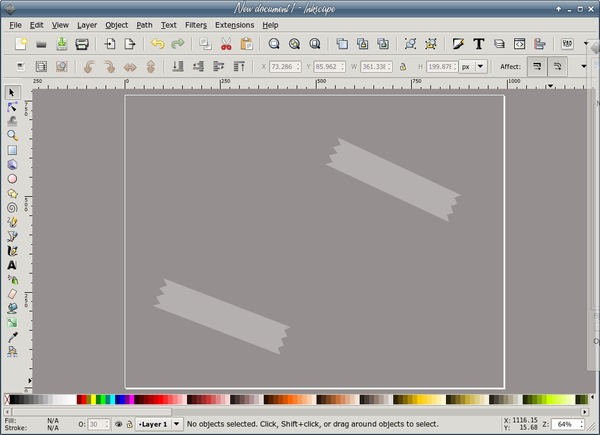 Create a new rectangle for the note itself. I made mine yellow, but you can make it any color you want. You can arrange your tape pieces now, or wait until you are finished. 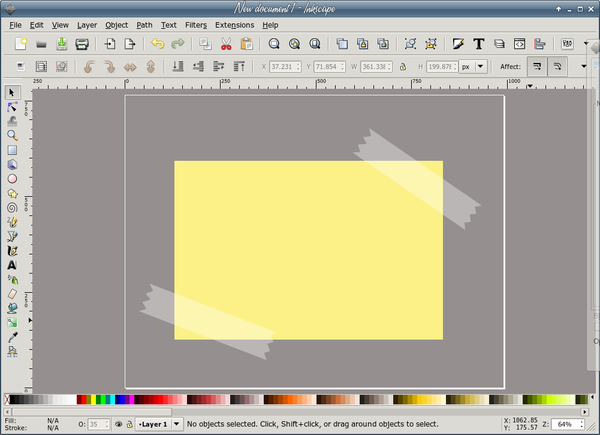 Not all pieces of paper are wrinkle free, so let's put in a shadow that makes it look like the paper is curling a bit at one side. Using your Bezier tool with the width set about 10, draw a line similar to the one shown below. 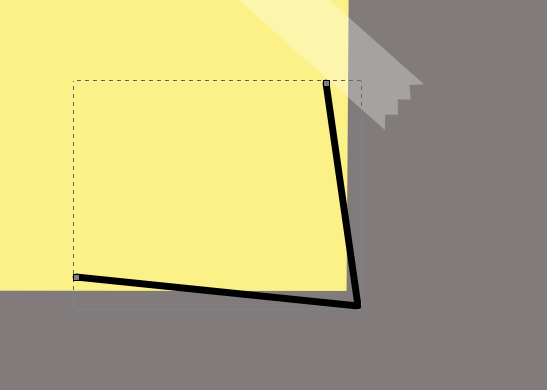 Zoom in on your corner and move the line up to the corner of the paper.  Send the line underneath the paper, and set the Blur at 5. 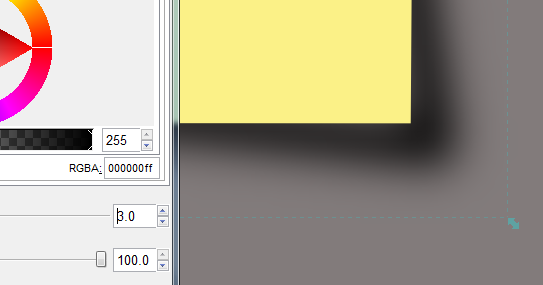 The bigger the shadow you want/need, the longer and less angled you should make your lines. Now we want to do our note. Click on the Text tool at left, click on the yellow "paper" where you want your note and type. Now click on the Text Formatting tool at the top of your window and format the text. I used a font called !Paul Maul, but you should use whatever you like. Save your work. 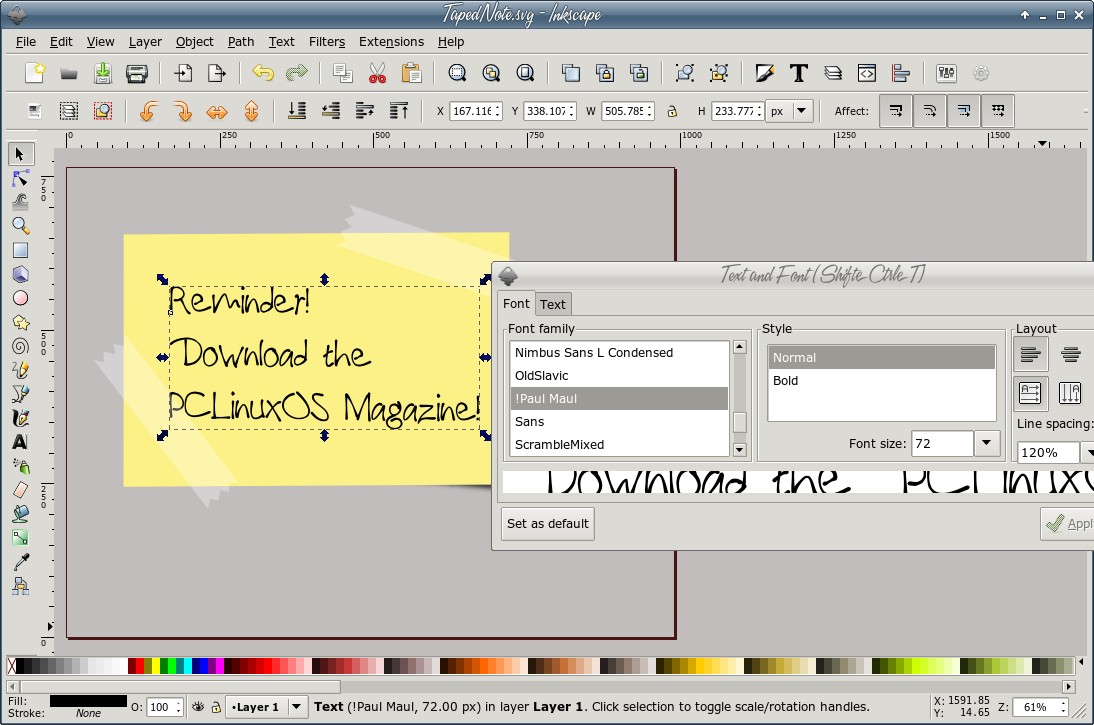 From here, you can personalize your project. You can change the background back to white and save just the note and tape or do something different. I angled my note and tape pieces a bit, and then put one of our favorite wallpapers behind it. Remember to make sure your tape pieces have been moved above all other items so they show as being over both the paper and the writing. Save your work and export your project. |