|
by Khadis
Do you like playing with puzzles? I do. What about making a puzzle and then challenging your friends to solve it? It might be fun and entertaining. So, in this tutorial, I would like to show you how to make simple puzzle pieces.
- Open up your Inkscape and create a rectangle of any size and any color. Convert it into a path from Path > Object to path (Shift + Ctrl + C).
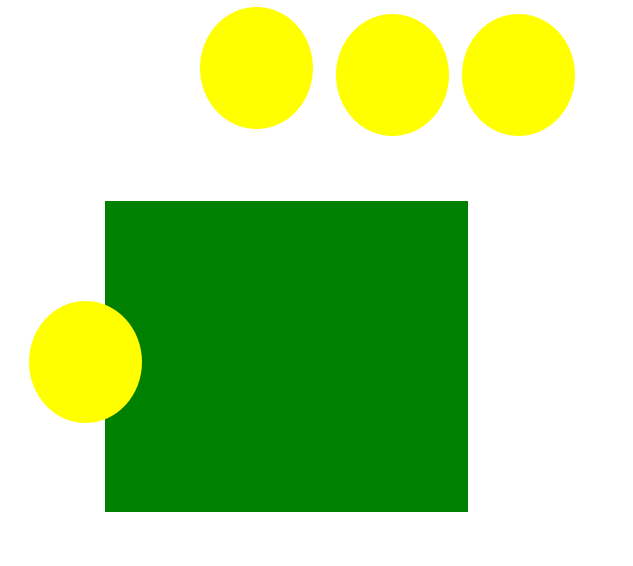
- Create a circle (or an ellipse). You can make it any size and any color, but I recommend you to create a circle that is smaller than your rectangle. Duplicate the circle three times using Ctrl + D until you finally get four circles. In the illustration, I have a green rectangle and yellow circles without stroke.
- Put one circle on the left part of the rectangle. You may place it randomly. This means you do not need to put the circle perfectly vertically "justified" to the rectangle. But please note, that if you want to make this puzzle playable, you may want to consider to "justify" the circle into "center on vertical axis". The same height of rectangle with the same puzzle's "hole" position will fit each other.
- Do a "union" operation by selecting the circle, hold down your Shift button, then click on the rectangle. Press Ctrl + + or access the union function from the Path > Union menu.
- Now, put the second circle on the right part of the rectangle. Place the circle so that its bigger part is inside of the rectangle.
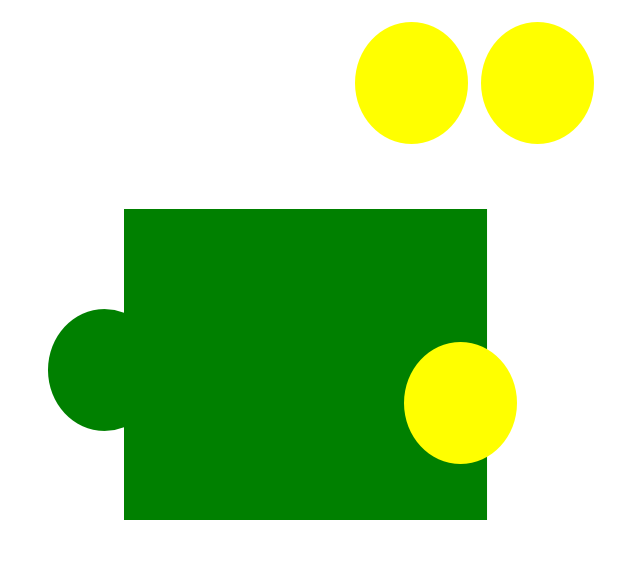
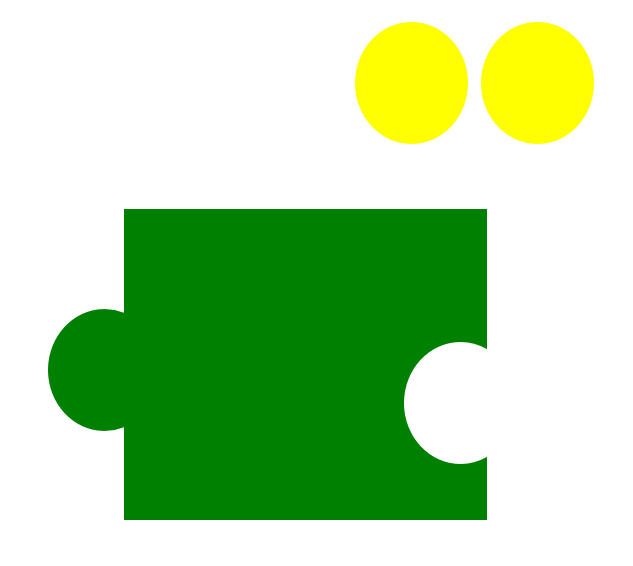
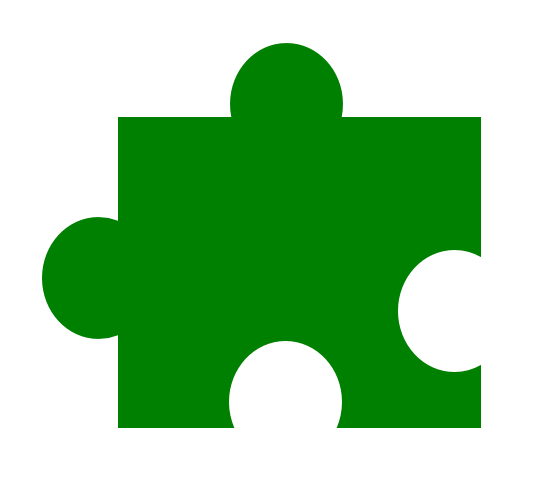
- Do a "difference" operation by selecting the circle hold down your Shift button, then click on the rectangle. Press Ctrl + - or access this function from the Path > Difference menu. Now, your rectangle should look like this:
- Repeat steps four through six, by putting the third and fourth circles on the top and bottom part of the rectangle. The final result may look like either of these:
- Of course, you can explore the way you place the circles to produce cooler pieces of puzzle.
- To give a "final touch", you can convert the puzzle into curve and modify it into smoother shape. You can use Edit path by nodes tool (F2) and use the available modifying tools or modify your nodes manually.

- As I mentioned in step three, to make these pieces of puzzle playable, you should create the same "distance" of circles placement and flat rectangle. But, if your imagination flies further and you want to create a curved puzzle, as in the step nine above, then you should totally modify the other pieces of your puzzle.
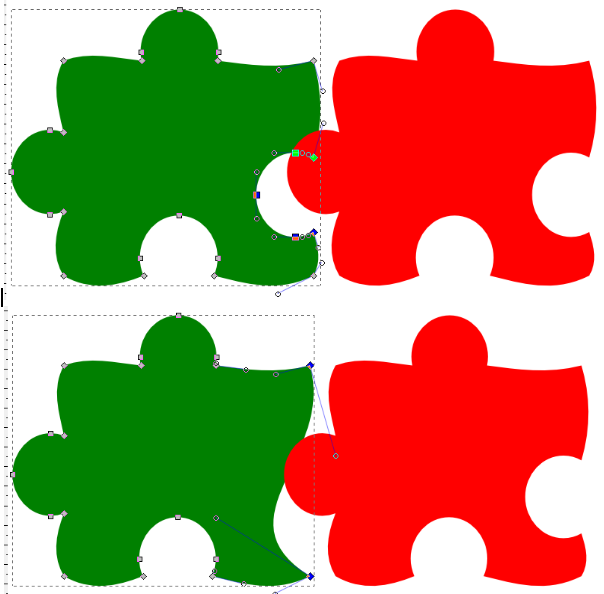
- Duplicate your curved puzzle piece, then place the new piece close to the first one. Hold the Ctrl button while moving your object so that it can move straight. By using Edit path by nodes tool (F2), adjust the size or even the position of your first puzzle's hole and puffed part.
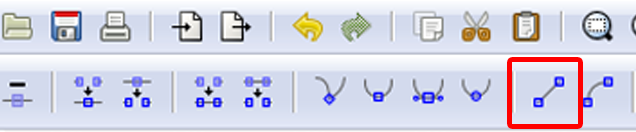
- Or you can do this simple trick: select the first puzzle, and then remove the right hole's nodes and return the curved side into a flat side.
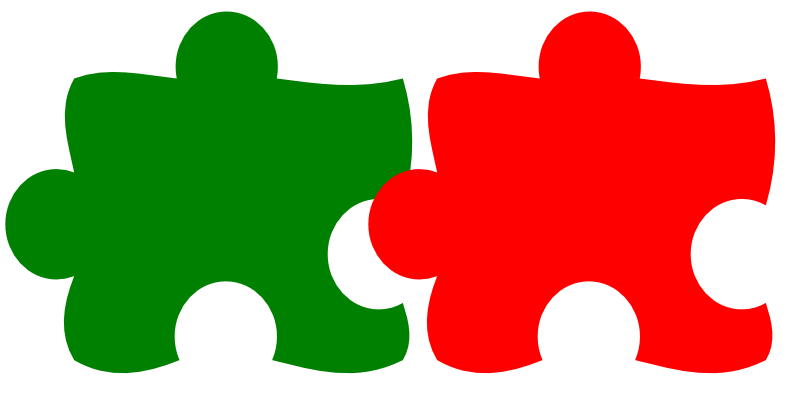
- Put them "stuck to" each other, then do the "difference" operation. Your second puzzle will be removed. Duplicate (Ctrl + D) the first puzzle again, and stick the second one to it. Give them different colors.
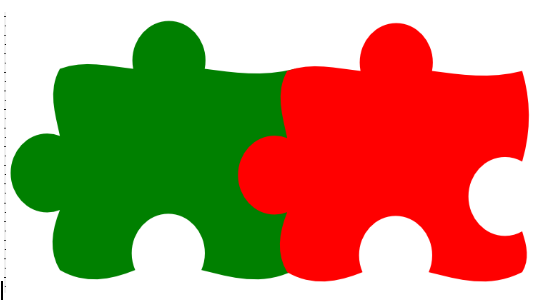
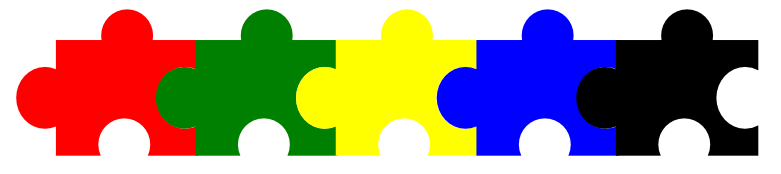
- Now, it's your turn, to create your own your very own puzzle creation.

|