
| Previous
Page |
PCLinuxOS
Magazine |
PCLinuxOS |
Article List |
Disclaimer |
Next Page |
KDenLive, Part Five |
|
by loudog Hello again, fellow PCLinuxOS users. In this installment, we will cover some interesting effects that are used often in the video editing community. I had initially planned on a different effect to cover, but I could not, for the life of me, find my camera tripod, so we will do these. You will recognize them easily, having seen them used in many movies and YOUTube videos. So, lets fire up that KDenLive and get started. The first thing we want to do is collect all the video clips together in one folder. Start a new project and import the clips into the project tree. 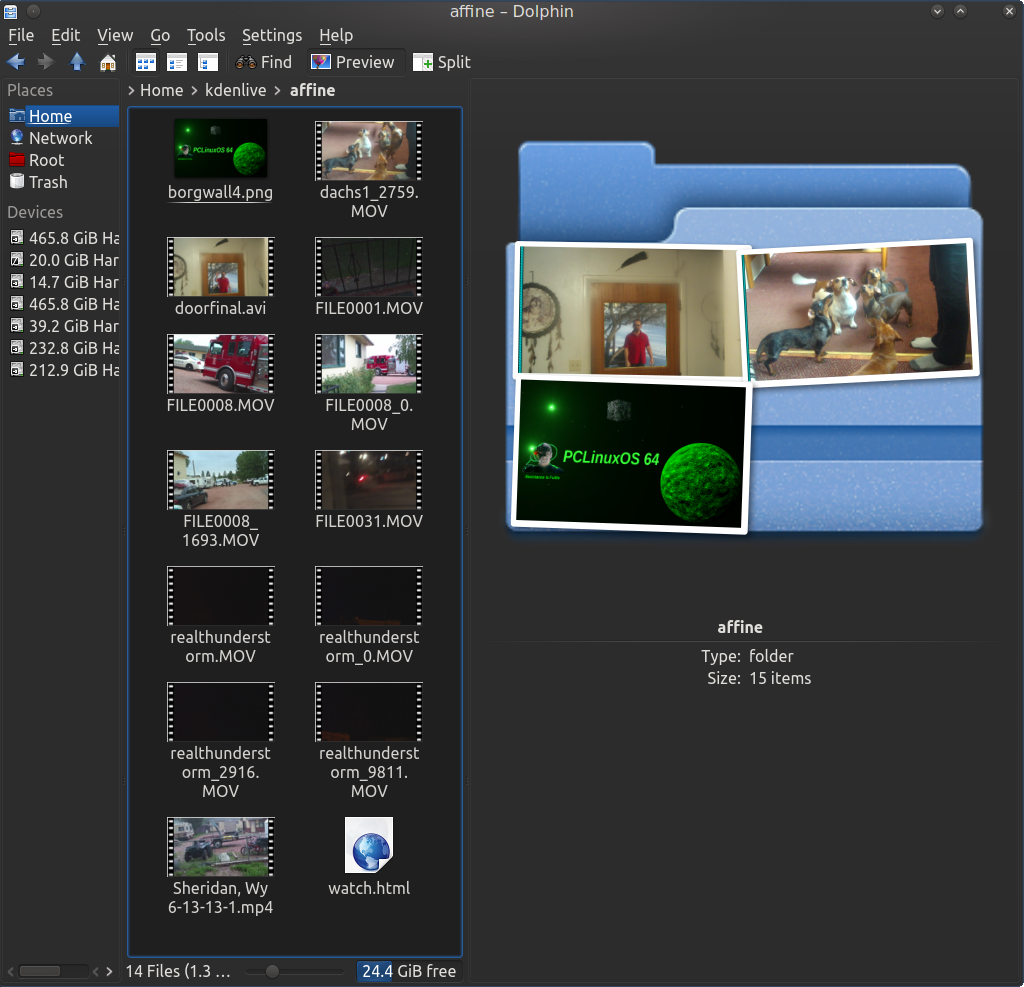 Since this will be the partial Affine transition tutorial, I have named the folder Affine, and this folder is placed in the KDenLive main directory. We will select our beginning video from the project tree, and drop it into the project timeline after our intro clip. Now add the transition "affine" at the ending of the clip. Stretch the effect out a little. 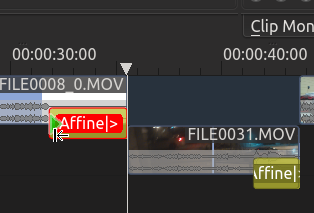 When the transition is selected, you can view the controls in the transition window. If you have been following along in the previous articles, this will be fairly familiar territory now. Many of the adjustments are similar to the other effects, effect timeline, keyframe selection, center image, left/right, etc. The zoom works the same, but next we come to something new, called the axis control sliders. As you can see in the next image, I have set an ending keyframe and have started to adjust the Z axis. The Z axis turns the image/video from left to right or right to left depending on which way you slide the slider, so you can end up with a mirror image/video. Notice the background color, black. 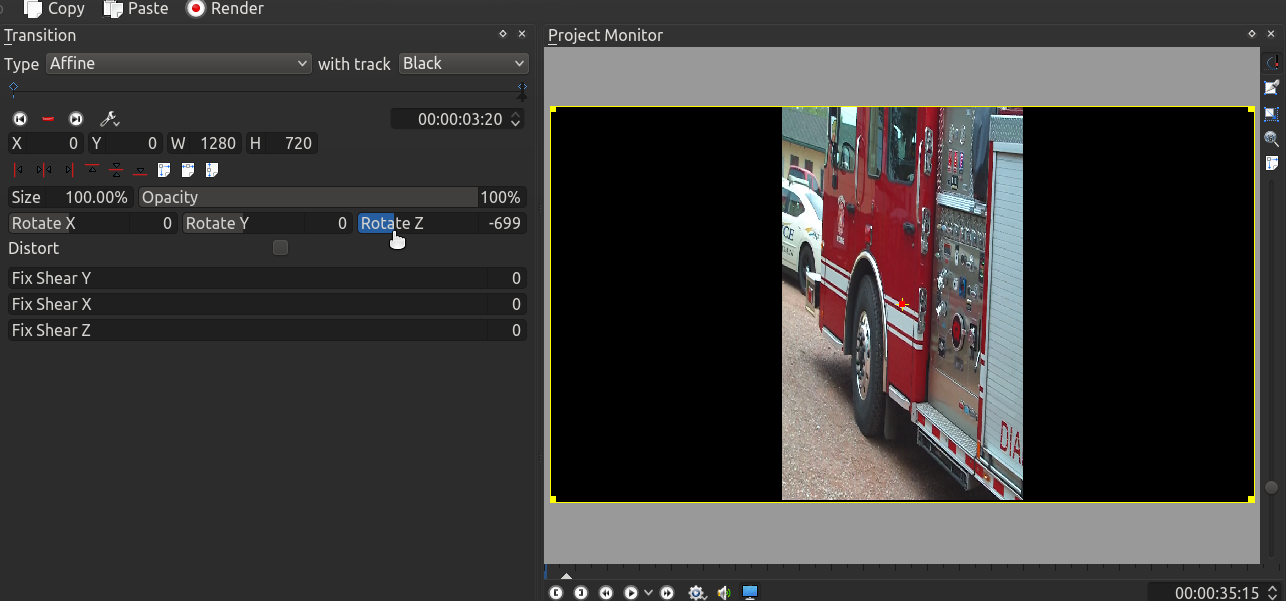 Now, at the top right of the transition window is a dropdown menu that is used for the background. We have chosen the black selection for the background as you can see in the project monitor with the firetruck partially turned. 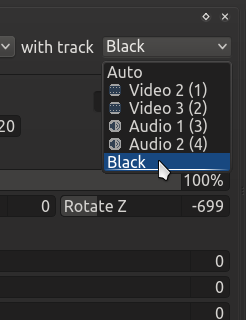 We will review the transition in the monitor and make our adjustments until we are happy with the transition. If you want a longer/slower transition, just stretch out the effect a little more. In the next clip, I will do a standard fade from black effect. Let's take a closer look at this effect in the effect stack. 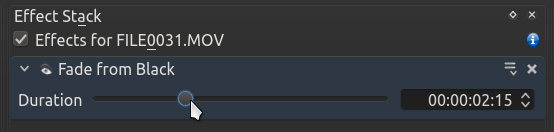 As you can see, here is where we set the duration time of the fade from/to black. I like my fades to be a little longer than default so I adjust the slider accordingly. At the end of this next track, I will use the affine transition again except a little differently this time. As you look at the image, notice that I have the video partially turned on the Y axis (the vertical control). This will flip the image/video upside down. Also notice that the background is not black this time, but an image. 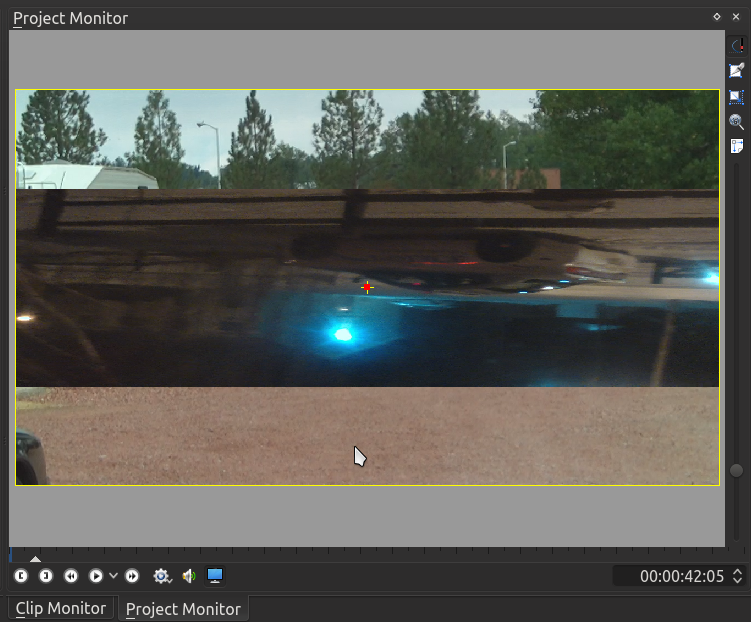 As the first video is rotating (police cruiser), the background image is a frame I selected from the next video, giving a little preview of what the next part of the video will contain. To do this, first extract a frame from the video clip and appropriately name it. I named this one amb, short for ambulance. Import the image into the project tree and place it into the third video track in the project timeline. Align it and stretch it out so it matches the transition "affine" length. Examine this next screenshot closely. You will see all three video tracks have something in them. 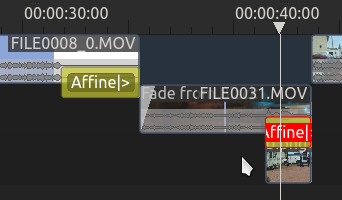 Look at the background selection I have chosen. You have to select the proper configuration for this effect to become enabled. Video track "3" will be the background of video track "(2)" instead of a black background. You can manipulate this transition many, many ways. 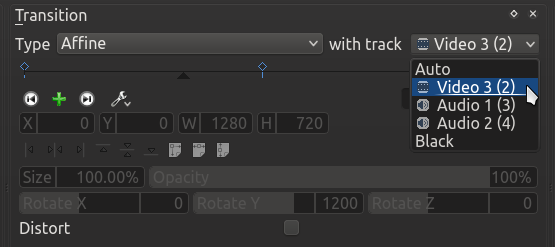 In the next clip I will use the affine in a different way. I will overlap the videos, add the affine transition on the first video, select video 2 (background) (1) (foreground) from the drop down menu and start adding my keyframes. Ready, set, here we go. 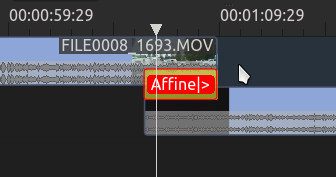 First keyframe: 3 second duration, zoom out to 80%, slide the X axis (spins the video in a circle) all the way over (left or right it doesn't matter). You will notice the image in the monitor will show with the familiar yellow outline for purposes of positioning it, because you have zoomed out. Decide where you want it and move it there. Many of the controls can be used much in the same manner as the pan and zoom effect we covered in earlier installments. I will leave it in the default corner for this keyframe. Second keyframe: 5 second duration, zoom out to 40%, move the Y axis slider all the way over to the right (or left) and move the image to the bottom right corner of the monitor. As the first video (foreground) rotates to the lower left it also shrinks (zooming out) giving just enough room to see the lightning flash in the background of the video that is playing in the background. 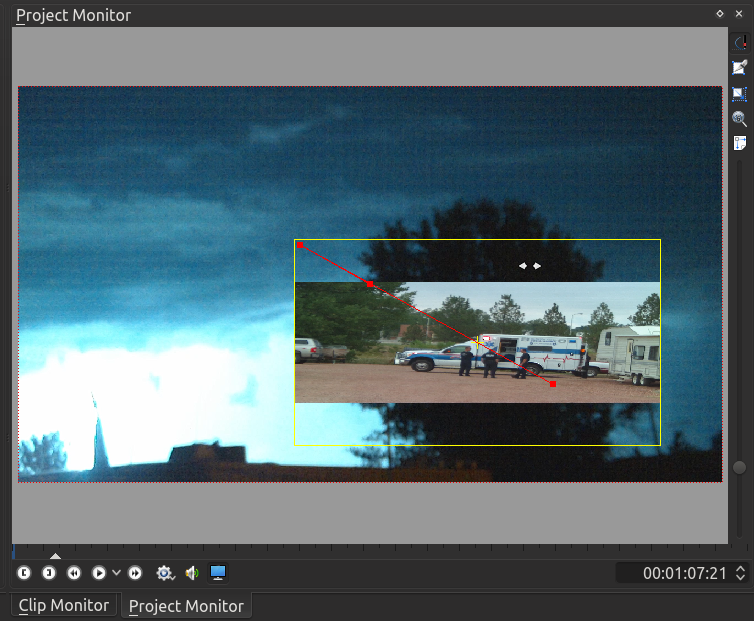 Third keyframe: 5 second duration, zoom out to 5%, X axis slider all the way over and position the image at the top right. As the thunder storm rages, the ambulance flips this way and that and fades away. At the end of this next clip, I will use the default standard dissolve effect. One little tip on dissolve. If you look at the effect in the effect stack window you will notice a checkbox option to reverse the effect. Sometimes the effect looks better reversed than default, so review it both ways to see what will work best for your personal preference. 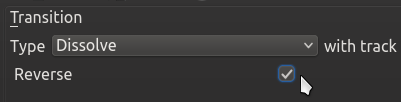 For the next transition, to the massive hail storm video I took, I will again extract an image to preview in the background of what's coming up in the next segment, but instead of just rotating the foreground image, I will also zoom all the way out over 5 seconds so the preview is noticed quickly. The possibilities are fantastic with this transition, and I'll bet I haven't come close to all the combinations.  This is a video I am putting together for the family over on the west coast. This installment is on summer weather. I plan on making a few of these so the family can get a little taste of midwest living. You may view the finished video here, but because of some coarse and strong language, it may not be suitable for younger ears. This is all we will cover in this installment of KDenLive, but will finish the affine transition tools next month, so don't you worry. Getting a little more in depth with this transition in upcoming articles will be fun. Until then, stay under cover from the software slavery storm and remember to watch over Tux during the hailstorms. Until next month, enjoy spring! |