Graphics Tutorials: Gimp, Part 6
by
Meemaw
Sometimes you take what you think is the perfect photo, but then you’ll see that if just one little item wasn’t there, the photo would be even better. But, how do you remove an item from a photo?
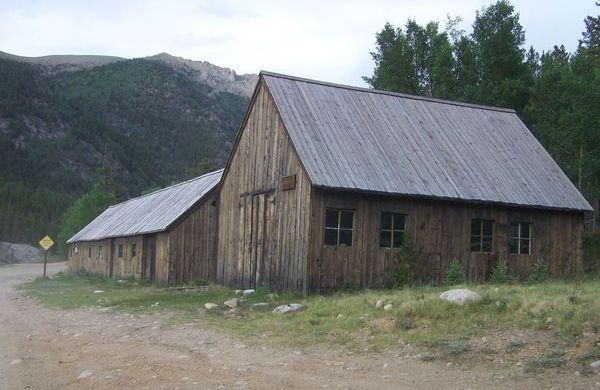
Removing unwanted objects from your photo may seem a little daunting, but the following method was fairly easy for me. My vacation last summer was riding 4-wheelers in Colorado. We went to one town called St. Elmo. The old buildings were beautiful, but one photo had a traffic sign I wanted to remove. I thought my photo would look much better without it, so I decided to edit it out of this photo rather than cropping it out because I wanted the road in the photo. We are going to do that using the Clone Tool.
Start by opening the image you want to change. You should always make a copy of your original photo and edit the copy, or at least create a copy of your background layer by right clicking on the background in your Layers Panel and selecting “Duplicate”.
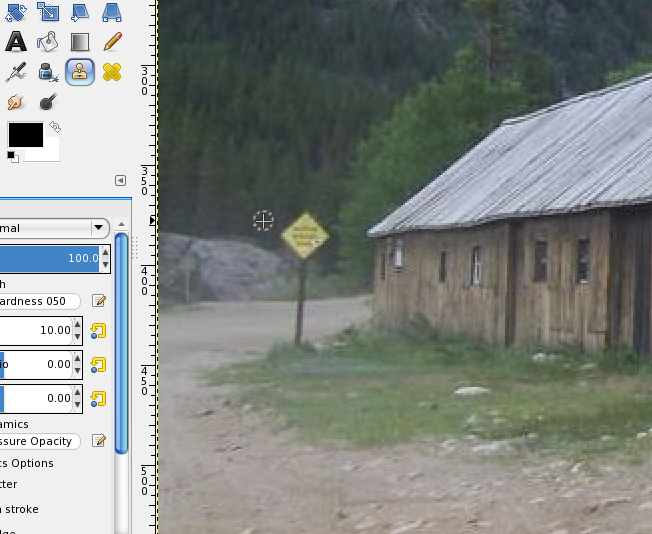
Choose the Clone tool stamp from the Tools Panel. In the brushes area, choosing a bigger brush will clone a bigger area. Hold down <CTRL> with the Clone Tool selected, and click anywhere in your image to sample that area. I clicked on the trees just to the side of the sign I want to cover in order to make the result blend in with the background. A plus sign will appear in your area, meaning that you have a “sample area” to use. Feel free to zoom in as necessary on the area you are editing, in order to do a better job.
Now, paint carefully over the item you want to delete. The sample area you grabbed with the clone tool should cover up that item. When you paint, your sample area indicator moves with your cursor and the area you want to change should be painted with the sample area. You should make short strokes and proceed carefully to get the desired effect.
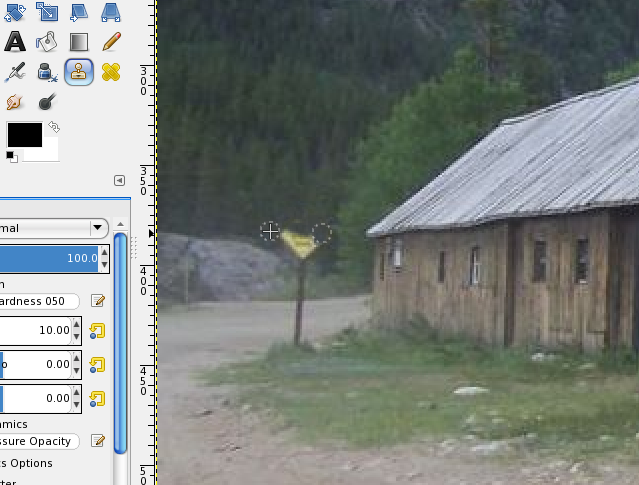
You can change your brush size and hardness by right-clicking in your image. If the sample area doesn’t match the area around one of the items you want to remove, you can always choose another in the same manner. In this photo I had to choose three different samples: one for the background behind the sign, one for the vegetation behind the top of the post, and one for the part of the road behind the bottom of the post. You can see now that the picture looks better without the sign in it.
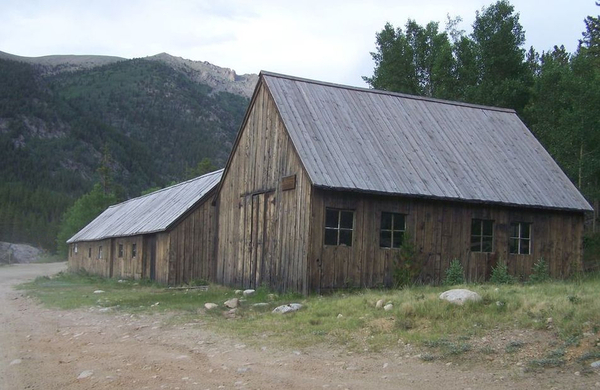
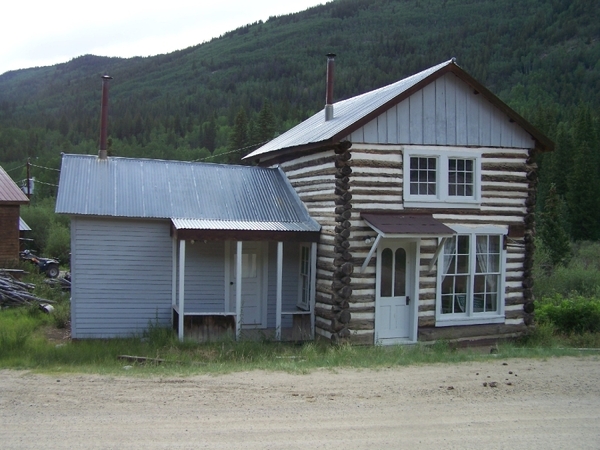
While this was a minor change, many photos can be “cleaned up” in this manner. In the second of the two photos below, I removed the electric line above and transformer to the left of the building.

What a great tool! With a little practice, you’ll find yourself removing unwanted elements from your images in no time, too.