Gnome 2.32: Graphics Extras
by Meemaw
While looking at some of the programs in Gnome, I came across three graphics programs that we haven’t mentioned before.
Agave is a program which can help you plan a color scheme for a graphic creation. The Help file gives the following introduction:
Agave is an application for the GNOME desktop that allows you to select an initial color and generate a variety of different color schemes from that color. The primary audience of this application is graphic designers (and particularly web designers) though it can be used for anything where you might need to pick several colors that go well together, such as painting rooms in your house.
When you open agave, you will get the main window:
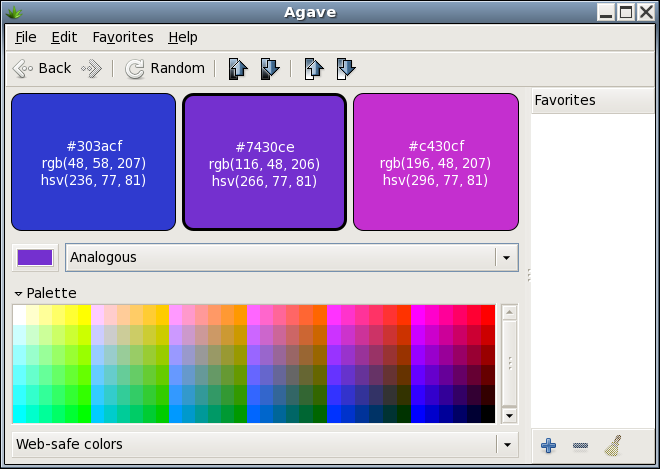
Using the color choice button on the left side of the window (above the Palette) you choose your preferred color from the color wheel window that appears. As you can see above, I’m a fan of blue and purple. Then you must decide what kind of color scheme you want. You have six choices: Complements, Split-Complements, Triads, Tetrads, Analogous and Monochromatic. You can also use the Palette at the bottom of the window to choose your colors. Notice on each color chip are the color name (303acf on the blue above at left), along with the hue, saturation and value numbers (236, 77, 81) and the red, green and blue values (48, 58, 207). Using those, you can recreate any color correctly no matter what program you are using.
Also in the toolbar there are two pairs of arrows. the left ones increase or decrease the brightness of your colors, and the right ones increase and decrease the saturation of your colors so you can get them just right. When you have them right, you can choose to add that color scheme to your favorites.
Gnome Paint is a simple paint program, reminiscent of MS Paint or the older Paintbrush.
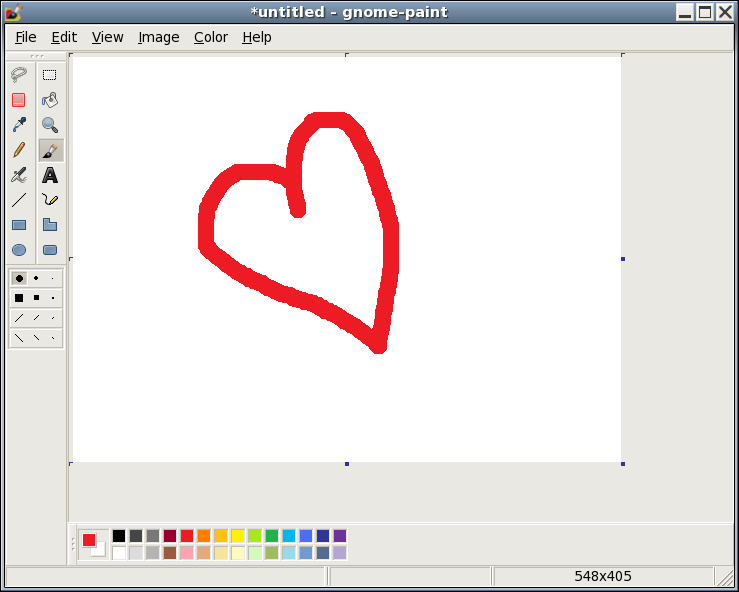
Actually, it looks exactly like MS Paint to me. However, upon use, I have found this program barely works at all. I did manage to draw the heart with the paintbrush, but no matter which size brush I chose, I only got the biggest size round brush. If I choose the selection box (at the top of the right-hand column of tools), I could draw a box around anything I wanted, and drag the box all around the canvas, but I couldn’t cut, copy, move or delete anything that I had drawn. Maybe it’s me. However, clicking on the eraser tool (second from the top in the left-hand column), I could drag it over my whole drawing and couldn’t erase anything.
The view, image and color menus have no items, either. With all the other drawing programs I can use, I’m going to uninstall Gnome Paint.
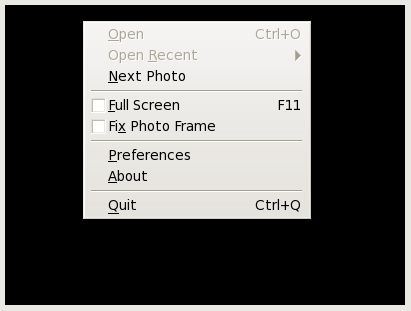
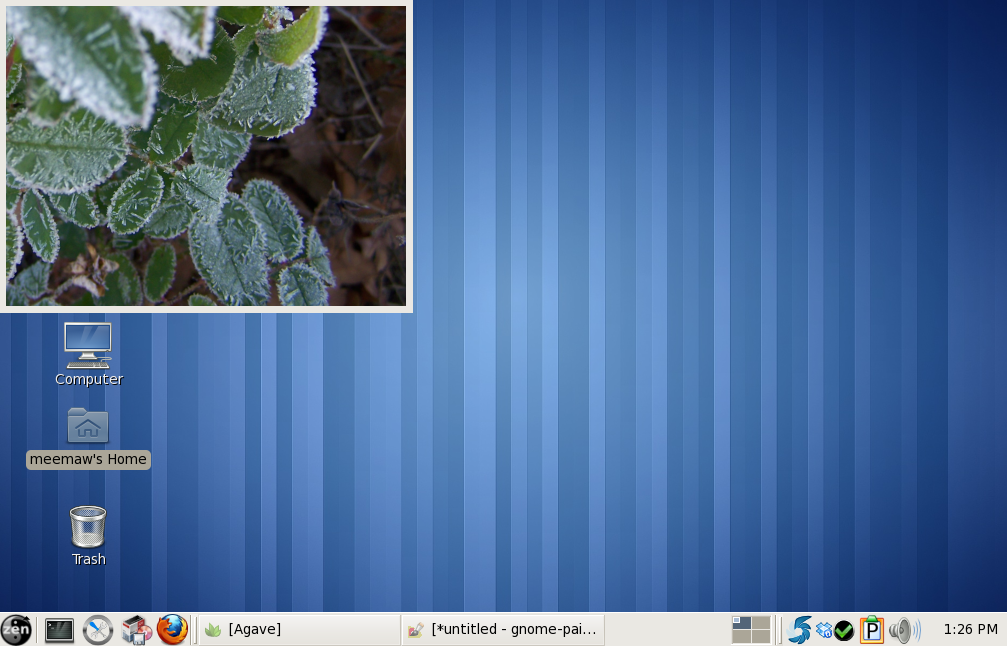
GPhotoFrame is a program which allows you to put a frame on your desktop and run a slideshow of your favorite photos. In your graphics menu, it is called Photo Frame. When you first open it, you will see a black screen with a plain frame around it. Right-clicking the black screen will give you a menu.
You should configure your Preferences first.
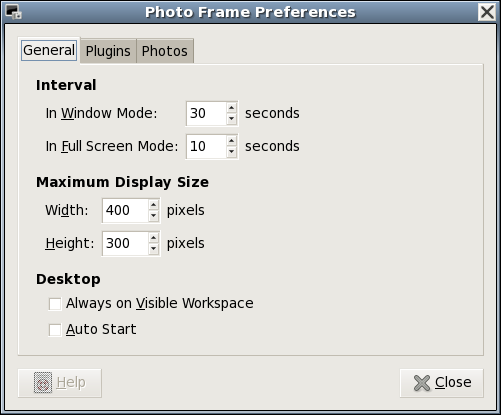
The general tab lets you configure the time between photo changes. Window mode and full screen mode can have different intervals. You can also set the maximum size for the frame, have it start when you start your computer, and have it show on whatever workspace is visible at the time.
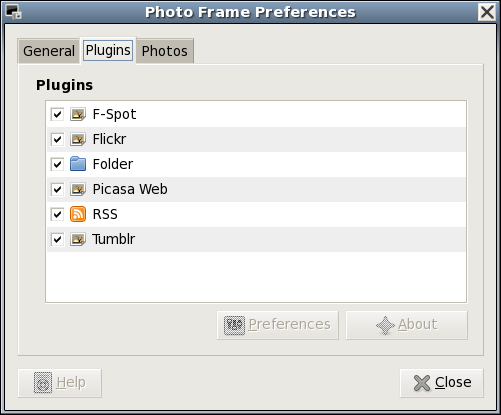
The plugins tab shows you the sources you can access for your files. If configuring it to use Flickr, Picasa Web or Tumblr, you should highlight your preferred site and click on the Preferences button below. You will be asked for your user name and password so the program can access your account on the site. Flickr asks permission to access the site, then takes you to a Flickr sign-on screen. When you sign on, the following window appears:
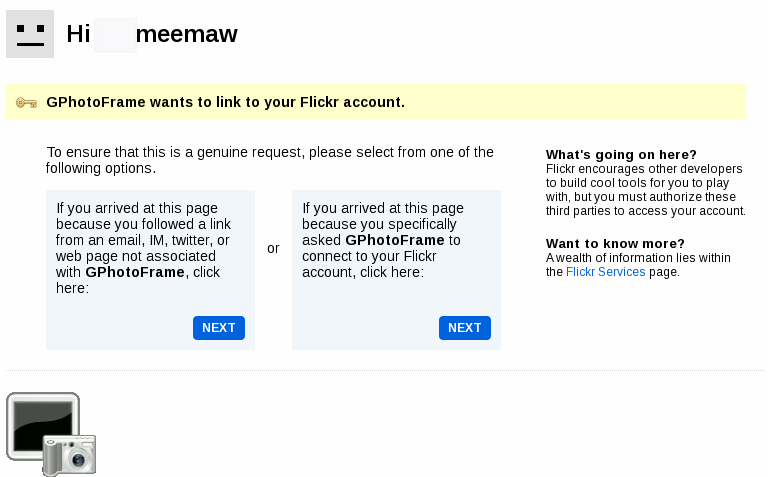
If you want GPhotoFrame to access Flickr, you should click the blue box in the center of the window that says “You arrived at this page because you specifically asked GPhotoFrame to connect to your Flickr account....”. From here you complete the authorization on Flickr, then go back to the Preferences window in GPhotoFrame and finish the process.
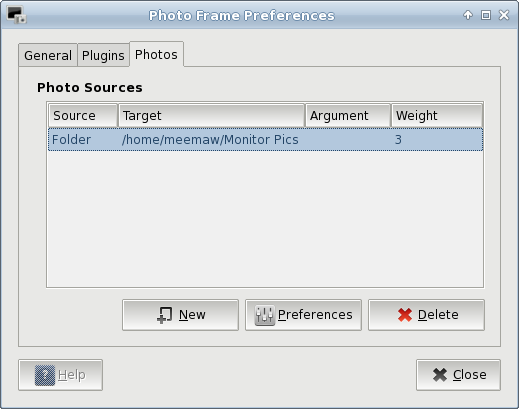
The third tab of Preferences is Photos. Here is where you actually tell GPhotoFrame where your photos are located. If you only want to access a certain folder in your system, or if you want to get them from Flickr, you need to add the location by clicking new. Another window will appear asking you to designate the location of your photos. I chose my wallpaper folder.
To do a fullscreen slideshow, simply right-click the frame and choose Full Screen. To go back to the frame, right-click the slideshow and your menu will appear again and you can uncheck the Full Screen checkbox.
You can move the frame anywhere on your screen, unless you right-click and choose “Fix Photo Frame”. This choice will ‘stickie’ your frame to your desktop wherever it happens to be located. I have noticed however, that even when ‘stickied’, the frame moves on the desktop. It resizes itself every time the image size is different, and instead of fixing a certain corner to a specific spot (for example, the top left corner of the frame could be fixed to the screen wherever you stickied it), it just keeps resizing and ‘crawling’ until the frame is somewhere else. Other than that, it’s a very nice program, and very easy to use.
As with any program, or any desktop for that matter, you should pick the ones that are easiest for you to use, and work best for you.