PCLinuxOS Live USB Creator 0.9.7
by Darrel Johnston (djohnston)
The Live USB script was recently updated and now includes more options. Thank you, Just18. Note that the Live USB script can be run from an installation on hard drive, or from a live CD session. The following is a short tutorial.
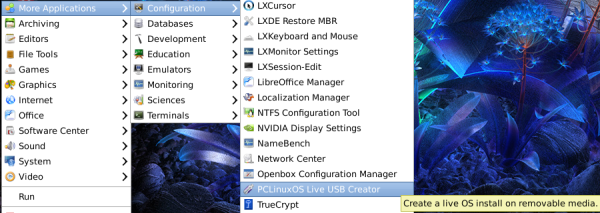
The USB external drive or thumb drive should already be partitioned and formatted before starting. The Live USB script will not do it for you. You can use ext2, ext3 or ext4 for the filesystem. FAT filesystems are not supported. Start from the main menu > More Applications > Configuration > PCLinuxOS Live USB Creator. Be sure the USB device you want to write to is not plugged in.
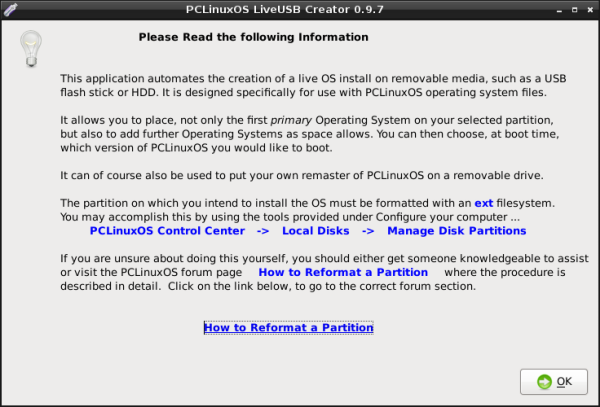
This window will appear. Be sure it shows version 0.9.7. Then click OK.
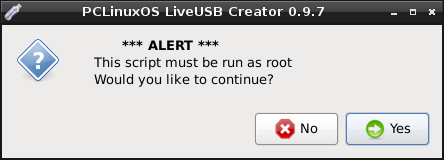
The script must be run as root. If you select No, the script will terminate. Select Yes.
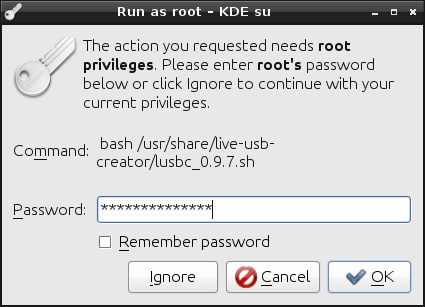
You will be prompted to enter root's password. After entering it, click OK.
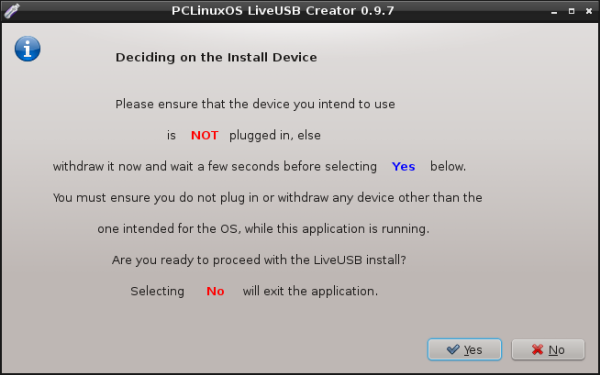
Be sure the USB drive you want to write to is not plugged in. Answer Yes if the device is not plugged in. If the device is already plugged in, safely remove it, wait 20 seconds, then click Yes.
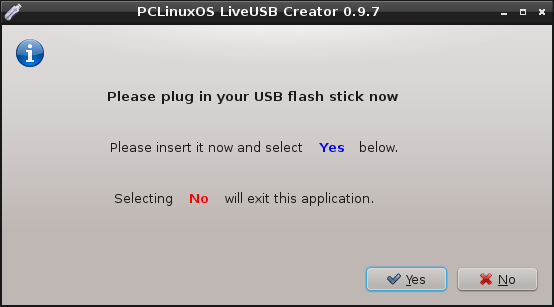
Plug in the USB device you want to write to, then click YES.
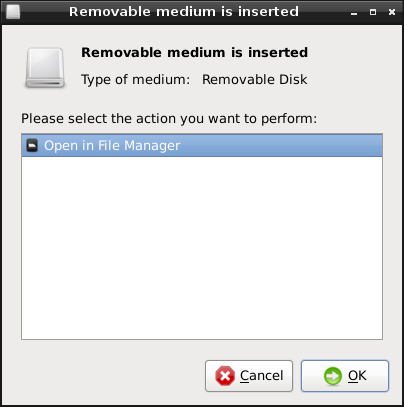
A removable device automounter window may appear on your desktop as soon as the USB device is plugged in. If it does, do not open the file manager to view the contents of the USB. Select Cancel. Do not attempt to access the contents of the USB while the Live USB Creator is running. I clicked Cancel here.
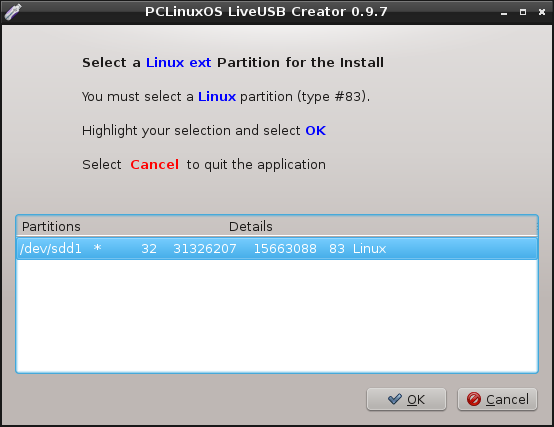
Highlight the USB partition you want to write to, then click OK.
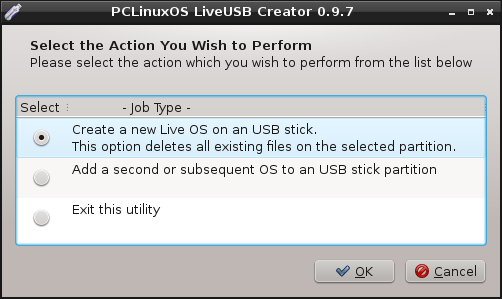
If your USB device is empty, select Create a new Live OS. If you are adding a second OS to the USB drive, select the second option. Click OK.
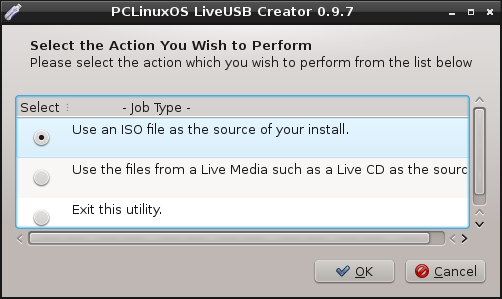
If you are running this from an OS installed on the hard drive, select Use an ISO file. If you are running this from a live CD, select Use the files from a Live Media. Click OK.
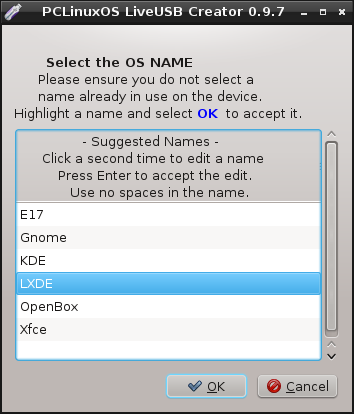
Highlight the boot menu name you want for this iso. Click OK.
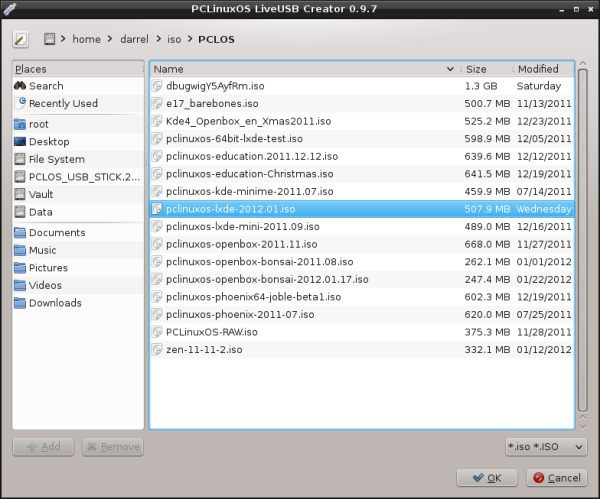
Select the iso file to use from the directories on your hard drive. If you are installing from a live CD, you will be prompted for the sqfs file to use.
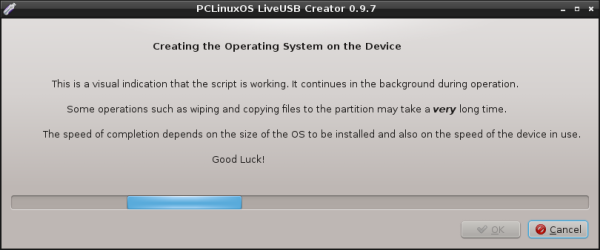
The Live USB creation process will begin. Do not interrupt it.
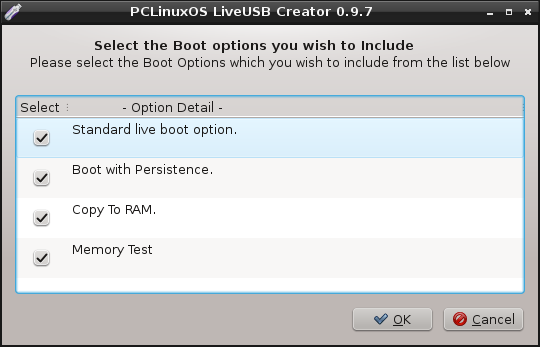
Standard live boot option will be the only one checked by default. You can select as many additional options as you want to be included in the GRUB boot menu. If you want the option to save any changes made to the USB drive, select Boot with Persistence. Note that Memory Test will appear in the GRUB boot menu if selected, but it will not work unless you have the memtest86 package installed on your hard drive. If running from a live CD, you can install memtest86 to memory from Synaptic.
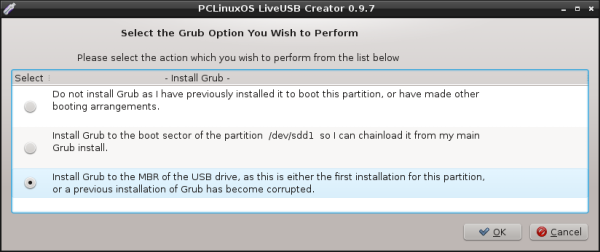
If this is the first installation to the USB drive, select Install Grub to the MBR. If you are managing your own bootloader, select one of the other two options, depending on your preference.
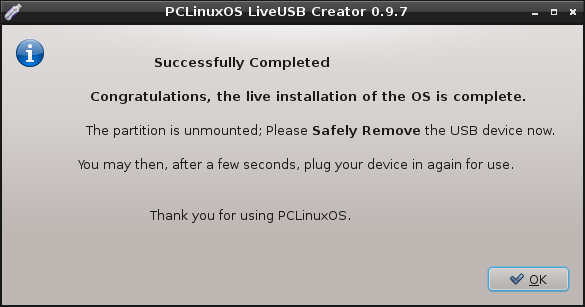
Congratulations. You have completed the installation. Before you do anything else, remove the USB drive you just wrote to. Then click the OK button.
Here are the files that were installed to the USB.
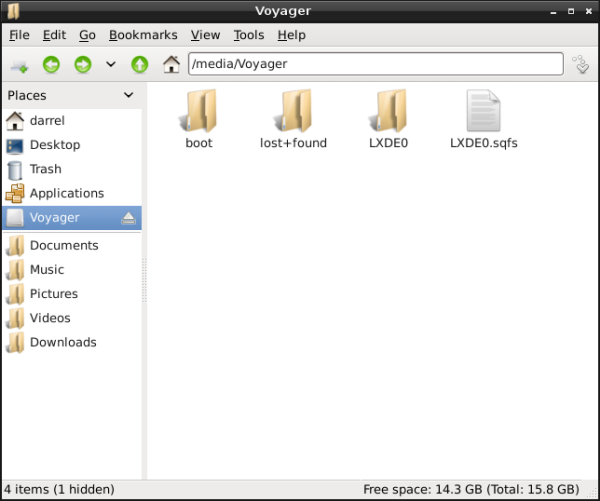
If more ISOs are installed to the USB using this script, each one will have a separately named sqfs loop image file, and a separately named folder for saving persistent changes