OpenOffice 3.2, Part 7: Labels & Letters
by Meemaw
Now that we've covered most of the parts of OpenOffice, we need to put our new-found knowledge to work.
Labels
Most of us have used labels for one thing or another. I make address labels for my own address, as well as a few of the companies we pay bills to on a regular basis. At work I have return address labels for envelopes that need them, and also make mailing labels when I send postcards or newsletters. They are very handy and easy to make. The first thing to make is a whole page of address labels.
Open a new text document. With your blank document open, click on 'File > New > Labels' and you will get this window:
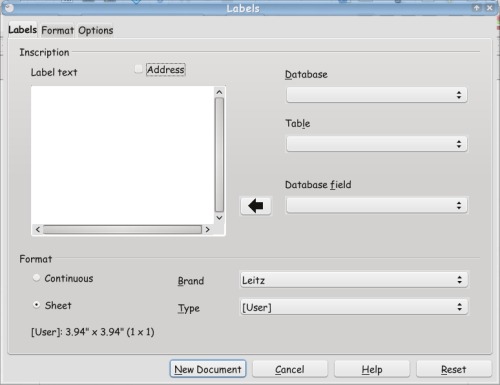
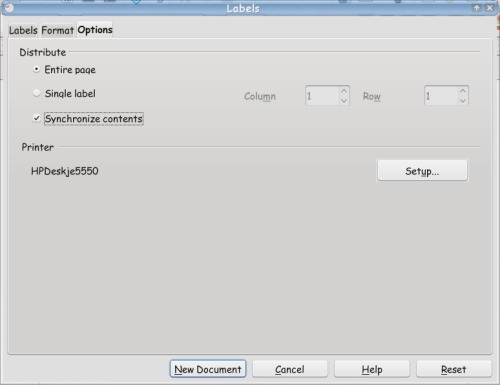
There are three tabs in this window. The Labels tab lets you pull up the brand name label you are using, plus the specific type you want to print. I use the Avery 5160 a lot. They are 2 5/8 inches wide and an inch tall. Don't worry about the top part yet. The Format tab is to make sure of the borders of the labels, how far from the top of the page the label starts, how far from the left edge of the page the label starts, if there is a space between two labels or not, and so on. In a brand name label, all of those are already set. The third tab, Options, gives you a place to configure your printer, although I've never had to change any of the settings. You also want to check the box in front of "Synchonize Contents" as it will be useful. If for some reason you want to print a single label, you can select that radio button and fill in the column and row location.
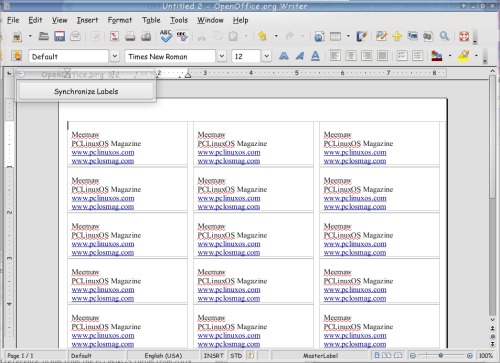
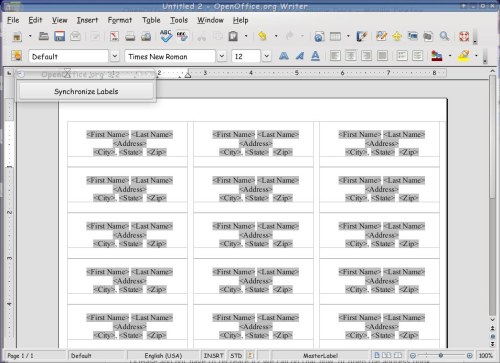
Click New Document, and you will see a new page with grid lines that should match your label page. Notice there is an extra little window with one button, Synchronize Labels. We'll use this in a few minutes.
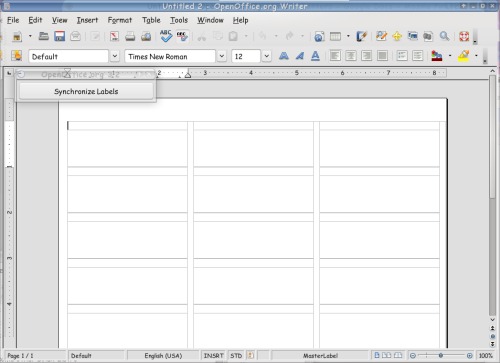
Whatever you want on your page of labels should be typed into the top left box.You are going to use this one box to get your label the way you want it to look. Bear in mind that the lines in your grid correspond closely to the places on the label where the paper is cut. You probably don't want the first letter of your name on one of those cuts, so leave a space on the left side, or center your labels. You can also highlight the text and change the font or size.
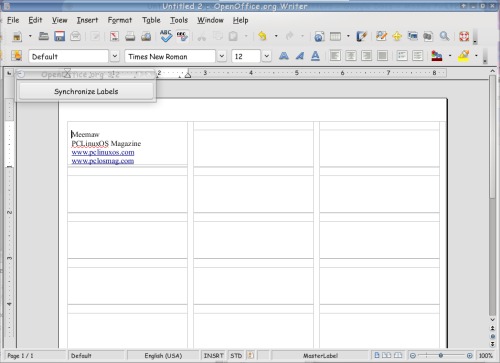
When you have it just the way you want it, click on "Synchronize Labels." You'll see that OO has filled in every other label on the page with text identical to the one you just created.
You should now be able to save & print your labels.
Mail Merge Labels & Letters
Most of the time you write a letter for just one person. However, we might occasionally send a form letter to several people. If you have your spreadsheet with your addresses, you can print labels for your envelopes, and also put the recipient's name in the letter by the use of mail merge. Let's do the labels first. These are a little different from the ones we did above because all the labels will have different information.
NOTE: Remember in the last article, when I stated that you could open your spreadsheet in OOBase and not have to recreate it? We HAVE to do that to use it as a database for our labels & letters. So if it is in spreadsheet form, you need to Open > Database, then use the dropdown menu, which connects to an already existing database rather than the New Database choice.
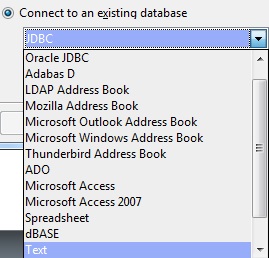
In the list it says Spreadsheet, so choose that. You will get the window asking you to open that spreadsheet, then just like before in OOBase, you will choose Register the Database. If you want to edit it further, you can, and you will need to save it as a database. Now your spreadsheet can be used as a database for your labels and letters.
Open New > Labels, just like you did above. Now, we're going to point the wizard at your database, so click on Database at the top, and choose yours. Also, choose the table your information is in. Some of the more detailed databases may have more than one table — that's like having a spreadsheet with more than one sheet of information.

You should see your field names in the next box. Choose them in order and click the arrow to add them to your label. The reason I said choose them in order is because OO puts each one in a line, one right after the last one it entered. If you choose first name, then last name, you'll have the first line of your label already correct (put a space in between them, then hit Return to put the address on the second line).
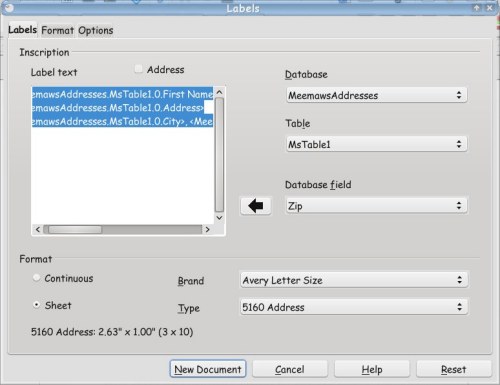
When you get your fields entered, click on the Options tab and make sure Synchronize Contents is still checked, then click Create.
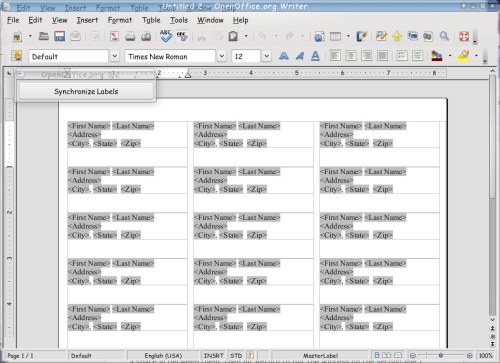
It looks familiar, doesn't it? You can get the top left one laid out as you desire, then click the Synchronize Labels button.
Your layout is finished. Now we have to put the names in. From this document, go to Tools > Mail Merge Wizard. Since your document is all laid out, you want to click next without doing anything until you get to the end where it says save or print. If you move that window, you will see that the database has been merged and your labels have the actual names and addresses on them.
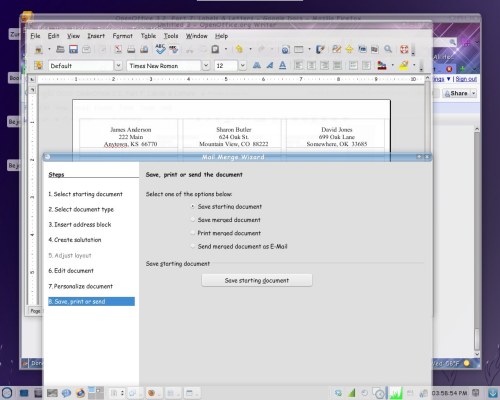
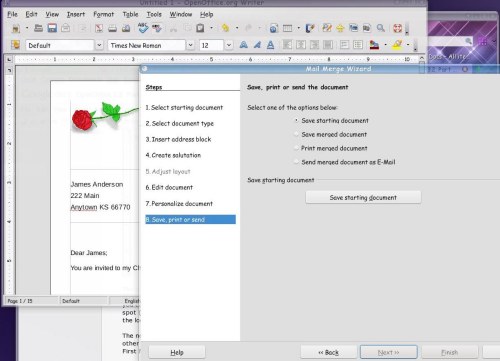
Whatever action you choose above will have different buttons below, but from here you can load your labels and print them (the third line down says Print merged document).
Now we need to do our letters. In my job, I occasionally have to do form letters (inviting a group of people to a dinner, for example). Since each letter says the same thing except for the address and salutation, and I don't want to type each address separately, I will mail merge the names and addresses onto the letter.
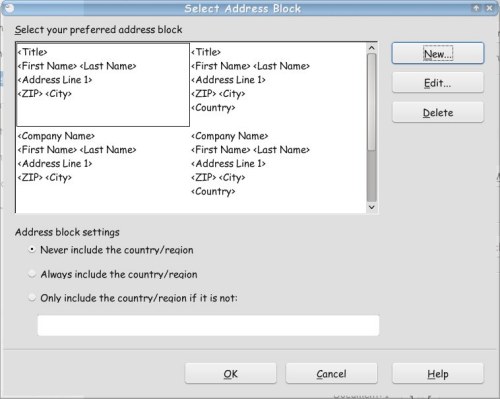
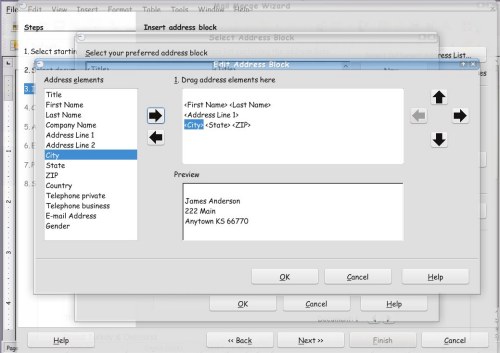
Again, open a text document. You can type your letter first, or you can edit it in the course of the mail merge. I have several letters already done at work, and just edit the contents when needed. Whichever you do, to start the mail merge, you should go to Tools > Mail Merge Wizard. We'll use more of it this time. If you have already typed your letter, choose Use Current Document. Each step is listed on the left side of the window, so you can always see where you are. Your document type is Letter. In step 3, you are asked what list to use, and if you want to insert an address block. Click Select Address List and choose your database. If you are going to have an address block at the top of your letter, place a check mark in the box next to number 2, then click More to be able to edit your address block so it's correct. In the USA, the postal service frowns on having the zip code in front of the city name!

You will then get a window that allows you to choose and edit an address block.
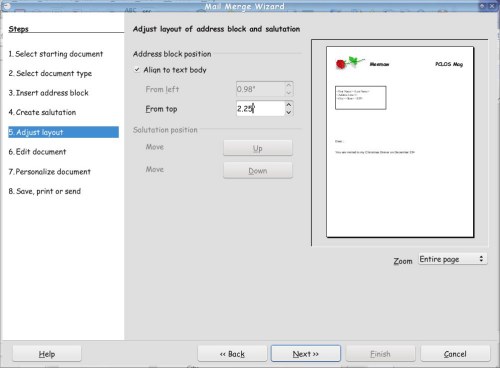
The next step is Create Salutation, but I think we can do it easier later. It's pretty straightforward, so you can add one from there if it's the salutation you want, or click Next. In Adjust Layout, you can see a sample of your letter to make sure the address block is in the correct spot (down from the top of the letter). You can just change the measurement to alter the location, and also move your salutation up or down. The letter text needs to be moved up on mine, but I'll do that later as well.
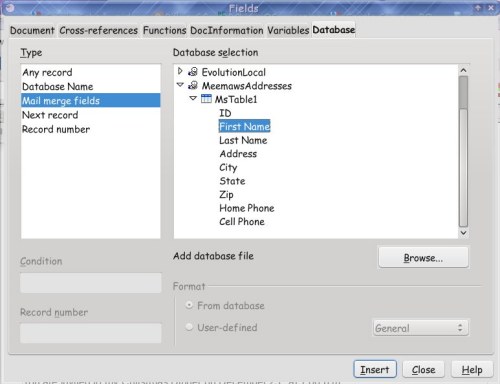
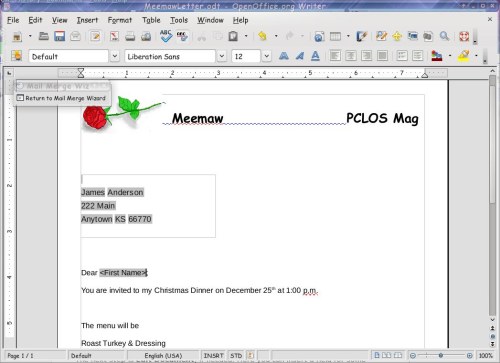
The next step is Edit Document, if needed. Here you can insert a field for some other special part of your letter (and I can move the body of my letter up). I didn't like any of the salutations so I inserted the First Name from my database. Put the cursor where you want the field, then go to Insert > Fields > Other. The last tab is Database, and you should see yours there. Click on the triangle to view the table & contents, and choose the field you want.
There is also a button to go back to the wizard and finish your setup. From there you can personalize each letter further if you wish, then save and print.
I hope this has been helpful! I have done some research on the internet and I have found many articles by Solveig Haugland. She is an OpenOffice how-to expert. The links below should help if you need any more information.