OpenOffice 3.2, Part 6: Base
by Meemaw
As we travel through OpenOffice 3.2, we come to OOBase, which is the database section of the suite. This is the program you can use if you are organizing a detailed collection or you have an address book with more than just names and addresses. Using Base, you can also design a form to go along with your information, so your document doesn't look just like any other spreadsheet. I don't find much use for OOBase, since my use of databases is confined to a list of names and addresses, which can be done with a spreadsheet. However, if you are looking to organize your music collection, and add many types of information so it can be searched many ways, you probably should use OOBase. This will be a very general introduction.
Opening Base, you get a window asking if you want to create a new database, open an existing file, or 'connect' to an existing one. The first two are self-explanatory, but the third, 'connect to an existing database' may be unclear. However, clicking on that will give you an interesting dropdown:
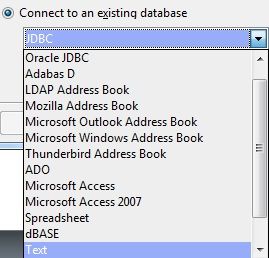
You see here that you can open an email address book in Base, or even use the spreadsheet you started earlier that only has names and addresses. (It keeps you from duplicating some of your work, and helps on some of your other tasks, like mailing labels.)
Right now, let's create a new database. So, choosing Create New Database and clicking Next gives you another window with two choices: Register the database (or not) and Open for editing (or create tables using the table wizard). Generally, you always want to register it because that makes it usable in OpenOffice. Also, you want to open it for editing so you can put in your data. You will be asked to save it. Click Finish and you get the following:
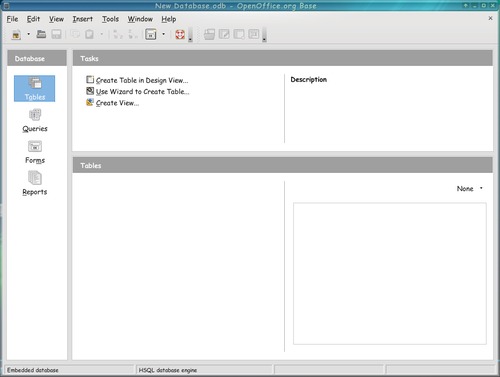
This is the main window for your database, and everything is created or opens from here. The easiest thing to do here is to click on "Use Wizard to Create Table" and you will see the Table Wizard. As you can see, you can choose from some sample tables in two categories, business or personal. One of the personal samples is Addresses and it already contains many fields present in an address book. I'm going to use that for this demonstration.
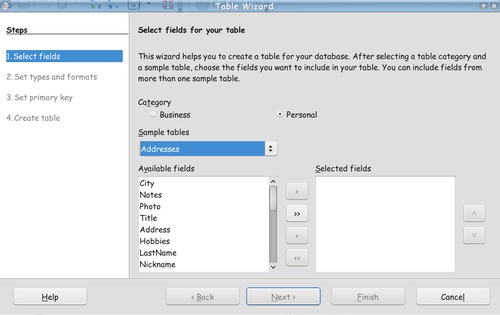
Select the fields you want and click the arrow key (>) to transfer them over to the right column. The double arrow (>>) will transfer all of them at once if that's what you want. After you have transferred the ones you need, or all of them, you can click Next or Finish. The screen you get when you click Next allows you to customize your fields as to whether it should be a number or text field or have a certain type of information. However, if you used one of the samples, they are most likely already configured correctly, and you can click Next again.
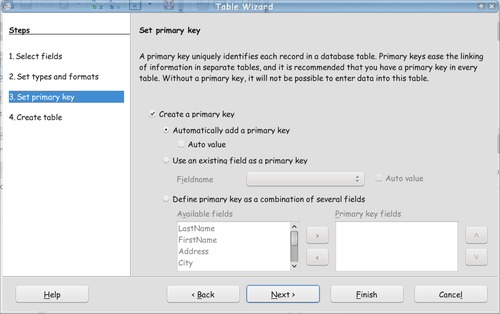
You will be asked about creating a primary key. As close as I can understand, it's a notation that helps Base link tables if you create more than one, and is necessary for every database table. I have left the default "Automatically add a primary key", and clicked Next. I found out later on another database: if you will click "Auto Value", the field will fill automatically.
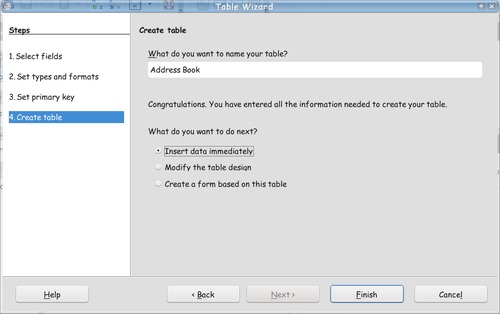
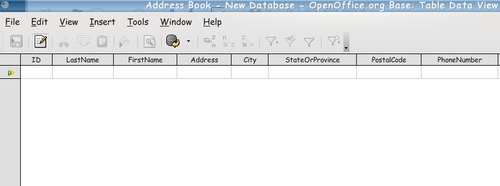
The last step is to name your table. It will already have the temporary name Table1, but you can change it. I changed mine to Address Book, and left the default "Insert Data Immediately". When you click Finish, the following window will appear, and you can start entering data.

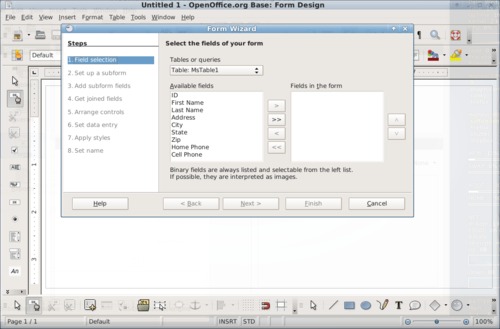
After you get more data in, and have saved it, you can also create a form. For an address book it will look like a book with one record on each page. From your main window, you should click on Forms (in the left column), then "Use Wizard to Create Form". Again you will have to designate which fields you want in your form.
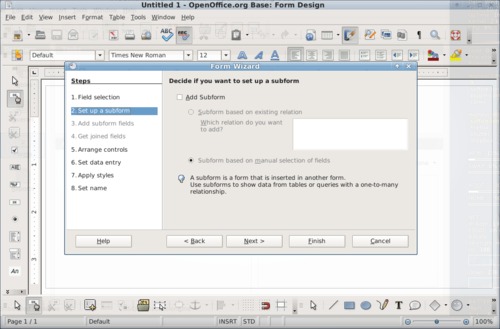
You will be asked if you want to set up a subform. A subform can be used to link information from two different tables. I chose not to, as we're making something more basic.
In 'Arrange Controls', you are deciding how you want your form to look. You can decide on one of the arrangements shown, and click next. Bear in mind, you can go back into the form later and move things around if you wish.

The next window is 'Set Data Entry.' You are asked whether you want to display all data or just use it to enter new data. I chose 'Display All Data'. Next is 'Apply Styles.' Here, you decide what background color and field border appearance you want in your table.
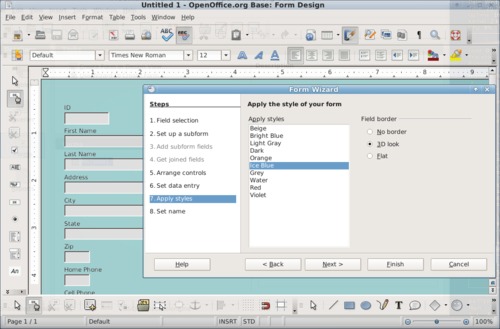
The last window asks you to name your form. When you click finish, you will see your form with one of your records in it.
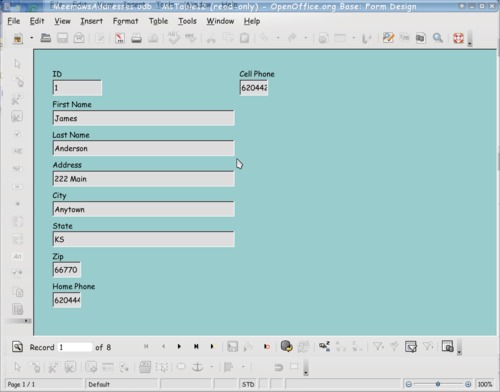
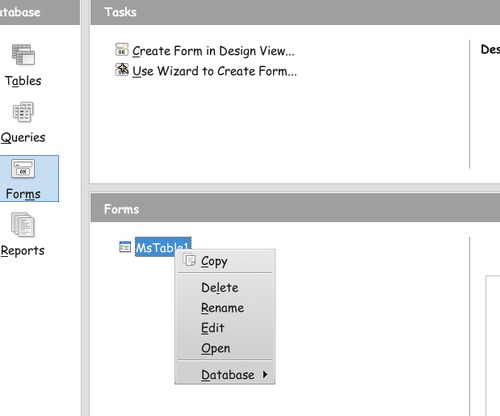
Notice also that it says 'Read-Only.' That means you can't change the form. You can, however, add more records. (I'm assuming you have more than 8 addresses in your address book!) Note the arrow with the star just to the right of where it says Record 1 of 8. Click on that to add another record. If you want to change the form, you must close this window and open it differently. When you close this, you will be back at your main window. With 'Forms' highlighted at left, right-click the table you want to edit. The dropdown will show as seen here. Choose 'Edit', and your form will be opened in Design View. You can then highlight and move or resize each item if you wish.
Well, those are the basics! I'm sure there are hundreds of questions about what everything else does. To be honest, I am not as adept at OOBase as the other parts of the office suite.
There are plenty of tutorials, though. The three below are for all parts of OpenOffice:
- http://www.tutorialsforopenoffice.org/
- http://en.flossmanuals.net/openoffice
- http://documentation.openoffice.org/
If you want to catalog your extensive movie collection so it can be searched by title, actor, director, or genre, I recommend using OOBase.
The next/last installment will outline a couple of specific tasks in OpenOffice.