Xfce 4.6.2: Xfce Settings Manager, Part 2
by Paul Arnote (parnote)
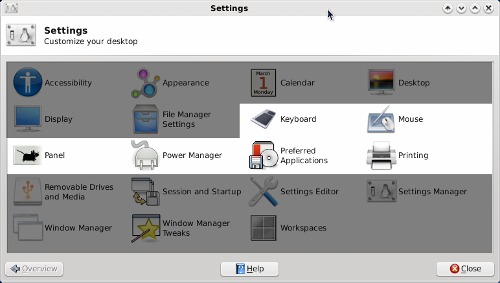
Previously, we took a look at the first six items in the Xfce Settings Manager. The Xfce Settings Manager is what you would use to control how Xfce behaves on your computer. This month, we take a look at the next six items, ranging from controlling the keyboard, to setting up how Xfce manages printing.
Keyboard
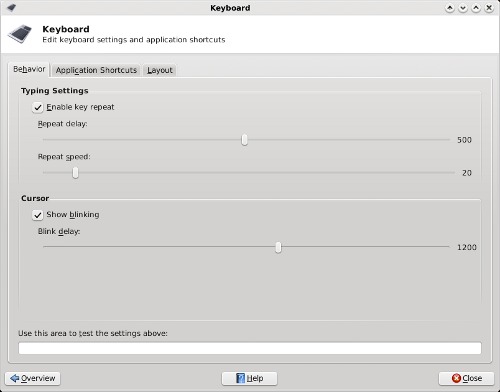
Under the first tab, Behavior, you can control the delay and the speed of how a key press behaves when you hold down a key. You can also set how fast the cursor blinks. The above screen shot shows the default values in Phoenix 2010.
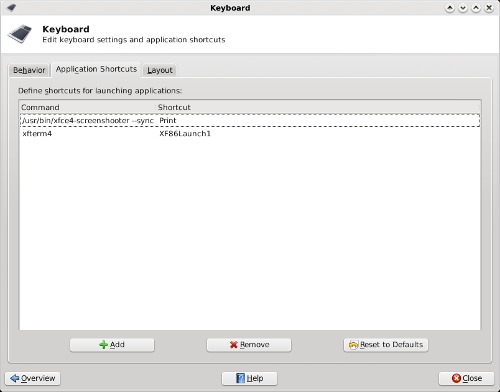
The second tab, Application Shortcuts, allows you to define shortcut keys to automatically launch applications. By default, there are no shortcuts defined. Here, in the screen shot above, I've defined two shortcut keys to launch two separate applications. You can specify programs to add by first selecting the "Add" button (lower left of screen shot), specifying the program to launch, then specifying the key to use to launch the program by pressing the key or key combination you want to use. This makes Xfce highly configurable to how you work with your computer.
In the screen shot above, I've defined the xfce4-screenshooter program to open when I press the PrtSc (Print Screen) button on the keyboard. I've also configured xfterm4, the default terminal program in Xfce, to open when I press the "Access IBM" button on the keyboard of my IBM Thinkpad T42 (hence the odd name for the key). You can have as many application keyboard shortcuts as you like. But be careful, since having too many could quickly become problematic, causing you to inadvertently open programs when you really aren't meaning to.

The last Keyboard tab, Layout, allows you to select the keyboard layouts you want to use. The default is to use system defaults (checked in the screen shot above). But if you "uncheck" the option, you can add multiple keyboard layouts, and switch between them as needed. Also, if you are from the U.S. and installed Phoenix 2010, you may have inadvertently installed the UK keyboard layout (the default in the first ISO of Phoenix 2010; the default in the quarterly remasters is the U.S. keyboard) if you weren't paying close attention through the installation process. Never fear, because it's here that you will need to go to change the keyboard layout to one more commonly used in the U.S. Simply click on the "Add" button, and select your keyboard from the list that appears.
Mouse
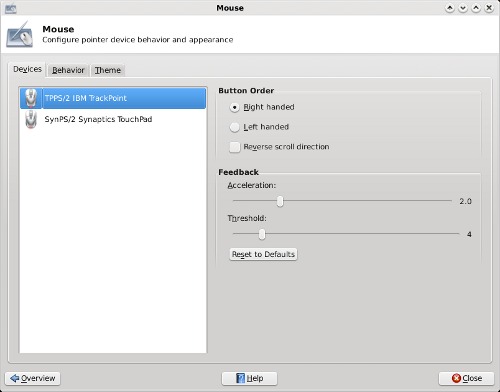
Under the Devices tab of the Mouse settings, you can select the button order of each of the devices attached to your computer. In fact, you can make the settings independently of the other. You can also set the Acceleration and Threshold for the mouse pointing device. If you somehow mess things up (or if someone is trying to prank you), you can reset the pointing devices to the default values, simply by selecting the "Reset to Defaults" button. The values in the screen shot above are the default values in Phoenix 2010.
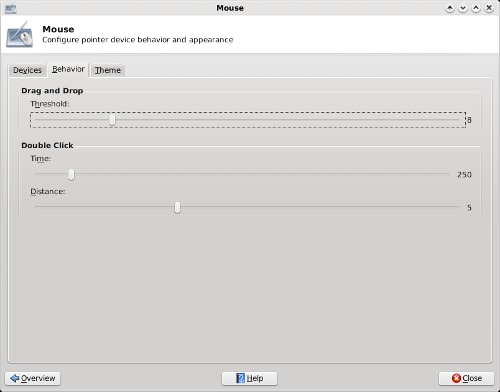
The Behavior tab allows you to further tune your pointing device by specifying the drag and drop threshold, as well as the time and distance allowances for double clicks of the mouse. The settings in the screen shot above are the default settings.
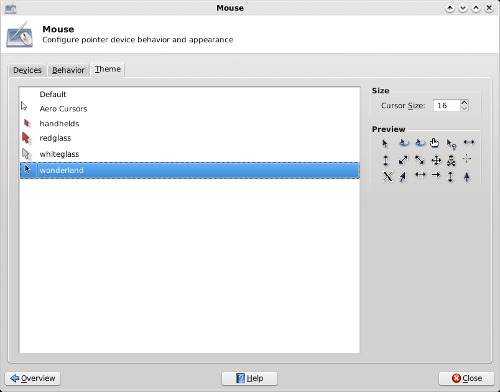
The last tab in the Mouse settings window is the "Theme" tab. It is here that you set the cursor theme to use on Xfce. In the screen shot above, I have changed from the default mouse cursor theme to the "wonderland" cursor theme. If you want, you can get additional mouse cursor themes from xfce-look.org. After downloading, su to root, and extract the new icon theme to its own directory in /usr/share/icons. You must log out then back in after installing the new cursor theme before it is available for your use.
Panel

The Panel setting allow you to (you guessed it) tune and change the behavior of your panels in Xfce. The separate window shown in the screen shot above opens, and shows you the default settings for the two panels in a default installation of Phoenix 2010. The settings in the default window should be fairly self-explanatory to most any user.
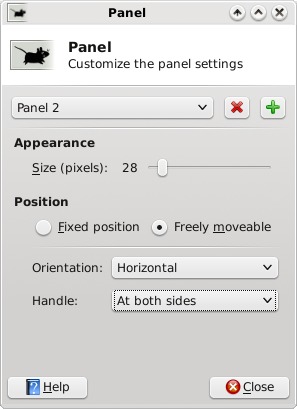
If you choose to make the panel "freely moveable," you are given a choice of either horizontal or vertical orientation, and whether you want a "handle" at both sides, the right side only, or the left side only.
At the top of the panel window, you can select the panel you want to specify the options for. You can also remove an existing panel by selecting the red "X" button. Similarly, clicking the green "+" button allows you to define a new panel for your Xfce desktop.
We'll talk more about panel configuration in a separate article that focuses just on the panel alone.
Power Manager
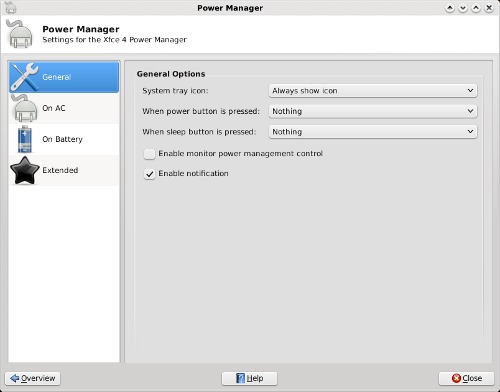
Once you install the Xfce power management plug in from Synaptic, you will get access to the power settings via the Xfce Settings Manager Power selection. In the first category, General, you set the general parameters for the power plug in, as well as general parameters for what to do in the event that either the power or sleep buttons are pressed. I have my plug in set to always show an icon in the notification tray. I also have it set to "enable notification." The latter enables the power plug in to pop up notification windows, for example, should you be running off of the laptop battery and that battery starts to get low.

The next category allows us to set the actions Power Manager uses when the computer is using AC power, under the Actions tab.
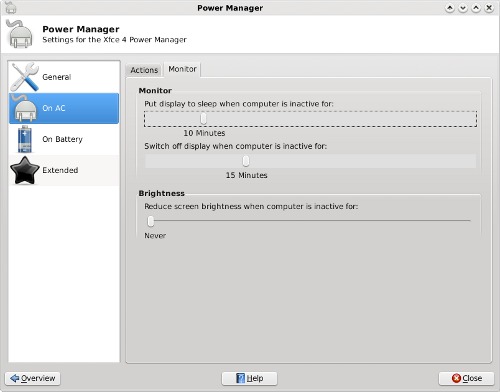
Under the Monitor tab (still under the "On AC" category), we can set the behavior characteristics for the Power Manager to apply. The same tab (albeit with more conservative settings) exists under the "On Battery" category of settings. The values in the screen shot above are the default values.
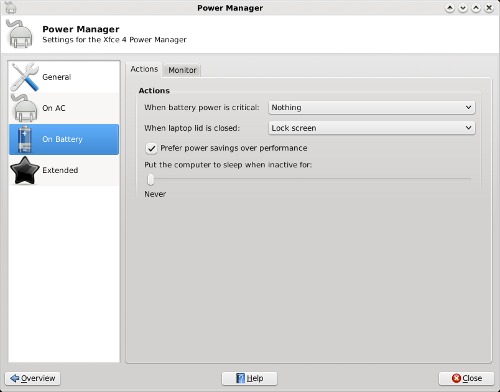
When we select the "On Battery" category, we are given settings choices that are more relevant to running a laptop off of a battery. We can specify what to do when the battery power becomes critical, what to do when the laptop lid is closed, whether we want to give precedence to a power saving power scheme, over performance, and whether to make the computer to sleep (either standby to RAM or hibernate, which is set in the next category).

Under the Extended category, we can set more advanced options. We can select whether the preferred inactivity "sleep" mode uses Suspend to RAM or Hibernate (suspend to disk). We can also set the monitor sleep mode to either Standby or Suspend. In the third setting, we can specify the low power warning level when the laptop is running off of battery. We can also select if we want CPU frequency control, and if we want to lock the screen when the laptop is suspending or hibernating (requires the user to supply a password upon taking the computer out of suspend or hibernation).
Preferred Applications
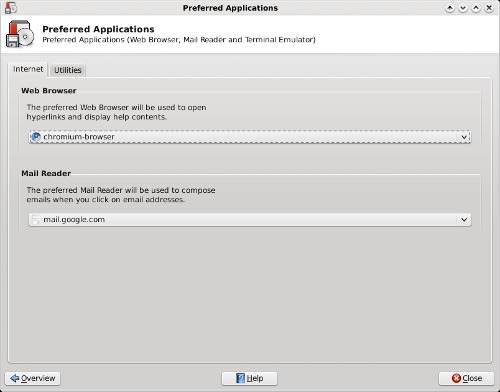
The "Preferred Applications" section allows us to set the preferred programs to use for a few pre-selected categories of programs. Under the first tab, Internet, we can set our preferred web browser and mail reader. The default values here are Firefox for the web browser, and Thunderbird for the mail reader. Since I prefer the Google Chromium browser and prefer using the web interface of Google's Gmail for my email, I've made changes from the default values in Phoenix. If your preferred browser or mail reader is not listed when you open the drop-down selection box, choose "Other ..." and point to the program you want to use from the window that opens.
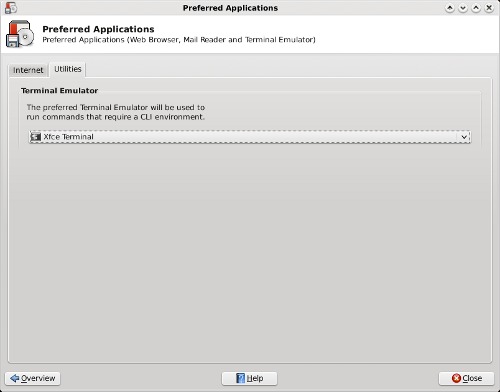
Under the "Utilities" tab, we can select the terminal emulator program we want to use when we need to have access to the command line. The screen shot above reflects the default terminal emulator in Phoenix 2010, xfterm4, or Xfce Terminal.
Printing
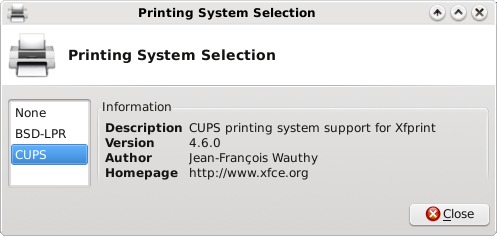
The Printing System Selection window is probably the simplest of all the settings in Xfce Settings Manager. It simply allows you to tell Xfce how to talk to your printers, via Xfprint. By default, Phoenix 2010 is set to None. Since I print to a networked printer over my home network, I chose CUPS. You will still need to complete the setup of your printer in the PCLinuxOS Control Center (PCC), but you will first need to complete this setting before you will get the desired results.
Conclusion & Things To Come
As you are starting to see, between this article and the one before, Xfce gives you plenty of options in how to configure your computer. Despite its lightweight nature, options abound. In the next, and last part, of the series of articles on the Xfce Settings Manager, we'll take a look at the rest of the settings you can make in Xfce.