Wiki Wicket
Easy Step-by-Step Install: CheckGmail
by AndrzejL
Welcome to the Wiki Wicket, a column of the PCLinuxOS Magazine that features entries from the PCLinuxOS Wiki. This month, we are featuring an entry from the "Living Wiki" on MyPCLinuxOS. While there are a few different Firefox add-ons that allow you to check and monitor your Gmail accounts, the method highlighted in this article isn't tied specifically to Firefox. And, while the Firefox add-ons require that Firefox be running for you to check and monitor your Gmail accounts, this method works whether Firefox is running or not. If, however, you are using a shared computer, this method might sacrifice some email privacy. It is, however, excellent for use on a computer where you are the only user. -- Paul Arnote, Chief Editor.
Hi Everyone!
I will try to show you how to configure CheckGmail panel tray tool so it would inform you about new mail.

The things I love about CheckGmail:
- Checks your Gmail account at user-specified intervals (usually every few seconds).
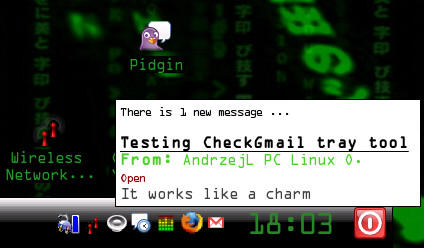
- Notifies you about new mail with:
- Sound.
- Tiny and discreet pop-up window (appears for a few seconds and then disappears).
- Tray icon changes.
- Gives you direct access to your Gmail account by just clicking on the CheckGmail icon.
- Informs you about:
- How many unread messages you have.
- Who is the sender of the message.
- Subject of the messages.
- First line of the message content.
- It does not download or open any messages; it just informs you about them.
I will sometimes use the command line (CLI) in this how-to, but don't let that scare you; I will explain every single step.
The target audience for this tutorial is new users.
There are few things I assume you have done before following this tutorial:
- Installed PCLinuxOS.
- Configured your internet connection.
- Fully upgraded the system.
- Setup the graphical server (X Window System).
- Rebooted.
Once all those things are done, follow me with these simple steps.
I - Installing CheckGmail:
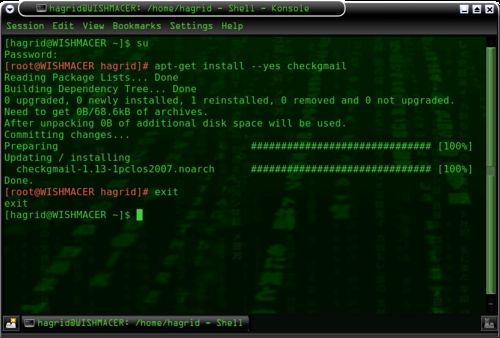
- Open a Konsole window and get root privileges:
- Type in
suand press [ENTER]. - Type in root password and press [ENTER].
- Type in
apt-get install --yes checkgmailand press [ENTER].
- Type in
- Wait till the install process is finished.
- Once you have CheckGmail installed go back to normal user mode and close Konsole, by doing the following:
- Type in
exitand press [ENTER] - Close the Konsole window
- Type in
II - Creating icon for CheckGmail/Autostarting CheckGmail
- Create a CheckGmail shortcut icon:
- Right click on the Desktop.
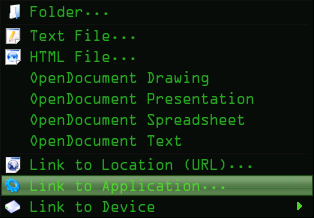
- Choose Create New.
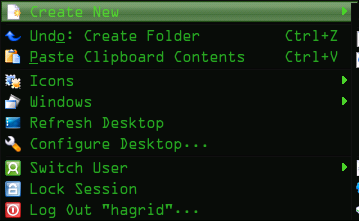
- Choose Link to Application.
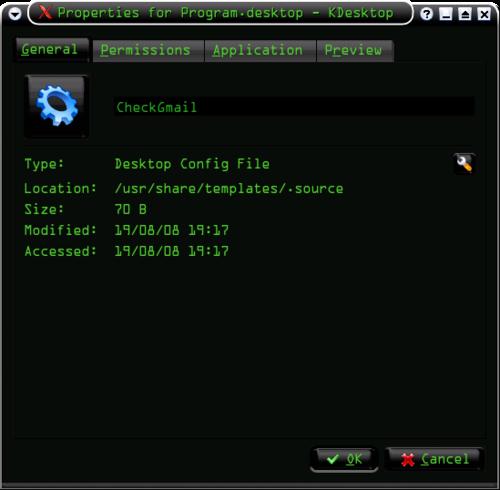
- A new window will come up:
- Type in CheckGmail in the name box.
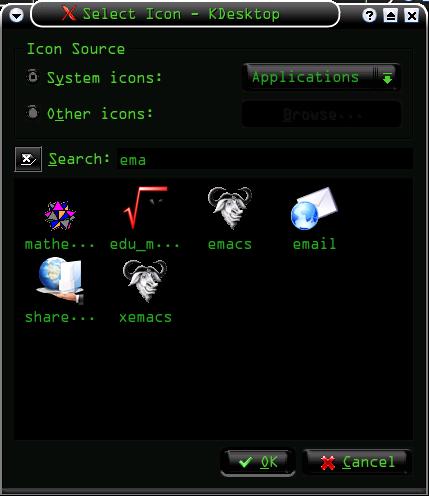
- Click on the blue gear icon.
- Type in "ema" (without the quotes) in the search box, then click on the email icon.
- Click on the Application tab and type
checkgmail --no_cookiesin the Command box.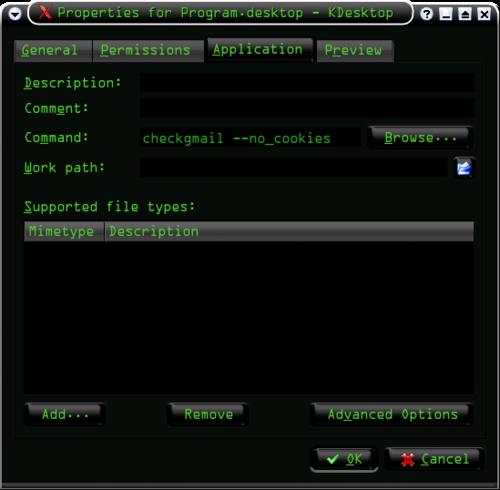
- Click OK and notice that somewhere on the desktop your new checkgmail icon was created.
- Now, we need to set up checkgmail to automatically start whenever the KDE desktop is loaded:
- Right click on the new CheckGmail icon on your desktop and choose Cut from the menu.

- Open konqueror and in the address bar type in "/" (again, without the quotes).
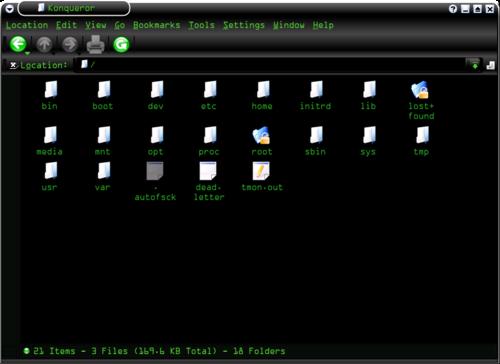
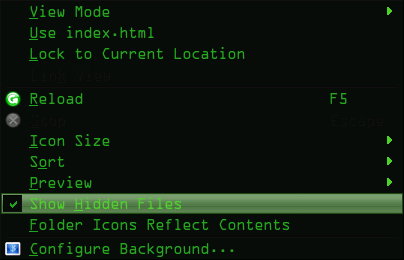
- Click on the View button in Konqueror's menu bar.
- Make sure that Show Hidden Files option is ticked.
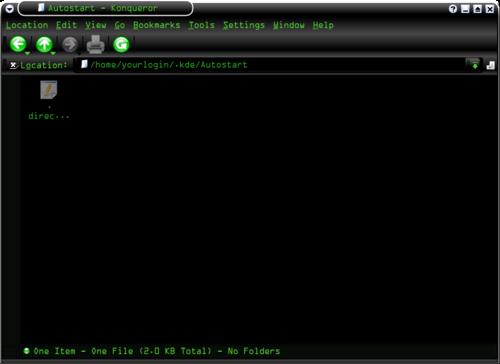
- Navigate to /home/user/.kde/Autostart (where user is your username).
(Editor's Note: alternatively, you can simply bring up your /home directory. As long as the "Show Hidden Files" option is checked, as indicated above, you will find the .kde folder. Double click that folder, and navigate to the Autostart folder).
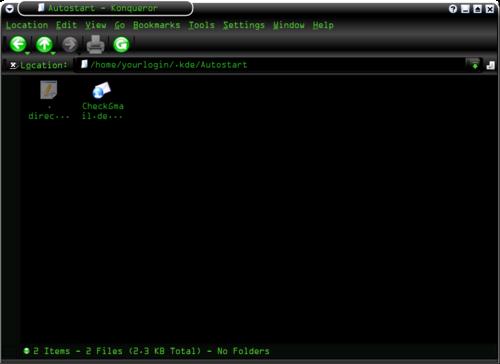
- Right click inside this folder and choose Paste File from the menu.
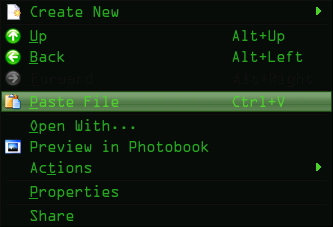
- Notice that your CheckGmail icon from desktop was moved to the Autostart folder.
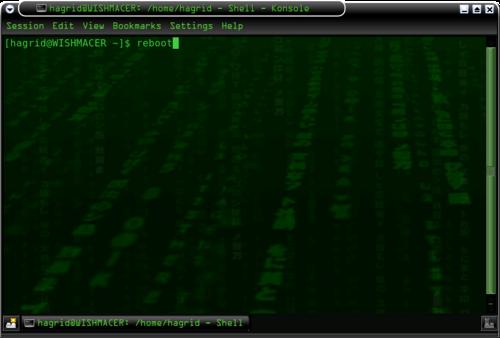
- Open konsole, type in
rebootand press[ENTER]- this will restart your computer.(Editor's Note: you can also do one of two other things here, should you not wish to reboot your computer. First, you can simply double-click the checkgmail icon in the ".kde/Autostart" folder, and this will launch checkgmail immediately. Your second additional option would be to hold down Ctrl + ALT + Backspace. This will restart KDE without completely rebooting your computer. Either of the alternative methods work equally well.)
- Right click on the new CheckGmail icon on your desktop and choose Cut from the menu.
III - Configuring CheckGmail
- Notice that a new icon - the checkgmail icon - appears in the panel tray after KDE is loaded.
- Right click on this new icon and choose Preferences.
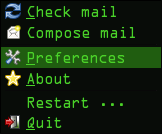
- The checkgmail Preferences dialog box will appear.
- Adjust the settings to suit your needs.
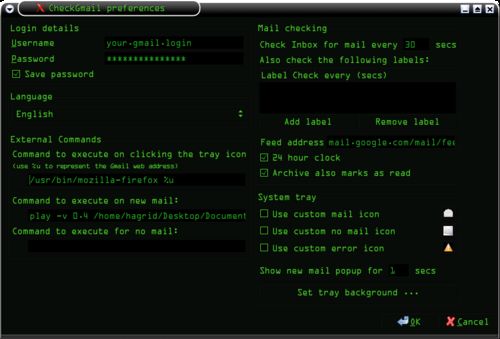
- Username : type in your Gmail login
- Password : type in your Gmail password
- Save password : tick this box
- Language : choose your language from the list
- Command on tray click: /usr/bin/mozilla-firefox %u
- Command on new mail: play -v 0.4 /path/to/wav/file/Gmail-Notify.wav
- play is a console media player,
- -v 0.4 is a volume of the played track,
- /path/to/wav/file/ is a path to the wav file (sound that you want to use as a Gmail notification sound),
- Gmail-Notify.wav is the music file with wav extention (the file name here will be whichever file you choose to use as your Gmail notification sound).
- Comand on no mail : didnt find anything that I could use in here.
- Check Gmail every : Gmail will be checked for new mail every XX seconds (5, 10, 30) type any value you want.
- 24 hour clock : Tick or untick it depending on what youre used to (11 am / 11 pm or 11 and 23 o'clock).
- Archive also marks : If you archive a message in your gmail account it wont be shown as unread.
- Custom icons : I wouldn't touch this... Can be messy.
- Show new mail pop-up : Here you can set how long a little window with a new mail info will be seen on your desktop.
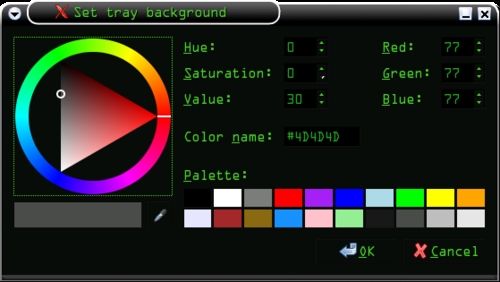
- Set tray background : Match the background of the tray icon to the color of your panel; it won't be perfect, but at least it's not a white square.
- Click on the OK button in the CheckGmail preferences box.
- Click on the CheckGmail icon.
- Firefox should come up and log you straight into your Gmail account.
- Create new message and send it to yourself.
- Reboot your system to test the settings after startup.
(Editor's Note: alternatively, you can simply restart KDE by pressing Ctrl + ALT + Backspace, should you not wish to reboot your computer. Also, I skipped this step when I tried it out, and everything works -- and continues to work -- just fine.)